
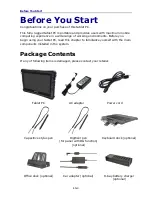
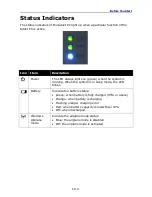
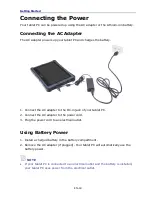
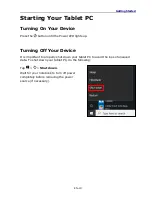
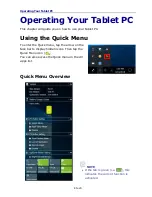
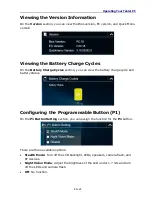
Before You Start
EN-9
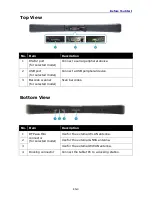
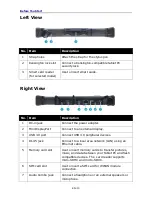
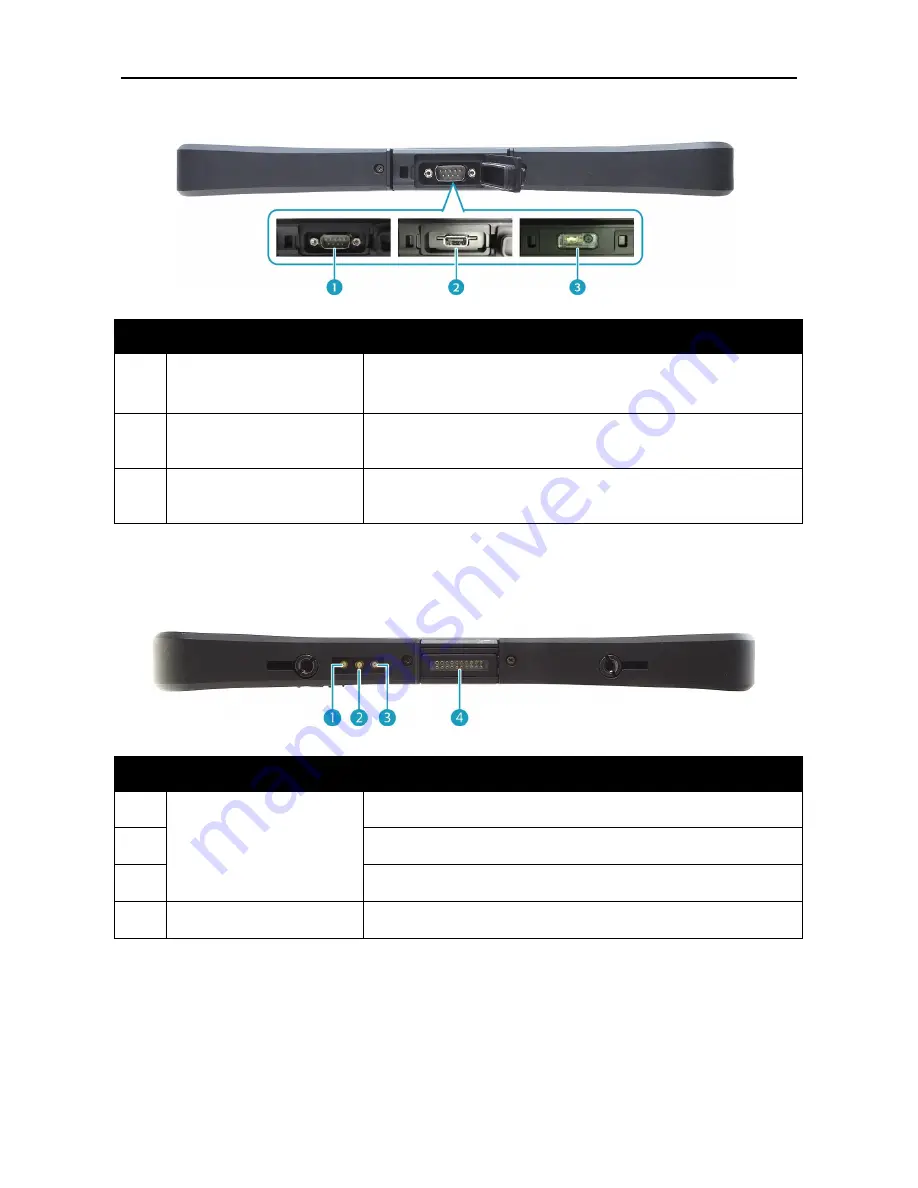
Top View
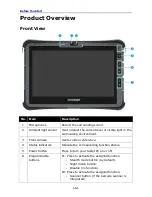
No. Item
Description
1
RS232 port
(for selected model)
Connect a serial peripheral device.
2
USB port
(for selected model)
Connect a USB peripheral device.
3
Barcode scanner
(for selected model)
Scan barcodes.
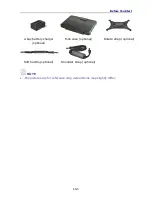
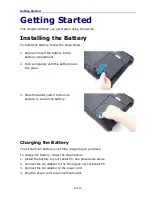
Bottom View
No. Item
Description
1
RF Pass-thru
connector
(for selected model)
Use for the external WLAN antenna.
2
Use for the external GNSS antenna.
3
Use for the external WWAN antenna.
4
Docking connector
Connect the tablet PC to a docking station.
Summary of Contents for U11
Page 1: ...EN 1 ...


