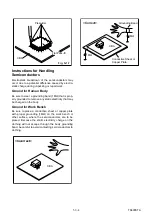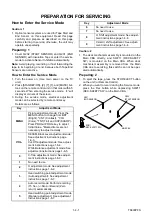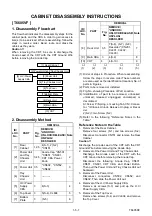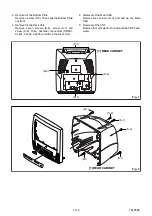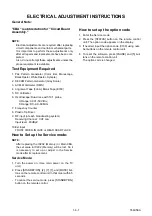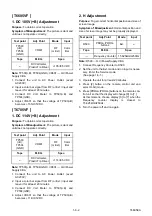
1-6-3
T6605EA
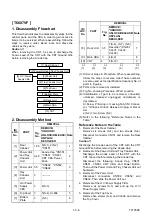
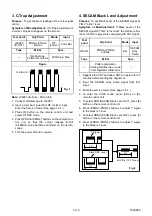
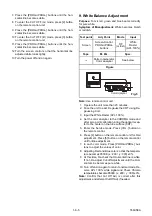
3. C-Trap Adjustment
Purpose: To get minimum leakage of the color signal
carrier.
Symptom of Misadjustment: If C-Trap Adjustment is
incorrect, stripes will appear on the screen.
Note: J349F3 (B-Out)--- Main CBA
1. Connect Oscilloscope to J349F3.
2. Input a color bar signal from RF (or Ext.) input.
Enter the Service mode. (See page 1-6-1.)
3. Press [0] button on the remote control unit and
select C-TRAP mode.
4. Press [PROG+/PROG-] buttons on the remote con-
trol unit so that the carrier leakage B-Out
(4.43MHz) value becomes minimum on the oscillo-
scope.
5. Turn the power off and on again.
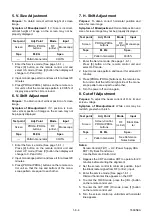
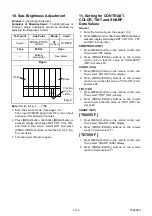
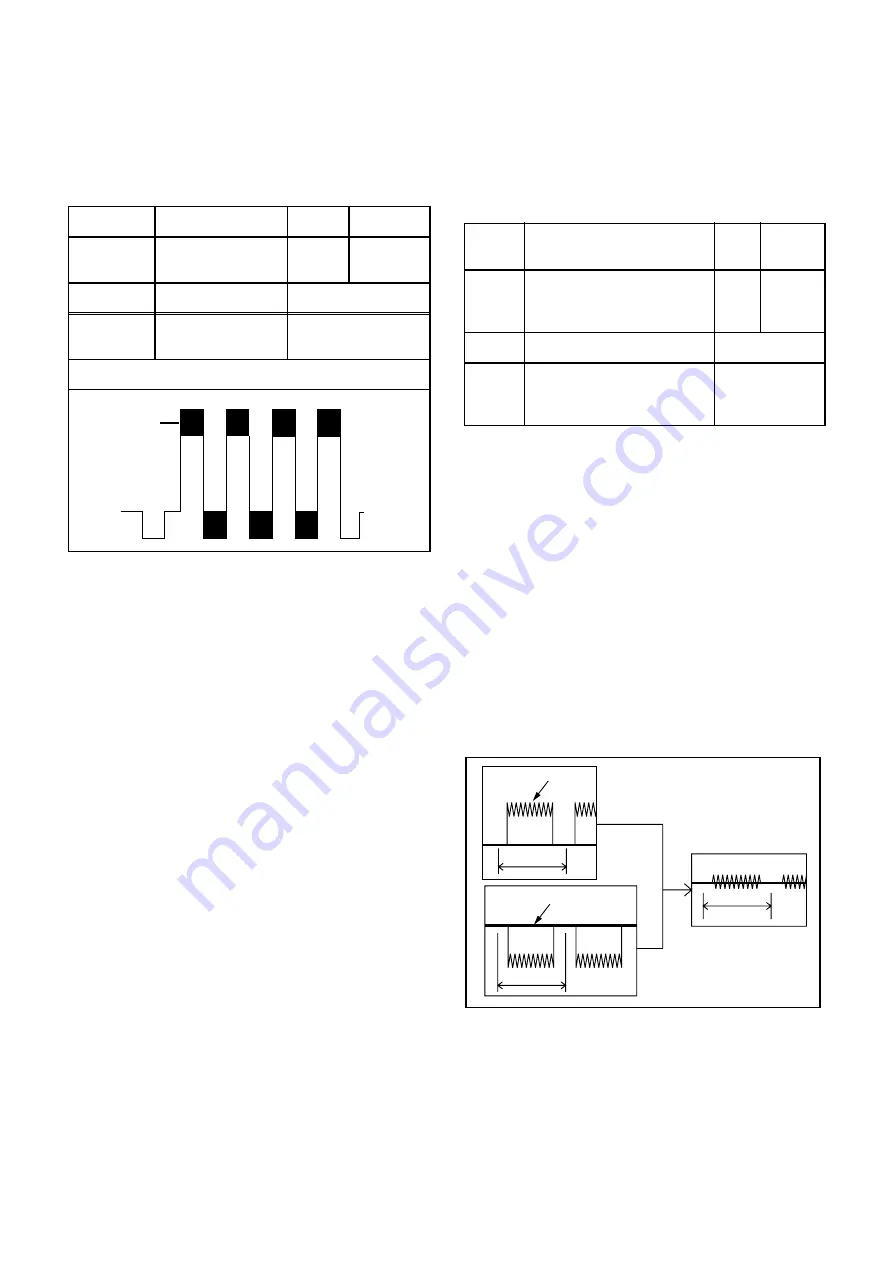
4. SECAM Black Level Adjustment
Purpose: To set Black Level of the SECAM signal R-
Y/B-Y to Ref. level.
Symptom of Misadjustment: If Black Level of the
SECAM signal R-Y/B-Y is incorrect, the picture is blu-
ish or reddish in grayscale compared with PAL signal.
1. Degauss the CRT and allow CRT to operate for 20
minutes before starting the alignment.
2. Input the SECAM Gray Scale signal from Ext.
input.
3. Enter the service mode. (See page 1-6-1.)
4. To enter the C/D/S mode, press [VOL-] on the
remote control unit.
5. To select SBR (SECAM Black Level R-Y), press [6]
button on the remote control unit.
6. Press [PROG+/PROG-] buttons to adjust Y signal
to the black ref. level.
7. To select SBB (SECAM Black Level B-Y), press [7]
button on the remote control unit.
8. Press [PROG+/PROG-] buttons to adjust Y signal
to the black ref. level.
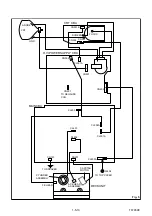
Test point
Adj. Point
Mode
Input
J349F3
(B-OUT)
PROG+/PROG-
buttons
RF
(or Ext.)
Color Bar
Tape
M. EQ.
Spec.
---
Oscilloscope,
Pattern Generator
200mVp-p Max.
Figure
minimum
Fig. 1
Test
point
Adj. Point
Mode
Input
J361G4
PROG+/PROG-
buttons
Ext.
SECAM
Gray
Scale
Tape
M. EQ.
Spec.
---
Pattern Generator,
Analog Oscilloscope (unus-
able Digital Oscilloscope)
---
5mV/Div (10:1 Prove)
Y Signal
1H
1H
1H
Black REF. Level
Fig. 4
Summary of Contents for T6605VF
Page 17: ...1 5 4 T6605DC Fig 4 S 10 S 10 S 10 S 10 Anode Cap 10 CRT CRT CBA...
Page 22: ...1 5 9 T6705DC Fig 4 S 10 S 10 S 10 S 10 Anode Cap 10 CRT CRT CBA...
Page 41: ...Main 1 5 Schematic Diagram 1 8 3 1 8 4 T6605SCM1...
Page 42: ...Main 2 5 Schematic Diagram 1 8 5 1 8 6 T6605SCM2...
Page 64: ...1 14 5 T6605PEX Packing T6605VF S3 S6 X3 S2 X4 X1 TAPE S1 FRONT S4 X2 3...
Page 65: ...1 14 6 T6605PEX T6705VF S3 S6 X3 S2 X4 X1 TAPE S1 FRONT S4 X2 3...
Page 99: ...2 4 9 Z13PDA Fig DM16 43 41 42 L 13 Fig DM17 44 45 Slide P 9...

