
Dura
Build
2
2
Additional supplies required for installation
• Exterior/roof caulking
• Roofing cement
• Galvanized roofing nails
• Waterproof roofing sealent
LOCATION
For shingled pitched roof installation only. Check with local
building code to determine correct use and ventilation
required for your attic.
Solar attic fans get 100% of their operational power from the
sun, therefore the solar panel needs to be exposed to as much
sunlight as possible. South exposure is best. If a southern
exposure is not possible, look for another sunny exposure for
your installation. The solar panel can also be adjusted to
capture maximum available sunlight.
Avoid potential problems such as trees and other buildings
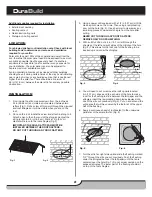
shading the unit during certain times of the day. Avoid installing
near a wall, chimney or any building section that is positioned
higher than the solar fan. There should be a minimum of
48 in (121.9 cm) between the solar attic fan and any possible
obstruction.
INSTALLATION
1. From inside the attic, measure down from the roof peak
24 in (60.96 cm) and mark a spot centered between two
rafters (Fig 1). Drill a screw at this point through the plywood
and roof shingle so it will be visible when you are on the
roof.
2. Once on the roof, locate the screw and attach a string to it.
Attach a pen to the other end of the string and adjust the
string length to 6.5 in (16.5 cm). Mark a 13 in (33 cm)
diameter circle onto the roof shingles (Fig 2).
IMPORTANT: THE SOlAR ATTIC FAN MUST BE
INSTAllED BETWEEN THE ROOF RAFTERS.
DO NOT CUT THROUGH ANy ROOF RAFTERS.
13 in (33 cm)
Fig. 1
Fig. 2
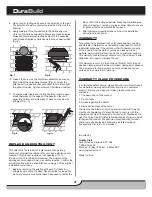
3. Using a power drill equipped with a 1/2 in (1.27 cm) drill bit,
make a pilot hole on the circle. Then using a reciprocating
saw, cut the hole (Fig. 3). Use a hammer to clear away any
remaining pieces of wood and shingle from the hole after
cutting.
NEVER CUT THROUGH ANy ROOF RAFTERS.
REMOVE ONly ROOF SHEATHING.
4. With a utility knife, cut a 5 in (12.7 cm) slit through the
shingles at the left and right sides of the middle of the hole
(Fig. 4). This allows for the foot print of the flashing to be
inserted up and under the shingles.
5 in
(12.7 cm)
Fig. 3
Fig. 4
5 in
(12.7 cm)
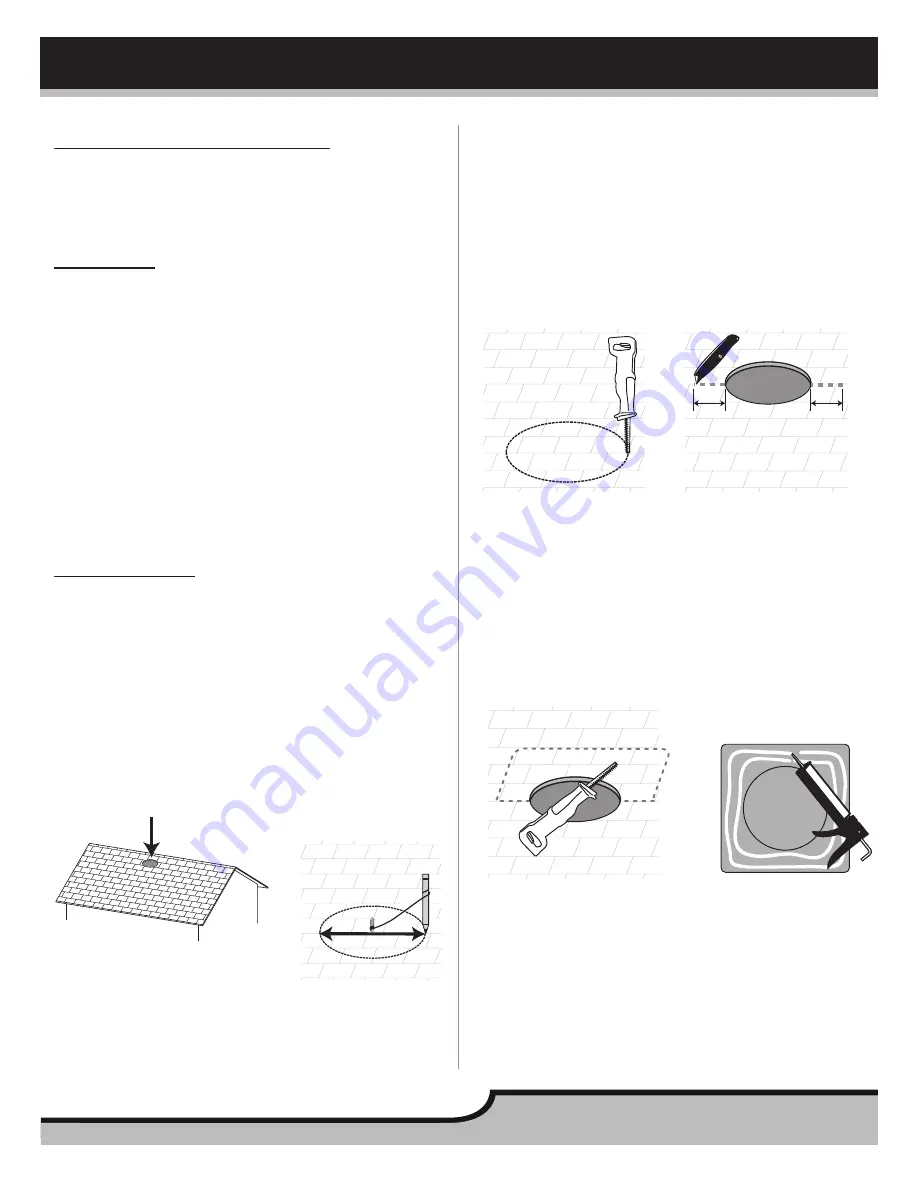
5. You will need to cut or remove the roofing nails located
5 in (12.7 cm) above and to each side of the hole to make
room for the flashing to slide between the felt paper and the
shingles. Insert the reciprocating saw blade sideways into
one of the slits cut previously (Fig. 5). Cut up and around the
entire area that will be covered by the footprint of the upper
half of the flashing.
6. Apply a continuous bead of roof sealant to the underside
perimeter of the solar attic fan (Fig. 6).
Fig. 5
Fig. 6
7. Turn the attic fan right side up and slide the flashing marked
“UP” through the slits you cut previously. Push the flashing
under the shingles (but over the felt paper) until the fan is
centered over the hole (Fig. 7). Do not smear caulking on the
exposed shingles. The lower part of the flashing should sit
on top of the roof shingles.


