17 |
P a g e
DG66M-R62, -B62 & DG67M-R62, -B62
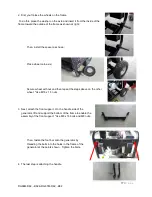
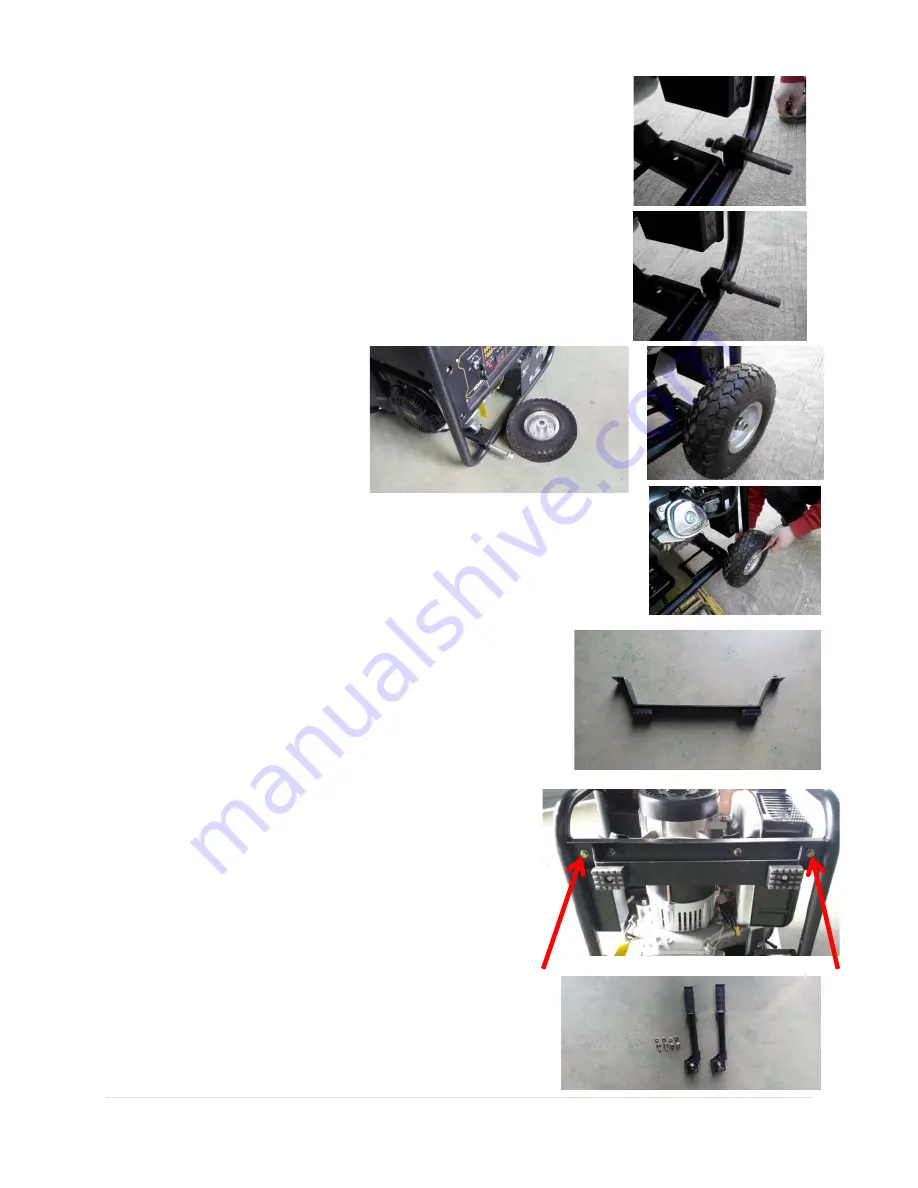
2. First, you’ll place the wheels on the frame.
To do this, place the washer on the axle and insert it from the inside of the
frame toward the outside of the frame as shown at right;
Then, install the spacer as shown;
Place wheel onto axle;
Secure wheel with nut and then repeat the steps above on the other
wheel: *Use M16 x 1.5 nuts
3. Next, attach the front support. On the handle side of the
generator, lift and support the bottom of the frame to enable the
assembly of the front support: *Use M8 x 16 bolts and M8 nuts.
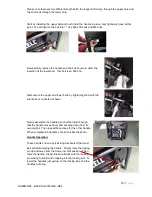
Then, fasten the foot bar onto the generator by
threading the bolts into the holes in the frame of the
generator at the points shown. Tighten the bolts.
4. The last step is attaching the handle.
Summary of Contents for DG66M-B62
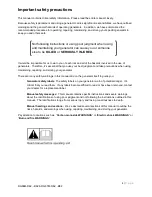
Page 7: ...5 P a g e DG66M R62 B62 DG67M R62 B62 Generator Safety Labels...
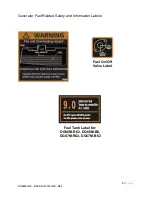
Page 9: ...7 P a g e DG66M R62 B62 DG67M R62 B62 Generator Operating and Battery Safety Labels...
Page 42: ...40 P a g e DG66M R62 B62 DG67M R62 B62 Wiring diagram DG66M R62...
Page 43: ...41 P a g e DG66M R62 B62 DG67M R62 B62 Wiring diagram DG66M B62...
Page 49: ...47 P a g e DG66M R62 B62 DG67M R62 B62 Wiring diagram DG67M R62...
Page 50: ...48 P a g e DG66M R62 B62 DG67M R62 B62 Wiring diagram DG67M B62...

