18 |
P a g e
DG66M-R62, -B62 & DG67M-R62, -B62
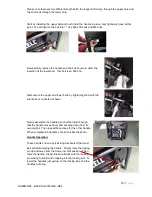
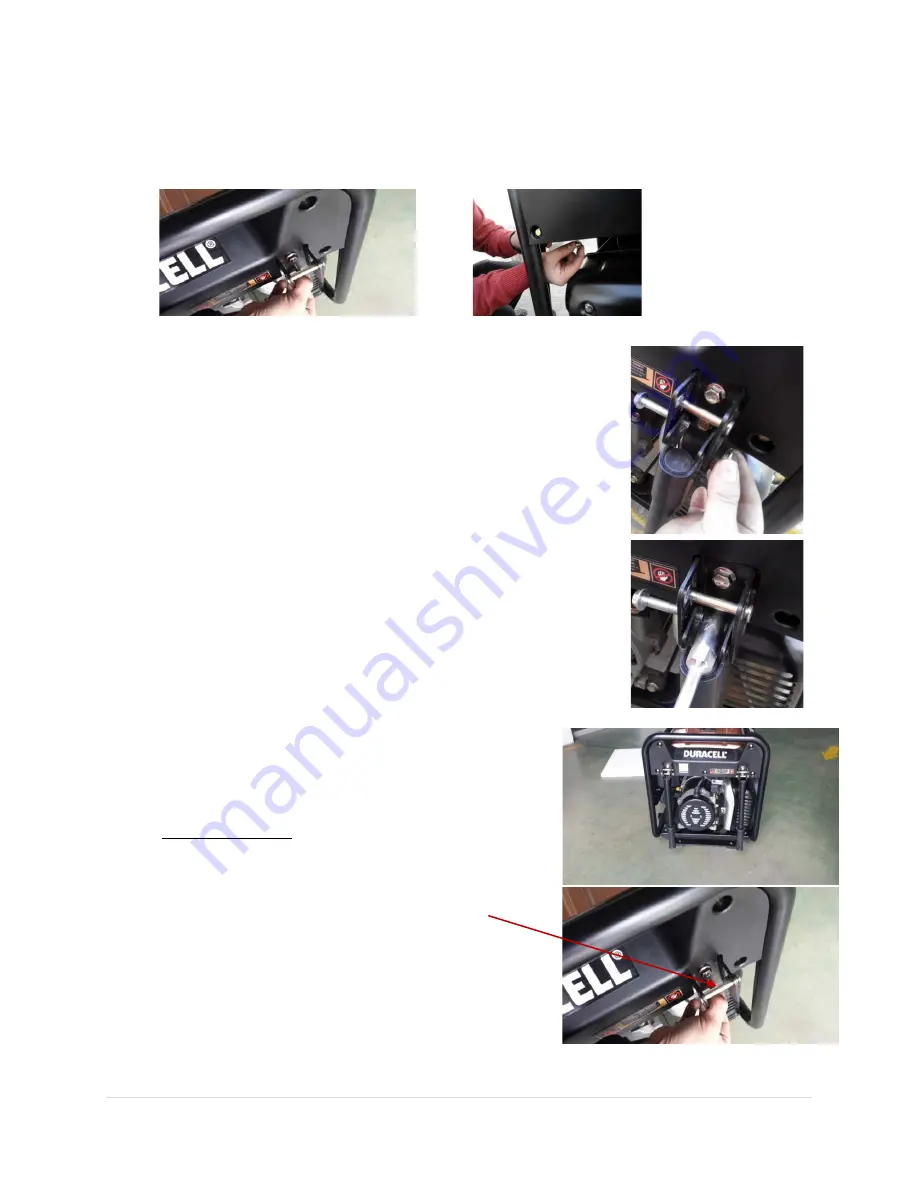
Please note there are two different length bolts; the longer bolt will go through the upper hole and
the short bolt through the lower hole:
Start by installing the upper bolt and nut to hold the handle in place, only tighten by hand at this
point. We will tighten the bolt later: * Use M8 x 35 bolts and M8 nuts.
Now partially remove the handle pivot bolt as shown to allow the
insertion of the lower bolt. This bolt is an M8 x 50.
Next secure the upper and lower bolts by tightening them with the
wrenches or sockets as shown.
Now reassemble the handle pivot bolt and tight enough
that the handle moves freely and will drop down from its’
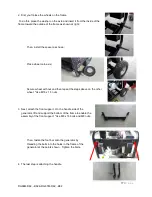
own weight. Then repeat these steps for the other handle.
When complete the handles should look like the photo.
Handle Operation:
These handles have a self locking mechanism that must
be set before raising the handle. Simply raise the locking
pin up and away from the frame into this position. Then
raise the handle, the handle should lock with the locking
pin moving forward and dropping into the locking slot. To
lower the handles just pull up on the locking pins and the
handles will drop.
Summary of Contents for DG66M-B62
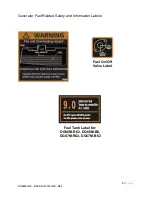
Page 7: ...5 P a g e DG66M R62 B62 DG67M R62 B62 Generator Safety Labels...
Page 9: ...7 P a g e DG66M R62 B62 DG67M R62 B62 Generator Operating and Battery Safety Labels...
Page 42: ...40 P a g e DG66M R62 B62 DG67M R62 B62 Wiring diagram DG66M R62...
Page 43: ...41 P a g e DG66M R62 B62 DG67M R62 B62 Wiring diagram DG66M B62...
Page 49: ...47 P a g e DG66M R62 B62 DG67M R62 B62 Wiring diagram DG67M R62...
Page 50: ...48 P a g e DG66M R62 B62 DG67M R62 B62 Wiring diagram DG67M B62...

