Rev.4
41
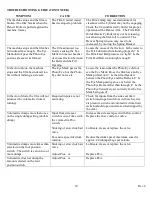
TROUBLESHOOTING GUIDE (CONTINUED)
SYMPTOM
CAUSE
CORRECTION
Bag is tearing under the top
seal.
Seal stress before the seal
cools.
Film is sticking to the
sealing belts (middle belts
on the exit end of the hot
air sealer.)
Sealing temperature is too
high.
Overfilled Bags
Reduce the distance the bags drop when
leaving the hot air sealer. If possible, allow
additional time for the seal to cool before
handling.
Apply release compound (Part # 3430) to the
sealing belts.
Lower the temperature 20
°
at a time until
bags do not seal. Increase the temperature
only to the sealing point.
Decrease the product volume or increase the
bag size. Reduce the volume as a test first.
Lower the bag conveyor and film height
above the feed belts.
Bags have poor or no top seal.
The two sheets of film are not
welding together.
Temperature is not high
enough.
Inadequate air flow
Excessive amounts of
water padding thru the hot
air plenums.
Inadequate pressure
between the belts.
Speed is mismatched
between the top V belts
and the bag conveyor belts.
Increase the set point on the temperature
control 20° at a time until the bag seals, or
the bag melts down in sections of the bag
top. If the bag top is melting off before the
bag leaves the sealer, reduce the temperature
and look at other causes.
Increase air pressure to the hot air plenums
(average pressure is 7-15 psi). Clean plenum
air holes (the holes are .040 in diameter).
Disassemble and clean the plenum.
Drain the water from the filter(s) and
consider installing an air drier.
Increase the pressure between the belts.
Depending on your machine model, this may
be a mechanical or air pressure adjustment.
Adjust individual pulleys to be in a straight
line were applicable (plate style sealers).
Adjust the trim block (if used) to be in a
straight line with the V belt pulleys. Replace
the belts and or worn pulleys.
The top V belts have a speed adjustment.
Adjust the speed so the top of the bag is
traveling the same speed as the bottom. The
bag top should not lean left or right.
Summary of Contents for Hamer 540
Page 2: ......
Page 4: ......
Page 7: ...Rev 4 SECTION ONE MODEL 540 FORM FILL AND SEAL MACHINE...
Page 8: ......
Page 14: ......
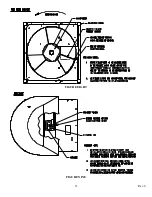
Page 40: ...Rev 4 31 FIGURE EIGHT FIGURE NINE...
Page 47: ......
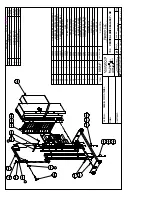
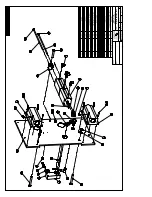
Page 55: ...Rev 4 45 SECTION TWO MODEL 540 ASSEMBLY DRAWINGS...
Page 56: ......

