Rev.4
42
TROUBLESHOOTING GUIDE (CONTINUED)
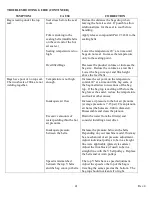
SYMPTOM
CAUSE
CORRECTION
Bags have poor or no top seal.
The two sheets of film are not
welding together –
(Continued).
Belts may roll over or twist
Sealing pulley assembly is
worn or out of adjustment.
Overfilled Bags.
Decrease the product volume or increase your
bag size. Reduce the volume as a test. Lower
the bag conveyor and film height above the
belts.
The side seals are weak. The
side seals are open or tear
apart easily.
Improper seal temperature.
Poor sealing surface.
Misalignment of seal
surfaces.
Slight film movement while
the side seal is being made.
Low air pressure
Excessive wrinkles in the
film at the seal bar.
Experiment with higher or lower temperatures.
Some films may require temperatures in excess
of 700
°
F.
Rotate or change the teflon. Replace the
silicone strip behind the teflon. Clean the seal
bar (aluminum scraper only).
Check the Vertical and Horizontal alignment
between the seal bar and seal pad (teflon).
Adjust as necessary.
Adjust the film clamp to hold securely. Rebuild
or replace the fill opening cylinders if operating
slow or at unequal speed. Replace both top “V’
Belts if one or both are worn. The belts may be
running at uequal speeds. Check all the belt
path pulleys and bearings for damage and wear.
Check the pressure between the V pulleys,
particularly the two just before the fill opening.
They should apply equal pressure. Adjust and /
or replace the orange runner clamp tubes.
Check the brake for proper operation. Clean or
replace the air valve or brake. Adjust the jaws
inline with the film opening rod.
Machine air pressure should be set at a
minimum of 80 PSI. Check for leaking air
cylinders on vertical sealer, replace as needed.
Check the film opening rod. This rod should be
centered under the belt path. The rod should
have a 3/16” spacing below the belts. Check
the alignment of the seal pad and belt path
centerline. The seal pad should not protrude
beyond the centerline. Level and plumb the
film roll platter.
Summary of Contents for Hamer 540
Page 2: ......
Page 4: ......
Page 7: ...Rev 4 SECTION ONE MODEL 540 FORM FILL AND SEAL MACHINE...
Page 8: ......
Page 14: ......
Page 40: ...Rev 4 31 FIGURE EIGHT FIGURE NINE...
Page 47: ......
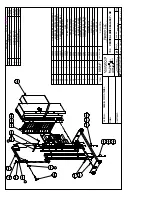
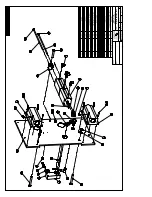
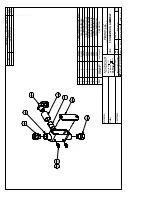
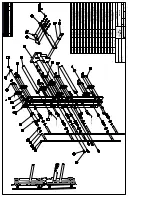
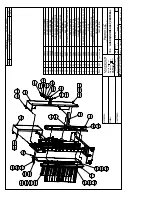
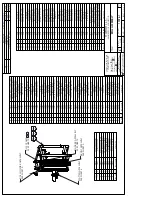
Page 55: ...Rev 4 45 SECTION TWO MODEL 540 ASSEMBLY DRAWINGS...
Page 56: ......


