background image

6/12V 6

.5

A Digital Battery Charger - NORM, AGM, STD, GEL 

& Li-Ion 

Part 0-647-36

0-647-36-LEAF

www.durite.co.uk

    GENERAL

Before using this unit please read these instructions carefully. Take special care to follow

the warnings and safety suggestions listed below. Keep these instructions for future refer-

ence. There are no user-serviceable parts within the unit, refer servicing to qualified service

personnel.

IMPORTANT SAFETY INSTRUCTIONS

1. This appliance is not intended for use by persons (including children) with reduced phys-

ical, sensory or mental capabilities, or lack of experience and knowledge, unless they have

been given supervision or instruction concerning use of the appliance by a person respon-

sible for their safety. Children should be supervised to ensure that they do not play with the

appliance.

2. Working in vicinity of a lead-acid battery is dangerous. Batteries generate explosive gases

during normal battery operation. For this reason, it is of utmost important that each time

before using your charger, you read this manual and follow the instruction exactly.

3. To reduce risk of battery explosion, follow these instructions and those published by the

battery manufacturer and manufacturer of any equipment you intend to use in vicinity of

battery. Review cautionary markings on these products and on engine

Summary of Contents for 0-647-36

Page 1: ...or lack of experience and knowledge unless they have been given supervision or instruction concerning use of the appliance by a person respon sible for their safety Children should be supervised to ensure that they do not play with the appliance 2 Working in vicinity of a lead acid battery is dangerous Batteries generate explosive gases during normal battery operation For this reason it is of utmo...

Page 2: ... gas 11 Locate charger as far away from battery as DC charger cable s permit 12 Do not expose charger to rain or snow 13 NEVER charge a frozen battery If battery fluid electrolyte is frozen bring into a warm area to thaw before charging 14 NEVER allow battery acid to drip on charger when reading specific gravity or filling bat tery 15 NEVER set a battery on top of charger 16 NEVER place charger di...

Page 3: ...f battery connect black clamp O ring to negative of battery 3 Please remove the plug from the AC socket before disconnect the battery then remove the clamp O ring from battery Charging for car battery 1 Please put AC plug into AC socket 2 Please choose correct charging mode according to battery rated voltage and battery type press the Enter Exit button to start charging If changing charge mode jus...

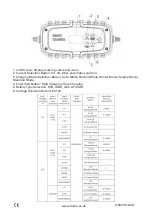
Page 4: ...2 Current Selection Button 2A 4A 6 5A automatic selection 3 Charging Mode Selection Button Auto Mode Recond Mode Winter Mode Supply Mode Maintain Mode 4 Enter Exit Button Start Charging Stop Charging 5 BatteryType Selection STD AGM GEL LITHIUM 6 Voltage Selection Button 6V 12V ...

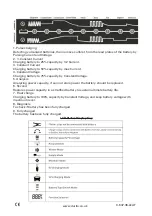
Page 5: ...rent 4 Constant Voltage Charging battery to 75 capacity by Constant Voltage 5 Analysis Analyzing power capacity if can not store power the battery should be replaced 6 Recond Restores power capacity in a stratified battery to sustain ultimate battery life 7 Float charge Charging battery to 100 capacity by Constant Voltage and keep battery voltage with maximum level 8 Diagnosis To check if battery ...

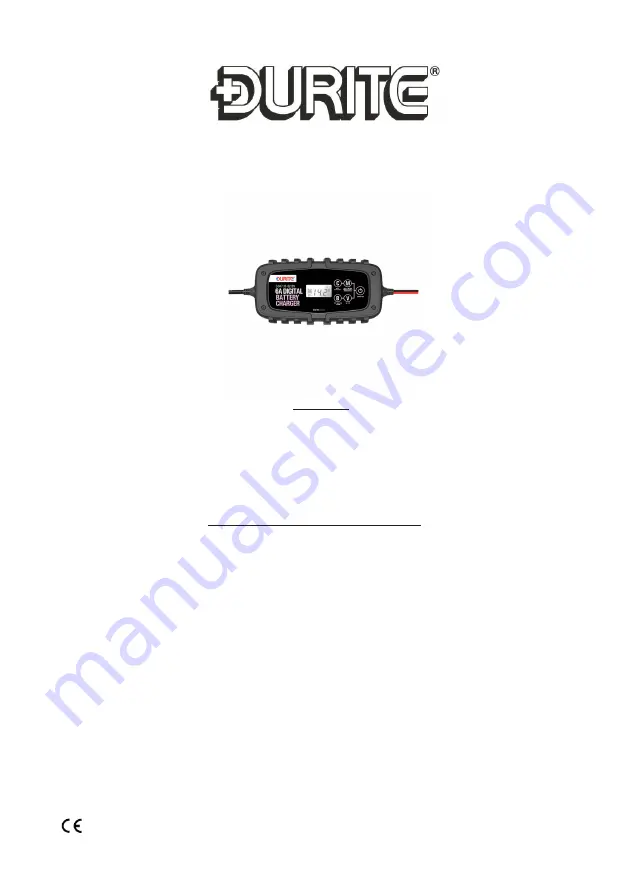
Page 6: ...ge mode automatically when temperature recovers to the normal condition a When charger used long time under high temperature b When inside temperature of charger reaches the present temperature 4 Over voltage protection 5 Fire protection There is no output in the clamp when disconnected with battery 6 Low voltage activation The charger will enter the charge mode automatically when voltage of end o...

Page 7: ...r has AC output 3 Send the charger to professional person to test Power indicator light but no AC output 1 Check the clip is connected well 2 Check the terminal for corrosion 3 Check the wire of the clip to see if broken 4 Send the charger to professional person to test Power indicator and fault indicator light at the same time 1 Check clips to see if they are connected round the wrong way 2 The c...

Reviews: