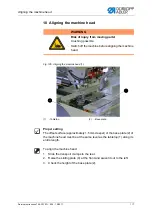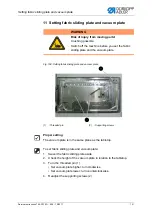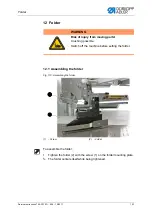
Aligning the machine head
118
Service Instructions 745-35-10 D - 00.0 - 10/2017
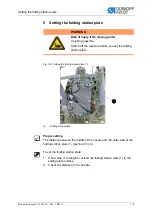
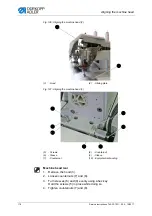
Fig. 106: Aligning the machine head (2)
Fig. 107: Aligning the machine head (3)
Machine head rear
1.
Remove the hood (3).
2.
Loosen counternuts (7) and (8).
3.
Turn sleeves (6) and (9) evenly using a hex key.
Hold the screws (5) in place while doing so.
4.
Tighten counternuts (7) and (8).
(3)
- Hood
(4)
- Sliding plate
(5)
- Screws
(6)
- Sleeve
(7)
- Counternut
(8)
- Counternut
(9)
- Sleeve
(10) - Equipotential bonding
③
④
⑥
⑦
⑧
⑨
⑩
⑤
⑤
Summary of Contents for 745-35-10 D
Page 1: ...745 35 10 D Service Instructions...
Page 6: ...Table of Contents 4 Service Instructions 745 35 10 D 00 0 10 2017...
Page 10: ...About these instructions 8 Service Instructions 745 35 10 D 00 0 10 2017...
Page 74: ...Machine head 72 Service Instructions 745 35 10 D 00 0 10 2017...
Page 84: ...Transport carriage 82 Service Instructions 745 35 10 D 00 0 10 2017...
Page 116: ...Light barriers 114 Service Instructions 745 35 10 D 00 0 10 2017...
Page 122: ...Aligning the machine head 120 Service Instructions 745 35 10 D 00 0 10 2017...
Page 128: ...Folder 126 Service Instructions 745 35 10 D 00 0 10 2017...
Page 146: ...Throw over stacker 144 Service Instructions 745 35 10 D 00 0 10 2017...
Page 282: ...Programming 280 Service Instructions 745 35 10 D 00 0 10 2017...
Page 292: ...Maintenance 290 Service Instructions 745 35 10 D 00 0 10 2017...
Page 294: ...Decommissioning 292 Service Instructions 745 35 10 D 00 0 10 2017...
Page 296: ...Disposal 294 Service Instructions 745 35 10 D 00 0 10 2017...
Page 308: ...Troubleshooting 306 Service Instructions 745 35 10 D 00 0 10 2017...
Page 337: ......


