


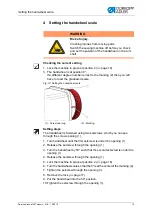

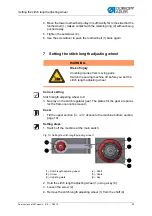
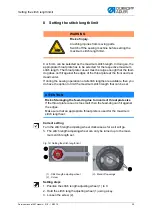


Setting the handwheel scale
Service manual 567 classic - 01.0 - 10/2015
19
4
Setting the handwheel scale
Checking the correct setting
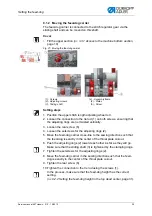
1. Lock the machine in place at position 2 (
The handwheel is at position 0°.
If a different degree number is next to the marking (2) then you will
have to reset the graduated scale.
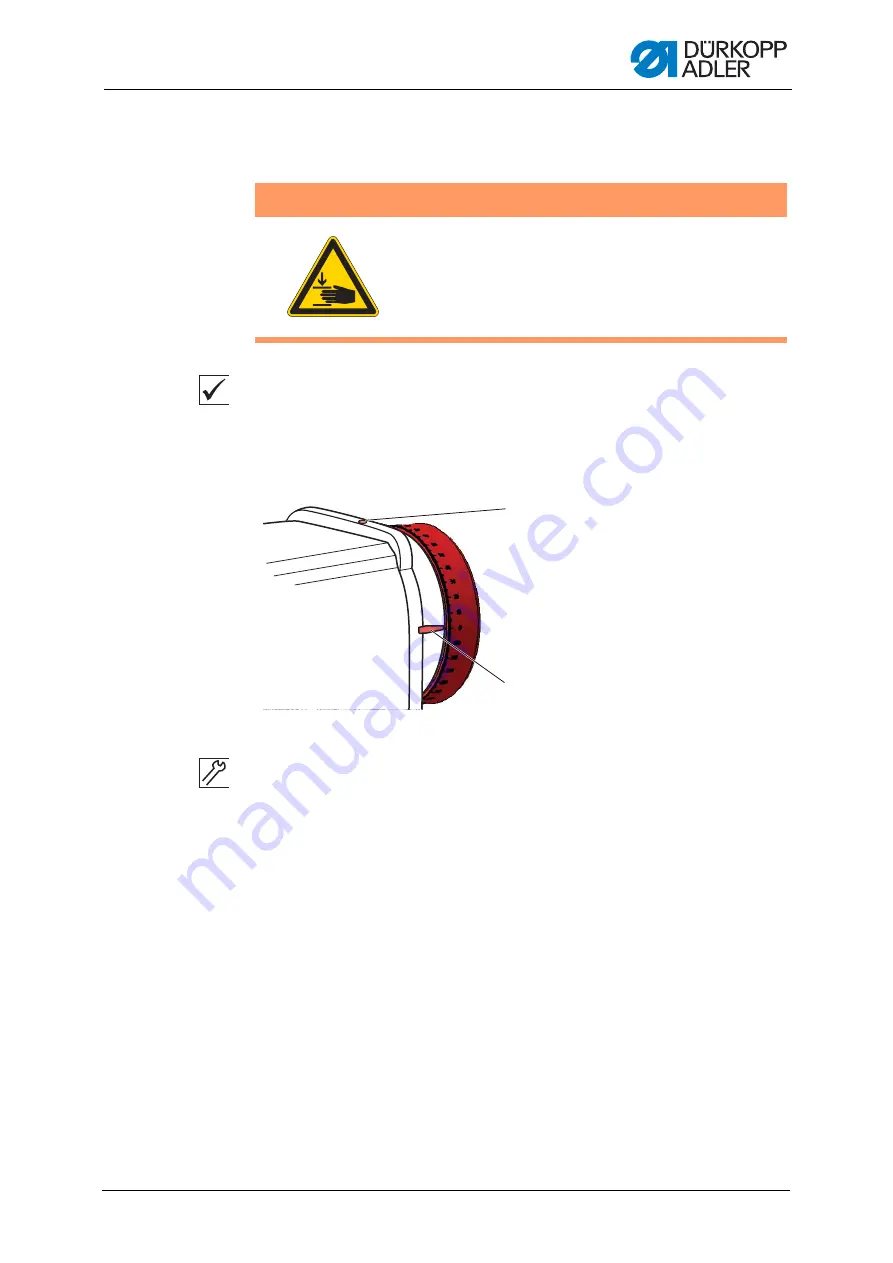
Fig. 12: Setting the handwheel scale
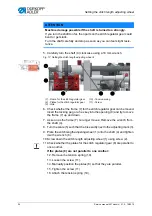
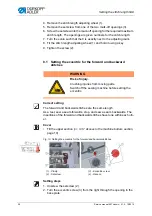
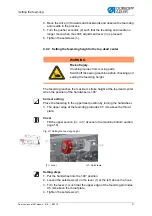
Setting steps
The handwheel is fastened using two setscrews, which you can see
through the screw opening (1).
1. Turn handwheel until the first setscrew is under the opening (1)
2. Release the setscrew through the opening (1).
3. Turn the handwheel by 50° such that the second setscrew is under the
opening (1)
4. Release the setscrew through the opening (1).
5. Lock the machine in place at position 2 (
6. Turn the handwheel scale so that the 0° is at the center of the marking (2).
7. Tighten the setscrew through the opening (1).
8. Remove the lock
.
9. Put the handwheel into the 50° position.
10.Tighten the setscrew through the opening (1).
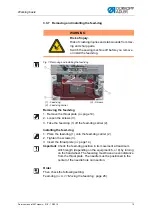
WARNING
Risk of injury.
Crushing injuries from moving parts.
Switch the sewing machine off before you check
and set the position of the handwheel on the arm
shaft.
2
1
(1) - Screw opening
(2) - Marking
Summary of Contents for 567 CLASSIC
Page 1: ...567 classic Service manual...
Page 20: ...Working basis 18 Service manual 567 classic 01 0 10 2015...
Page 79: ......


