


Positioning the arm shaft
20
Service manual 567 classic - 01.0 - 10/2015
5
Positioning the arm shaft
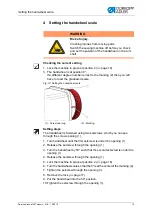
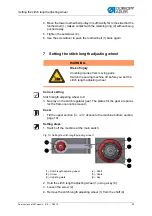
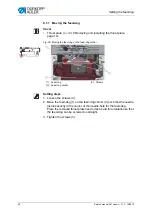
Correct setting
The 3 setscrews (3) on the arm shaft crank (1) are seated flush on the flat.
The arm shaft crank (1) is flush with the machine casting (2).
Cover
•
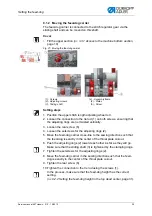
3.3.2 Removing and fitting the arm cover
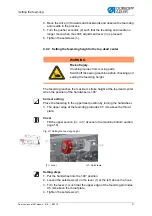
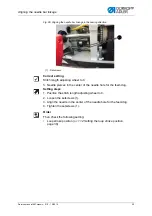
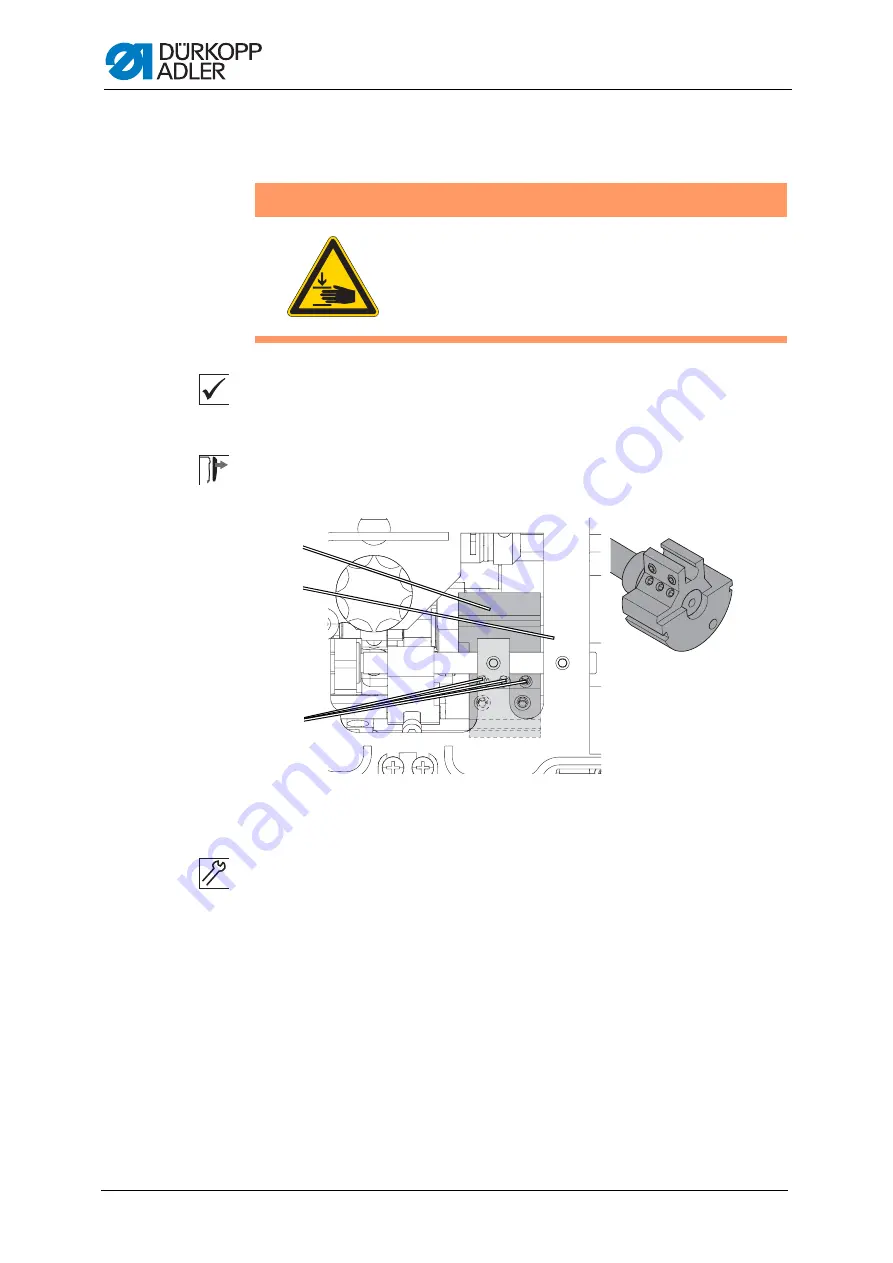
Fig. 13: Setting the arm shaft crank
Setting steps
1. Release all the setscrews (3) on the arm shaft crank (1).
2. Turn the arm shaft crank (1) such that the setscrews (3) are seated flush
on the flat of the arm shaft.
3. Push the arm shaft (1) to the right as far as it will go and flush with the
machine casting.
4. Tighten all the setscrews (3) on the arm shaft crank (1).
WARNING
Risk of injury.
Crushing injuries from moving parts.
Switch the sewing machine off before you check
and set the position of the arm shaft crank.
(1) - Arm shaft crank
(2) - Machine casting
(3) - Setscrews
①
②
③
Summary of Contents for 567 CLASSIC
Page 1: ...567 classic Service manual...
Page 20: ...Working basis 18 Service manual 567 classic 01 0 10 2015...
Page 79: ......


