


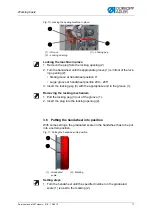

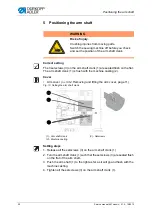

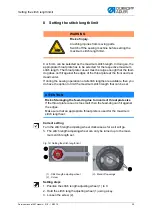
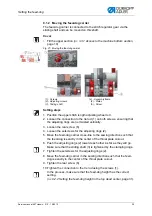


Positioning the toothed belt pulleys
22
Service manual 567 classic - 01.0 - 10/2015
3. Move the upper toothed belt wheel (1) to the side such that the distance
to the winder wheel (3) is 0.8 mm.
4. Tighten the setscrews (2).
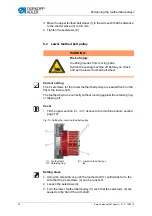
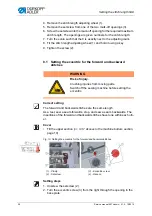
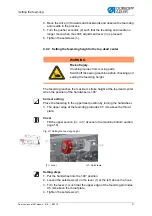
6.2
Lower toothed belt pulley
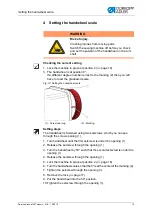
Correct setting
The 2 setscrews for the lower toothed belt pulley are seated flush on the
flat of the lower shaft.
The toothed belt runs correctly without running against the retaining ring
or slipping off.
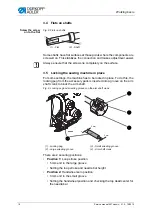
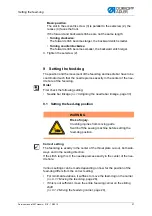
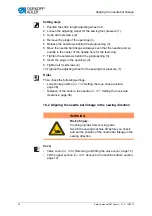
Cover
•
Tilt the upper section (
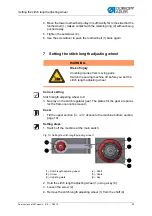
3.3.1 Access to the machine bottom section
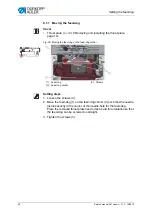
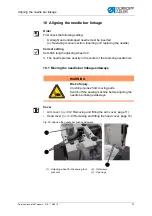
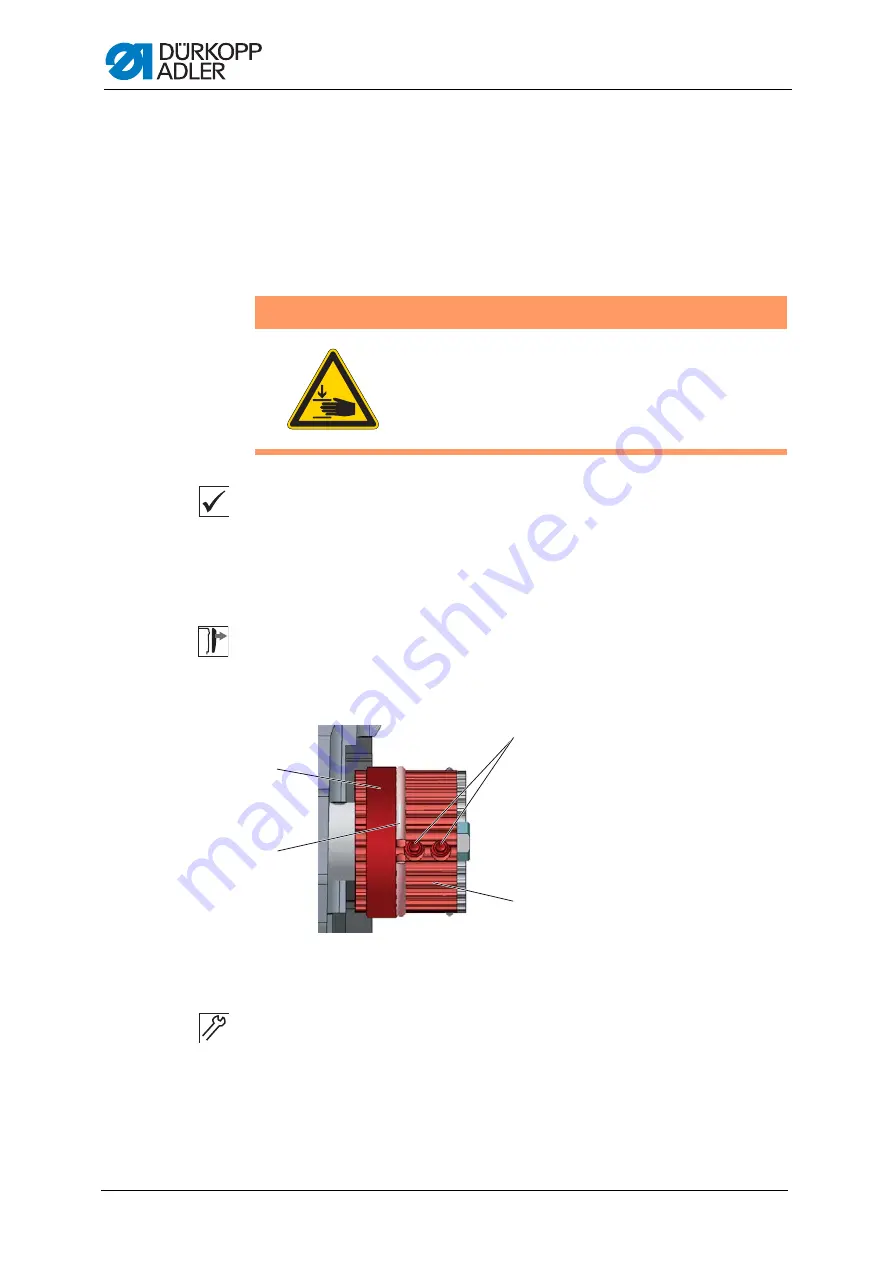
Fig. 15: Setting the lower toothed belt pulley
Setting steps
1. Using the screwdriver, push the toothed belt (1) sufficiently far to the
side that the 2 setscrews (4) can be reached.
2. Loosen the setscrews (4).
3. Turn the lower toothed belt pulley (3) such that the setscrews (4) are
seated on the flat of the arm shaft.
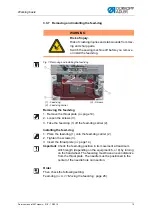
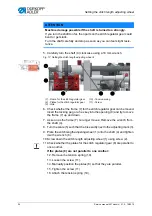
WARNING
Risk of injury.
Crushing injuries from moving parts.
Switch the sewing machine off before you check
and set the lower toothed belt wheel.
2
1
3
4
(1) - Toothed belt
(2) - Retaining ring
(3) - Lower toothed belt pul-
ley
Summary of Contents for 567 CLASSIC
Page 1: ...567 classic Service manual...
Page 20: ...Working basis 18 Service manual 567 classic 01 0 10 2015...
Page 79: ......


