


Setting the stitch length adjusting wheel
Service manual 567 classic - 01.0 - 10/2015
23
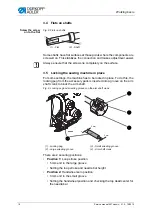
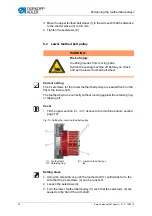
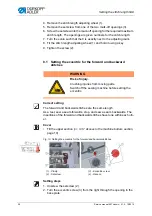
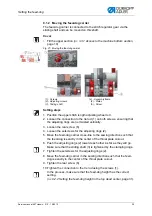
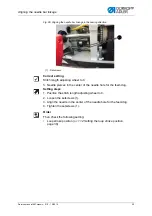
4. Move the lower toothed belt pulley (3) sufficiently far to the side that the
toothed belt (1) makes contact with the retaining ring (2) without being
pushed away.
5. Tighten the setscrews (4).
6. Use the screwdriver to push the toothed belt (1) back again.
7
Setting the stitch length adjusting wheel
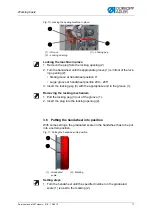
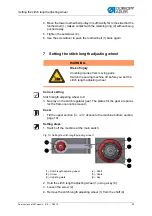
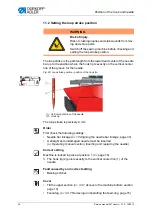
Correct setting
Stitch length adjusting wheel to 0:
No play on the stitch regulator gear. The plates for the gear are paral-
lel, the frame cannot be moved.
Cover
•
Tilt the upper section (
3.3.1 Access to the machine bottom section
Setting steps
1. Switch off the machine at the main switch.
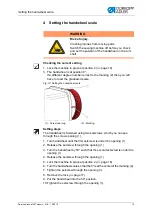
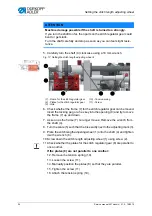
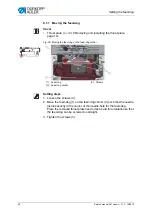
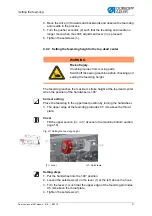
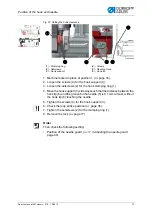
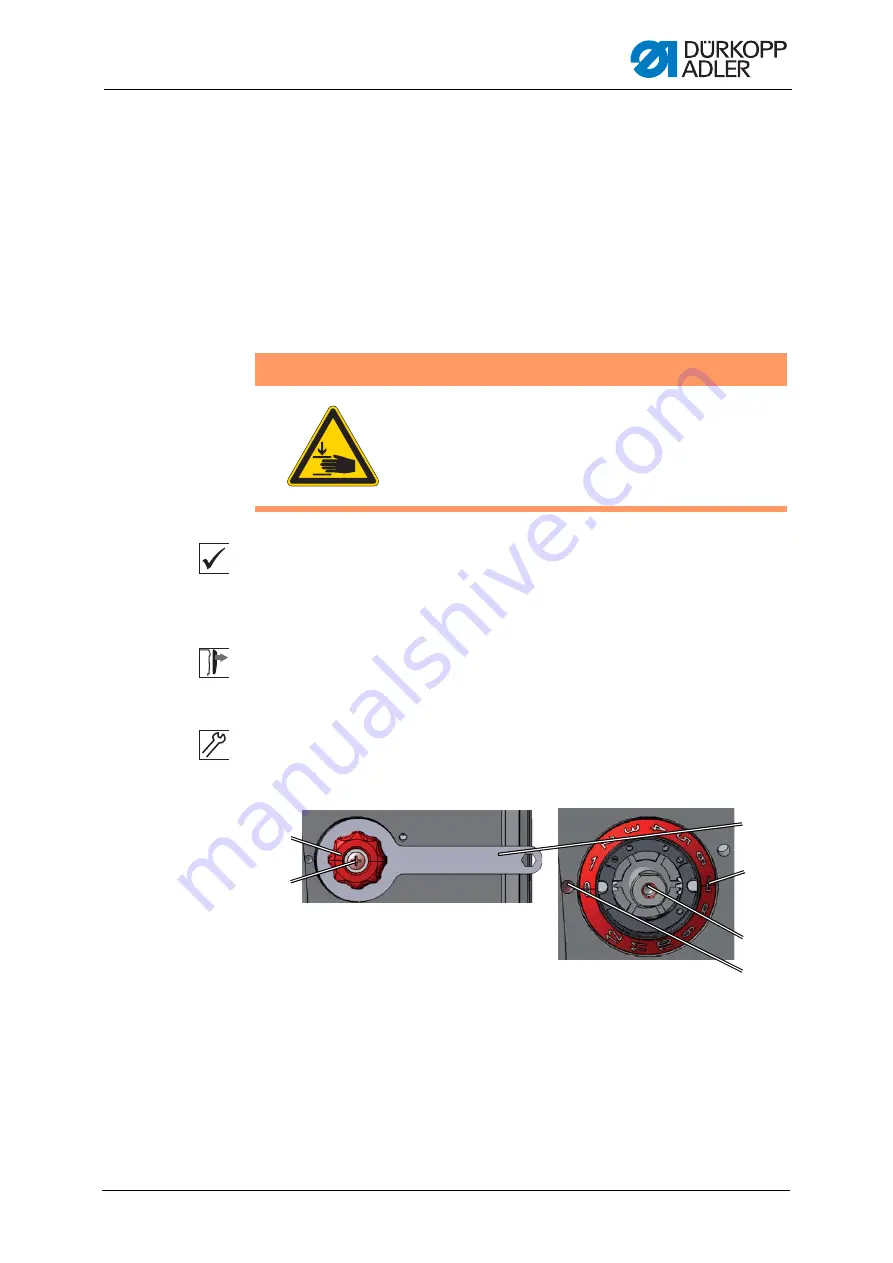
Fig. 16: Setting the stitch length adjusting wheel I
2. Hold the stitch length adjusting wheel (1) using a key (6).
3. Loosen the screw (2).
4. Remove the stitch length adjusting wheel (1) from the shaft (4).
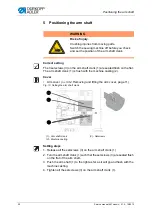
WARNING
Risk of injury.
Crushing injuries from moving parts.
Switch the sewing machine off before you set the
stitch length adjusting wheel.
②
①
③
④
⑤
⑥
(1) - Stitch length adjusting wheel
(2) - Screw
(3) - Adjusting mark
(4) - Shaft
(5) - Scale
(6) - Key
Summary of Contents for 567 CLASSIC
Page 1: ...567 classic Service manual...
Page 20: ...Working basis 18 Service manual 567 classic 01 0 10 2015...
Page 79: ......


