


Setting the stitch length limit
26
Service manual 567 classic - 01.0 - 10/2015
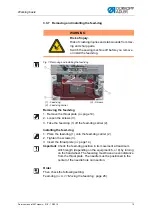
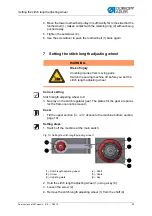
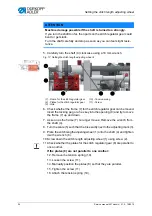
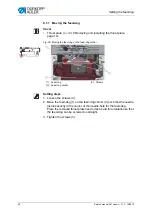
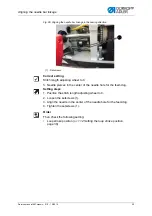
4. Remove the stitch length adjusting wheel (1).
5. Remove the setscrew from one of the two mark-off openings (3).
6. Screw the setscrew into the mark-off opening for the required maximum
stitch length. The openings are given numbers for the stitch length:
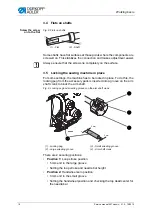
7. Turn the scale such that the 0 is exactly next to the adjusting mark.
8. Fit the stitch length adjusting wheel (1) and hold it using a key.
9. Tighten the screw (2).
8.1
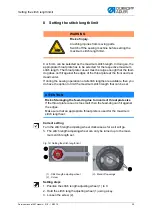
Setting the eccentric for the forward and backward
stitches
Correct setting
The forward and backward stitches are the same length.
As a test, sew a seam forwards, stop, and sew a seam backwards. The
insertions of the forward and backward stitches have to lie within each oth-
er.
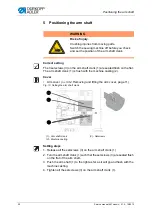
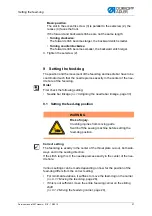
Cover
•
Tilt the upper section (
3.3.1 Access to the machine bottom section
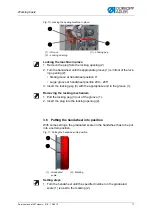
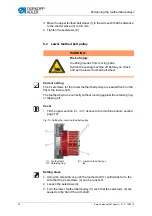
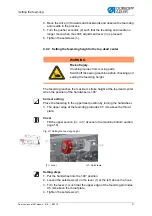
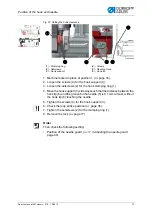
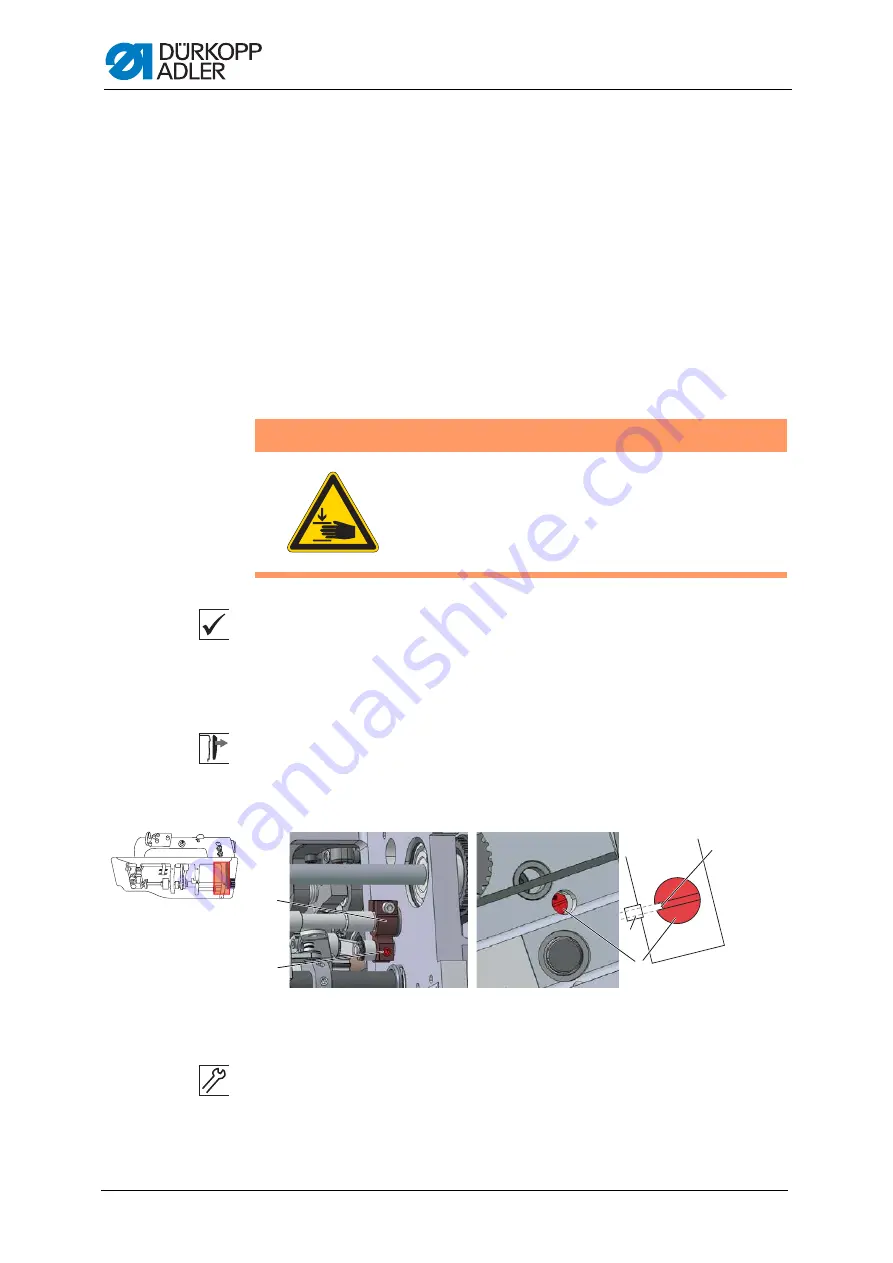
Fig. 19: Setting the eccentric for the forward and backward stitches
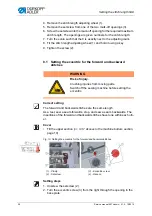
Setting steps
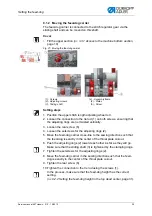
1. Unscrew the setscrew (2).
2. Turn the eccentric screw (3) from the right through the opening in the
base plate:
WARNING
Risk of injury.
Crushing injuries from moving parts.
Switch off the sewing machine before setting the
eccentric.
2
4
3
1
2
(1) - Clamp
(2) - Setscrew
(3) - Eccentric screw
(4) - Recess
Summary of Contents for 567 CLASSIC
Page 1: ...567 classic Service manual...
Page 20: ...Working basis 18 Service manual 567 classic 01 0 10 2015...
Page 79: ......


