

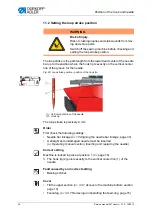


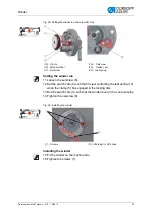
Position of the hook and needle
42
Service manual 567 classic - 01.0 - 10/2015
Faults caused by an incorrect needle bar height
•
Damage to the hook tip
•
Jamming of the needle thread
•
Missing stitches
•
Thread breakage
•
Needle breakage
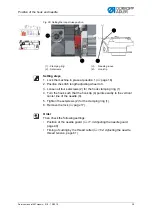
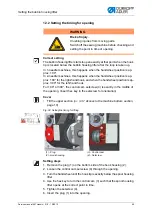
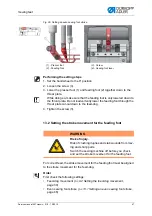
Cover
•
Head cover (
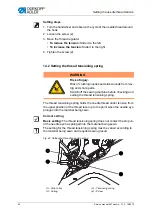
3.3.3 Removing and fitting the head cover
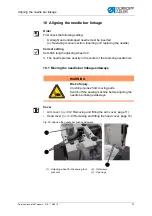
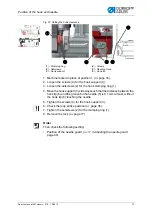
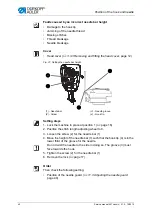
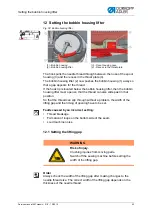
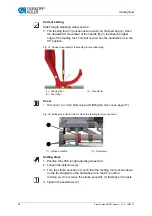
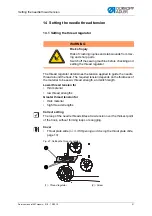
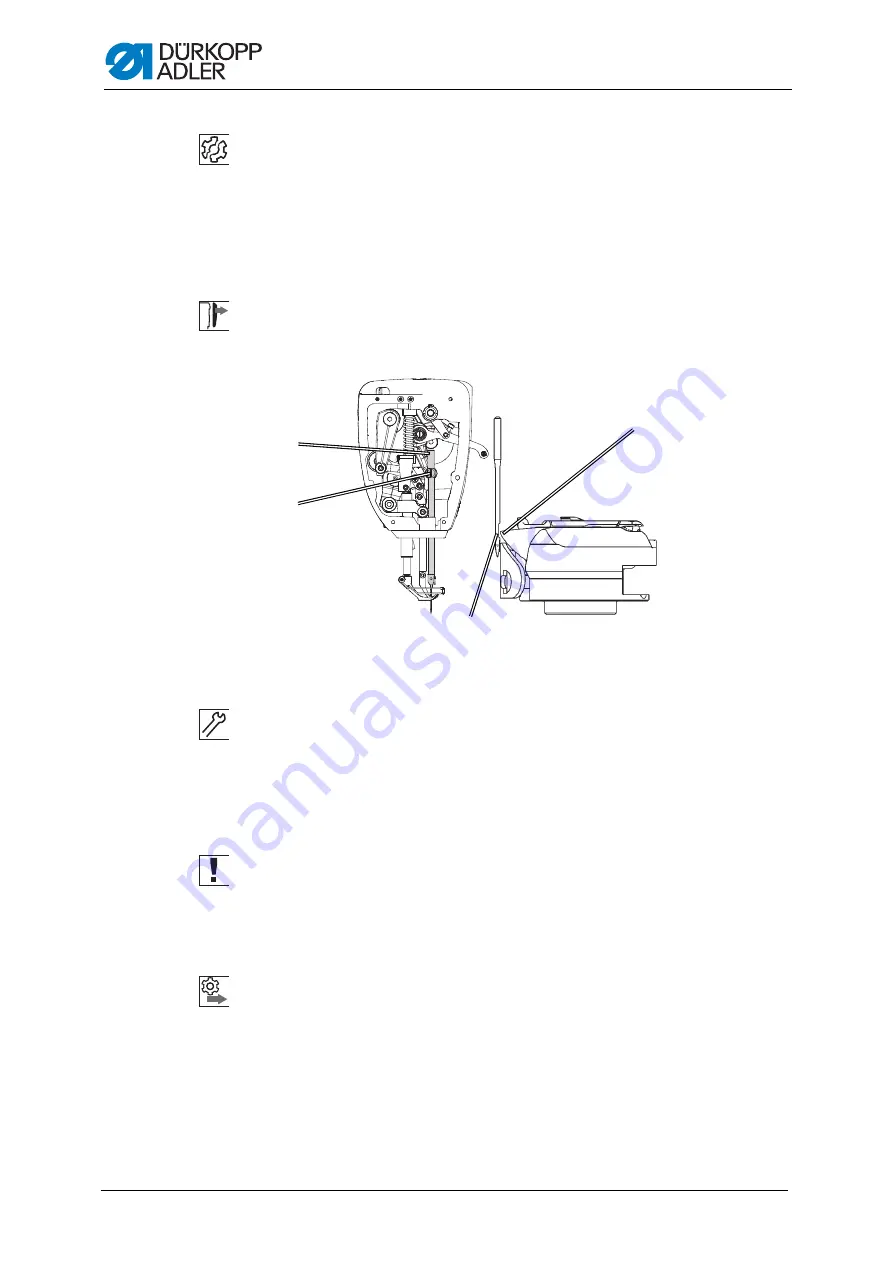
Fig. 31: Setting the needle bar height
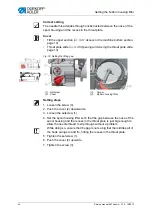
Setting steps
1. Lock the machine in place at position 1 (
2. Position the stitch length adjusting wheel to 0.
3. Loosen the screw (2) for the needle bar (1).
4. Move the height of the needle bar (1) such that the hook tip (4) is in the
lower third of the groove for the needle.
Do not twist the needle to the side in doing so. The groove (3) must
face towards the hook.
5. Tighten the screw (2) for the needle bar (1).
6. Remove the lock
).
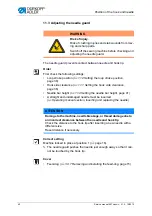
Order
Then check the following setting:
•
Position of the needle guard (
11.3 Adjusting the needle guard
(1) - Needle bar
(2) - Screw
(3) - Needle groove
(4) - Hook tip
②
①
③
④
Summary of Contents for 567 CLASSIC
Page 1: ...567 classic Service manual...
Page 20: ...Working basis 18 Service manual 567 classic 01 0 10 2015...
Page 79: ......


