background image

-10-

INSTALLATION INSTRUCTIONS

INSTALLATION INSTRUCTIONS

TECHNICAL SPECIFICATIONS

CCD110N

ELECTRICAL:

Input voltage: 110-120 V 

Dedicated Line 60 HZ 

15 amp breaker

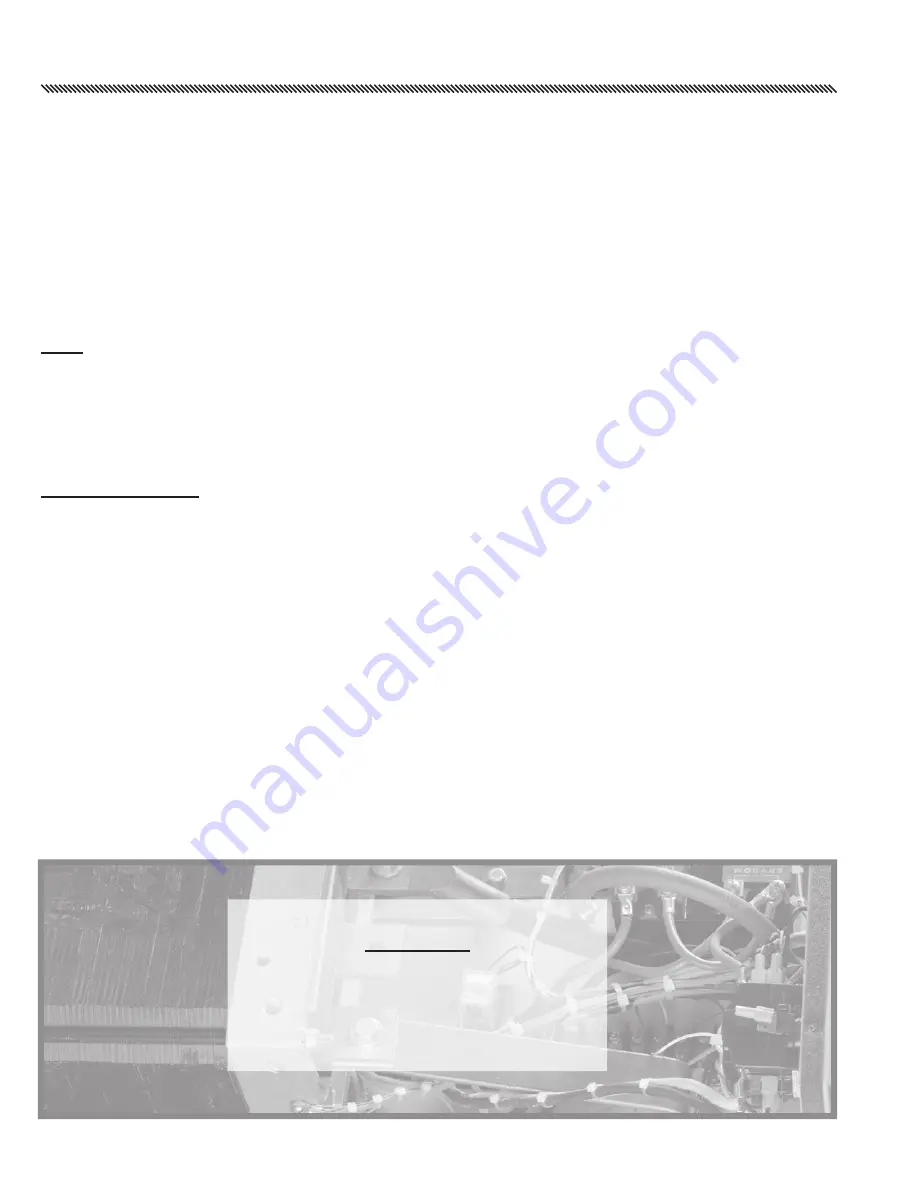
1) Place Power Control Unit in a position convenient to work area.

2) Plug Power Cable into any 110-120 Volt, 15 amp service outlet. For uninterrupted operations do not connect 

any other equipment that may add a heavy load to the same 15 amp service. If a power extension is needed, 

use only a heavy duty 3 conductor cord of suitable quality.

3) Connect the gun control cable plug to the power supply by aligning the pins with those on the receptacle, 

rotate connector as required to locate key, push in and rotate lock ring clockwise to lock into place. 

4) For standard (straight) weld cable hookup, connect the ground connector to the ground receptacle and the 

black gun connector to the gun receptacle. Align the flat on the male end of the connector to the key inside 

the female receptacle, push in and rotate connector to the key inside the female receptacle push in and rotate 

connector clockwise until it is tight. 

Note: If connectors are not locked tightly arcing may occur causing permanent damage to both parts.. 

5) The ground cable is supplied with a ground or work clamp. Any clamping device suitable for welding can be 

used assuming a good electrical connection can be made and produces sufficient clamping pressure. 

6) Before any test welding is done, all weld cables should be stretched out in such a manner as to avoid tightly 

coiled loops, since this will affect the setup parameters resulting in weld quality variation. 

Safety Requirements

1) Comply with all ventilation, fire and other safety requirements for welding as established for construction 

and industrial applications.

2) The weld tip and all metal parts in contact with it are all electrified while welding. Always avoid contact of 

these components with any metallic item such as jewelry or other metal part or tools.

3) All cables and connections require continual inspection for broken insulation and other electrical hazards. 

Repair of these items should be done in compliance with the established safety precautions established for 

electrical equipment repair. 

Duro Dyne Tech Service Contact Information:

Toll Free: 1-800-899-3876

Mon - Fri: 7:00 am - 7:00 pm EST

Summary of Contents for 27122

Page 1: ...OWNER S OWNER S MANUAL MANUAL CCD110N CCD110N CCD110N PINSPOTTER 27122 ...

Page 2: ... will be furnished on an ex change basis and will be either new re manufactured or refurbished at the discretion of Duro Dyne All replaced parts and products become the property of Duro Dyne This limited warranty does not include repair of damage to the prod uct resulting from accident disaster misuse abuse non Duro Dyne modification of the product or other events outside Duro Dyne s reasonable co...

Page 3: ...CAL FIRE AND OTHER APPLICABLE CODES OR ORDINANCES IN THE INSTALLATION AND USE OF STUD WELDING SYSTEMS REMOVE ALL COMBUSTIBLE OR VOLATILE MATERIALS FROM WELD AREA Although weld splatter re sulting from stud welding is normally minimal proper precautions should be taken when welding near or through combustible materials to insure that sparks or weld material does not come in contact with combustible...

Page 4: ...nother electrode from a different machine Be sure power source frame chassis is connected to the ground system of the input power When making input connections attach proper grounding conductors first and then double check connections Always verify the supply ground check and be sure that input power cord ground wire is properly connected to ground terminal in disconnect box or that cord plug is c...

Page 5: ...lders should use the following procedures to minimize exposure to EMF Route the electrode and work cables together Secure them with tape when possible Never coil the work cable around your body Connect the work cable to the work piece as close as possible to the area being welded Keep welding power source and cables as far away from body as possible Do not overload electrical wiring be sure power ...

Page 6: ...bles grounding wire connections power cord and power supply in safe working order bare wiring can kill Do not operate equipment in faulty condition Do not abuse any equipment or accessories Keep equipment away from heat sources such as furnaces wet conditions such as water puddles and inclement weather corrosive atmospheres Keep all safety devices and cabinet covers in position and in good repair ...

Page 7: ...E level it is only necessary to rotate the control Hi Lo to a higher setting To decrease the WELD VOLTAGE level it is necessary to switch the POWER switch off as described above After the VOLTAGE CONTROL is reduced to the desired lower voltage place the POWER switch in the off position for about 6 to 10 seconds before switching back on NOTE If this procedure is not followed the weld capacitors wil...

Page 8: ...10 1 QUAL ENG 10 000 10 750 11 300 REV DESCRIPTION ECN DATE 1 Prototype Concept 7 16 2020 SCALE SIZE CAD FILE DWG NO A OF REV DATE APPROVALS DRAWN CHECKED RESP ENG MFG ENG MATERIAL FINISH BREAK ALL SHARP EDGES PART NO DESCRIPTION 1 2 3 4 5 6 A B C D 1 2 3 4 5 6 1515 Desoto Ave Clarksdale MS 38614 Tel 847 659 0100 Fax 847 659 0108 1 1 7 16 2020 BCH BCH 1 Assembly 11700 Duro Dyne CD Pin Welder 11700...

Page 9: ...LE DWG NO A OF REV DATE APPROVALS DRAWN CHECKED RESP ENG MFG ENG MATERIAL FINISH BREAK ALL SHARP EDGES PART NO DESCRIPTION 1 2 3 4 5 A B C 1515 Desoto Ave Clarksdale MS 38614 Tel 847 659 0100 Fax 847 659 0108 1 1 7 16 2020 BCH BCH 1 Assembly 11700 Duro Dyne CD Pin Welder 11700 1 Clean 11700 CD Welder 2020 SHEET 1 8 DO NOT SCALE DRAWING DO NOT MANUALLY UPDATE CAD GENERATED DRAWING UNLESS OTHERWISE ...

Page 10: ...ctor clockwise until it is tight Note If connectors are not locked tightly arcing may occur causing permanent damage to both parts 5 The ground cable is supplied with a ground or work clamp Any clamping device suitable for welding can be used assuming a good electrical connection can be made and produces sufficient clamping pressure 6 Before any test welding is done all weld cables should be stret...

Page 11: ...RN ON CIRCUIT BREAKER TRIPS EACH TIME THE POWER SUPPLY IS TURNED ON CIRCUIT BREAKER TRIPS WHEN WELD IS MADE WELDER TURNS ON BUT DOES NOT WELD WELD IS TOO HOT REGARDLESS OF VOLTAGE SETTING POOR OR INCONSISTENT WELDS If assistance is needed you may call Duro Dyne Technical Services Dept at 1 800 899 3876 between the hours of 7am 7pm EST ...

Page 12: ...TION AS REQUIRED 3 TO TEST CONNECTION INTEGRITY WITH ALL CABLES CONNECTED AND A FAS TENER IN THE GUN CHUCK PLACE THE GUN IN A WELD POSITION AND ACTUATE THE TRIGGER BUTTON ON THE WELD GUN IF THE GREEN LAMP LIGHTS ALL CABLES AND TRIGGER SWITCH ARE OK 4 IF THE GREEN LIGHT DOES NOT LIGHT DEPRESS THE WELD CYCLE TEST BUT TON IF THE GREEN LIGHT LIGHTS CHECK THE TRIGGER CONTROL CABLE AND CONNECTOR GUN TRI...

Page 13: ... 13 27082 CCD110N Foil Weld Tip 27083 CCD110N Standard Weld Tip 27087 CCD110N Weld Gun Complete 27088 CCD110N Ground Clamp Complete PARTS LIST PARTS LIST ...

Page 14: ...NOTES ...

Page 15: ...NOTES ...

Page 16: ...te product information MACHINERY DIVISION 2021 Duro Dyne Corporation Printed in USA 3 18 2021 Duro Dyne Corporate Headquarters Bay Shore NY 631 249 9000 Fax 631 249 8346 Duro Dyne Midwest Duro Dyne West Duro Dyne Canada www durodyne com E mail durodyne durodyne com ...

Reviews: