9
RMO200
Getting Started
Continuous Test
Turn on RMO200 with the power switch on the back of the test set. The display
shows the
Sing
menu.
Go to
Cont
menu using
LEFT,
and then
UP
button.
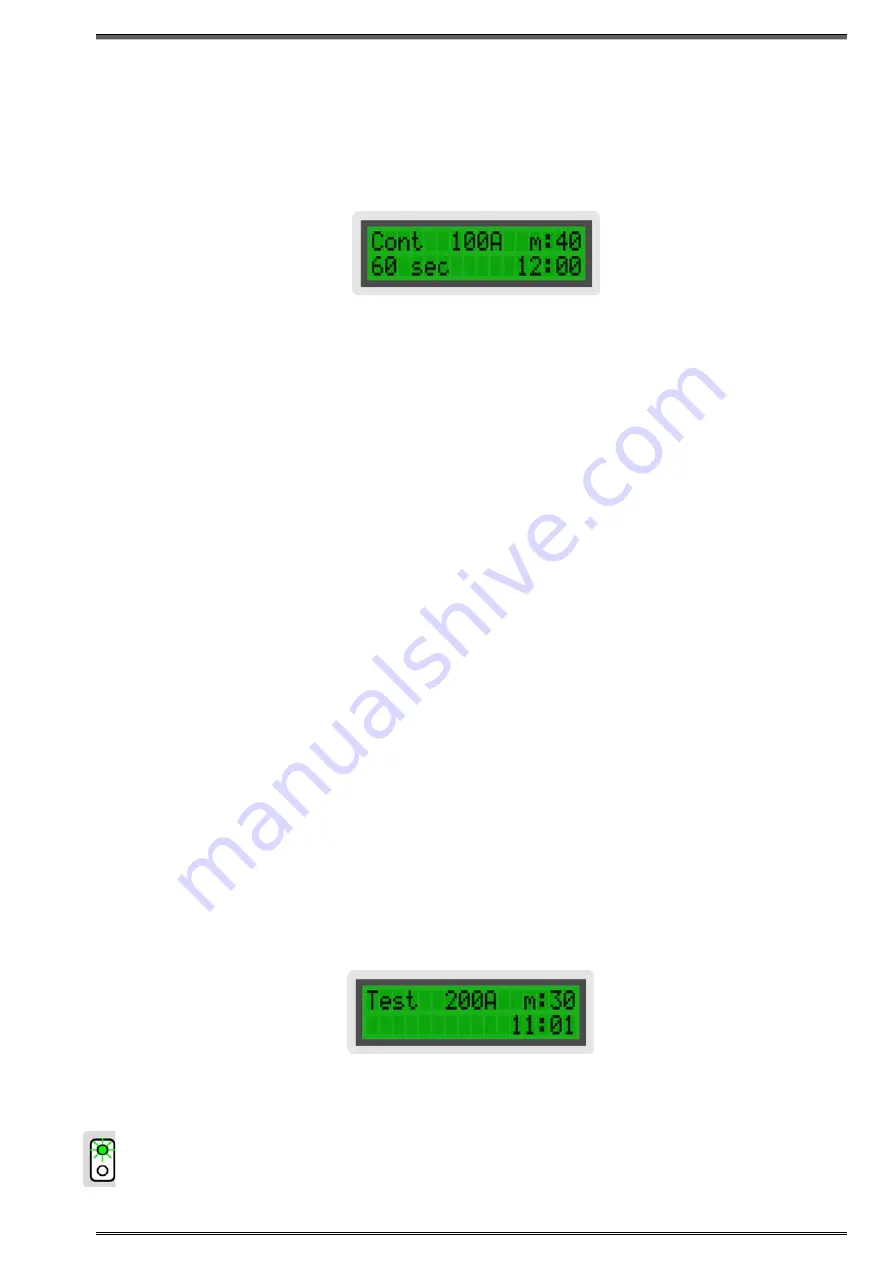
In the
Cont
menu, define a test current, memory location and test current
duration time.
Using
RIGHT
button move cursor to the position of test current, and using
UP/DOWN
buttons select desired value. Maximum duration of the current
depends on its value, please refer tu section “Duty Cycles”.
Using
RIGHT
button move cursor to the position of test current duration
(here
60 sec
), and using
UP/DOWN
buttons select desired value.
Using button
RIGHT
move cursor to the position of memory location, and using
UP/DOWN
select desired memory position (here
m:40
) to which obtained results
will be saved. Upon performed test (either due to time expire or due to push to
the
STOP
button) the last measured result will remain registered in RMO200.
Note:
In case of PC and RMOWin software use during the test, all performed
measurements will be registered. Results will be shown in a table in
Excel format with option of additional edit and graphic presentation.
Using RMOWin after testing for transfer of results from selected internal
memory location to PC, it is possible to transfer only the result of the last
test.
6.3 Measuring with RMO200
Single Test
Before a test can be started, both test current and memory position need to be
defined using the
Sing
menu. Once these parameters are defined, press
ENTER
to change to the
Test
menu.
The
Test
menu displays the test current and memory position defined. If one of
these values has to be changed, press
STOP
to return to the
Sing
menu.
The flashing green LED indicates that RMO200 is now ready to start the test.
Press the
Ω
button to run a test.
Figure 6-4:
The
Test
menu
before the test
Figure 6-3:
The
Cont
menu

