31
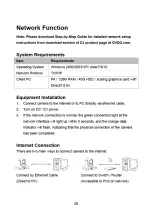
Connect Camera to LAN via Switch / Router
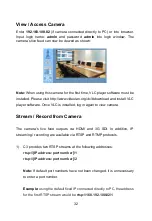
1) Enter
192.168.100.82
into browser and choose
Network
from the left-side
navigation. Select
Dynamic IP Address
from
IP Configuration Type
and
click
Apply
.
2)
Turn off
C3 camera and connect to your LAN via Ethernet cable. Connect
C3 to HDMI display and turn on.
Camera’s dynamic IP address will be shown
on HDMI display upon power-on, or press on remote control.
Make note of C3 dynamic IP address shown on display.
3) Revert your PC’s
IPv4
settings to its original settings C3 camera is now
accessible via LAN by entering its dynamic IP address into browser.
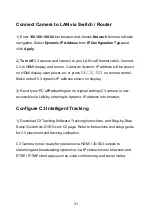
Configure C3 Intelligent Tracking
1) Download C3 Tracking Software, Tracking Instructions, and Step-by-Step
Setup Guide from DVDO.com C3 page. Refer to instructions and setup guide
for C3 placement and tracking calibration.
C3 Camera is now ready for operation via HDMI / 3G SDI outputs to
streaming and broadcasting systems or via IP connections to browsers and
RTSP / RTMP client apps such as video conferencing and social media.
Summary of Contents for DVDO-C3-1
Page 1: ...Version V1 0 2 DVDO C3 1 PTZ Auto Tracking Camera User Manual...
Page 2: ......
Page 8: ......
Page 9: ......
Page 10: ......
Page 11: ......
Page 12: ...12 Dimensions...
Page 14: ......
Page 16: ......
Page 17: ......
Page 18: ......
Page 19: ......
Page 20: ......
Page 21: ......
Page 22: ......
Page 29: ......


