2-5
Overview
2
1
3
4
5
I
A
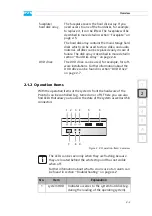
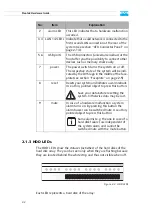
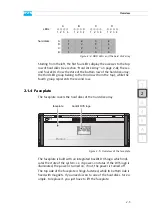
Figure 2-4: HDD LEDs and the hard disk array
Starting from the left, the first four LEDs display the accesses to the top
row of hard disks (see section “Hard Disk Array” on page 2-6); the sec-
ond four LEDs show the state of the bottom row of the hard disk array;
the third LED group belong to the third row (from the top), while the
fourth group represents the second row.
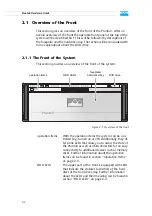
2.1.4 Faceplate
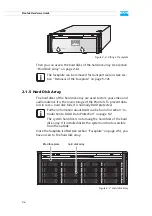
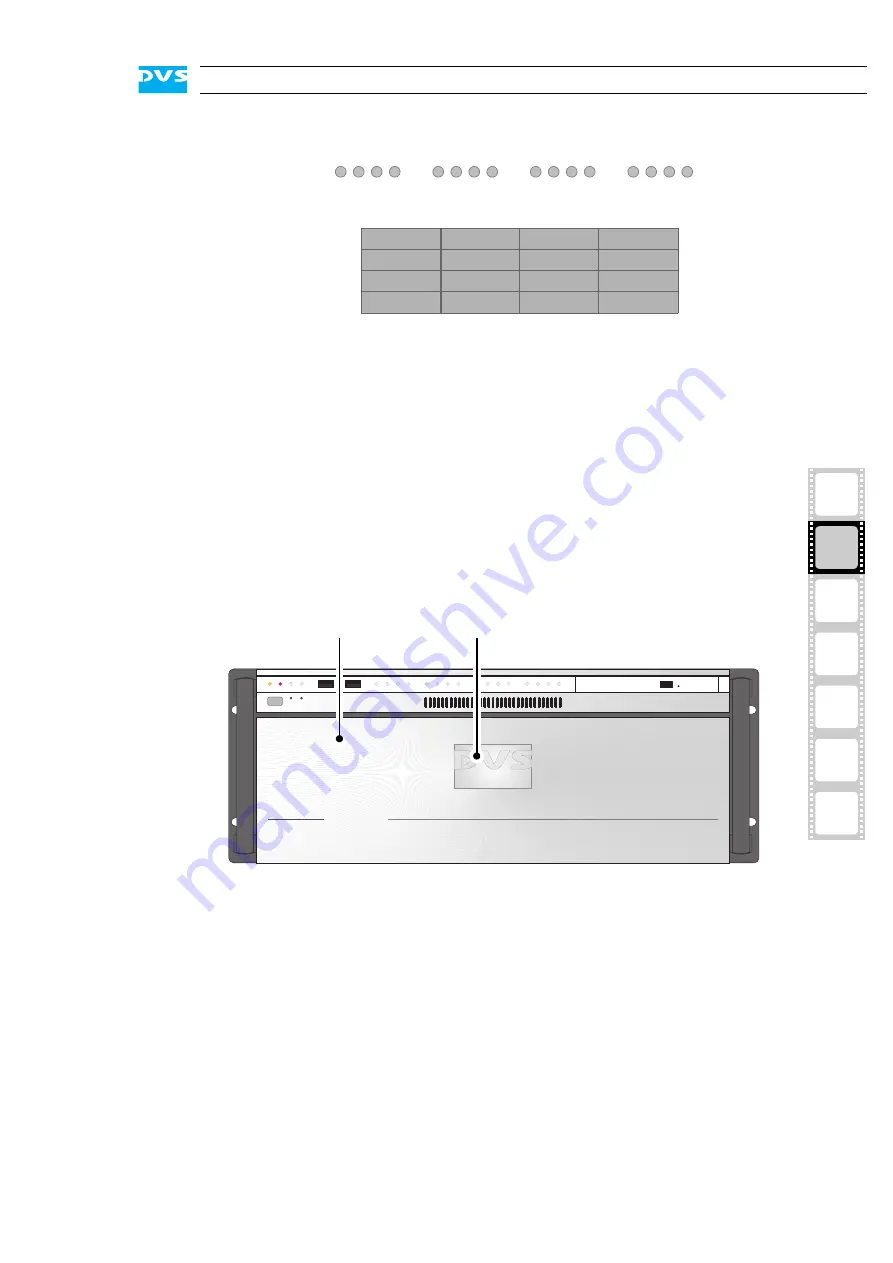
The faceplate covers the hard disks of the hard disk array.
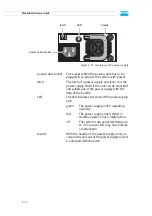
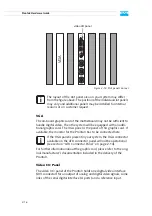
Figure 2-5: Overview of the faceplate
The faceplate is built with an integrated backlit DVS logo which indi-
cates the state of the system, i.e. its power-on status: If the DVS logo is
illuminated, the power is turned on; if not, the power is turned off.
The top side of the faceplate is hinge-fastened, while its bottom side is
fixed with magnets. If you need access to one of the hard disks, for ex-
ample, to replace it, you just have to lift the faceplate:
LEDs:
hard disks:
A
1
B
C
D
2 3 4
1 2 3 4
1 2 3 4
1 2 3 4
1
2
3
4
1
2
3
4
1
2
3
4
1
2
3
4
A:
D:
C:
B:
Pronto3
faceplate
backlit DVS logo
Summary of Contents for Pronto3
Page 1: ...Pronto3 Hardware Guide Version 1 0 Digital Disk Recorder Pronto3 Hardware Guide ...
Page 2: ......
Page 6: ......
Page 8: ......
Page 36: ...2 18 Pronto3 Hardware Guide ...
Page 38: ...3 2 Pronto3 Hardware Guide ...
Page 68: ...A 16 Pronto3 Hardware Guide ...
Page 72: ...I 4 Pronto3 Hardware Guide VTR 1 1 warranty 1 7 XLR connectors audio 2 13 ...


