5-4
Pronto3 Hardware Guide
Step 1: Removing the Hard Disk
The hard disks that are accessible at the front of the system store the
data of the main storage. Because they are connected to the whole sys-
tem with the help of disk carriers, they can be removed easily.
To remove a hard disk from the system perform the following:
y
If appropriate, stop all accesses to the hard disk array of your sys-
tem, for example, by exiting the video system software and sever-
ing the network connections.
y
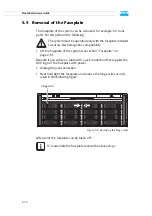
Lift the faceplate of the system (see section “Faceplate” on
page 2-5).
y
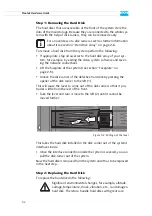
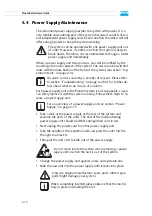
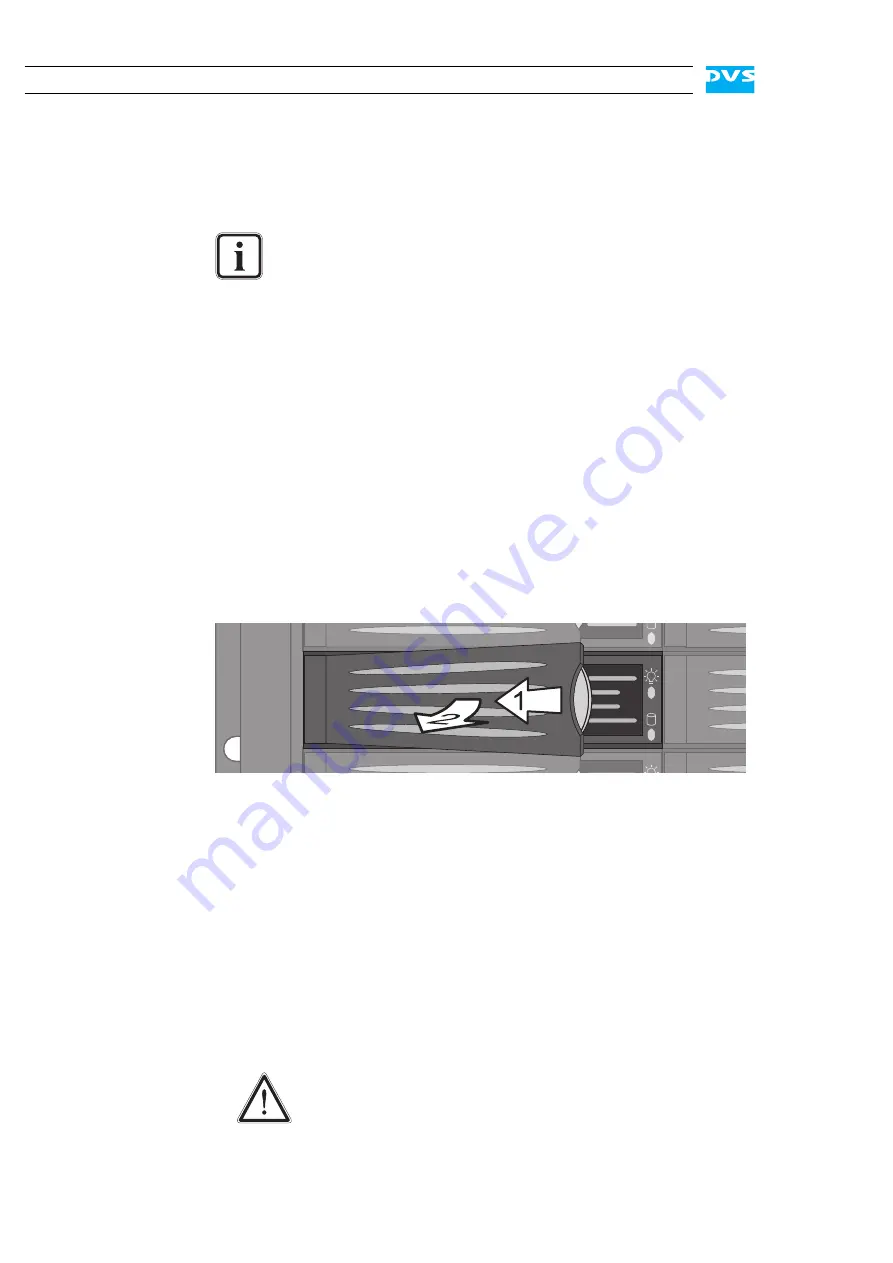
Unlock the disk carrier of the defective hard disk by pressing the
opener of the disk carrier to the left (1).
This will cause the lever to come out of the disk carrier so that it pro-
trudes a little from the rest of the front.
y
Take the lever and turn it more to the left (2) until it cannot be
moved further:
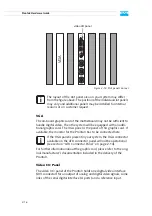
Figure 5-2: Pulling out the lever
This takes the hard disk installed in the disk carrier out of the system’s
interfaces inside.
y
Once the interface connection inside the system is severed, you can
pull the disk carrier out of the system.
Now the hard disk is removed from the system and it has to be replaced
in the next step.
Step 2: Replacing the Hard Disk
To replace the hard disk do the following:
For an overview of a disk carrier as well as further information
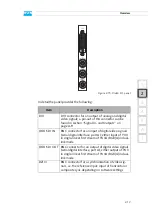
about it see section “Hard Disk Array” on page 2-6.
Significant environmental changes, for example, altitude,
voltage, temperature, shock, vibration, etc., can damage a
hard disk. Therefore, handle hard disks with great care.
Summary of Contents for Pronto3
Page 1: ...Pronto3 Hardware Guide Version 1 0 Digital Disk Recorder Pronto3 Hardware Guide ...
Page 2: ......
Page 6: ......
Page 8: ......
Page 36: ...2 18 Pronto3 Hardware Guide ...
Page 38: ...3 2 Pronto3 Hardware Guide ...
Page 68: ...A 16 Pronto3 Hardware Guide ...
Page 72: ...I 4 Pronto3 Hardware Guide VTR 1 1 warranty 1 7 XLR connectors audio 2 13 ...

