5-12
Pronto3 Hardware Guide
5.5 Removal of the Faceplate
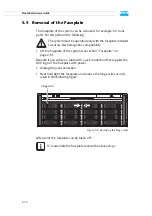
The faceplate of the system can be removed, for example, for trans-
ports. For this perform the following:
y
Lift the faceplate of the system (see section “Faceplate” on
page 2-5).
Beneath it you will see a cable with a jack connection that supplies the
DVS logo of the faceplate with power.
y
Unplug the jack connection.
y
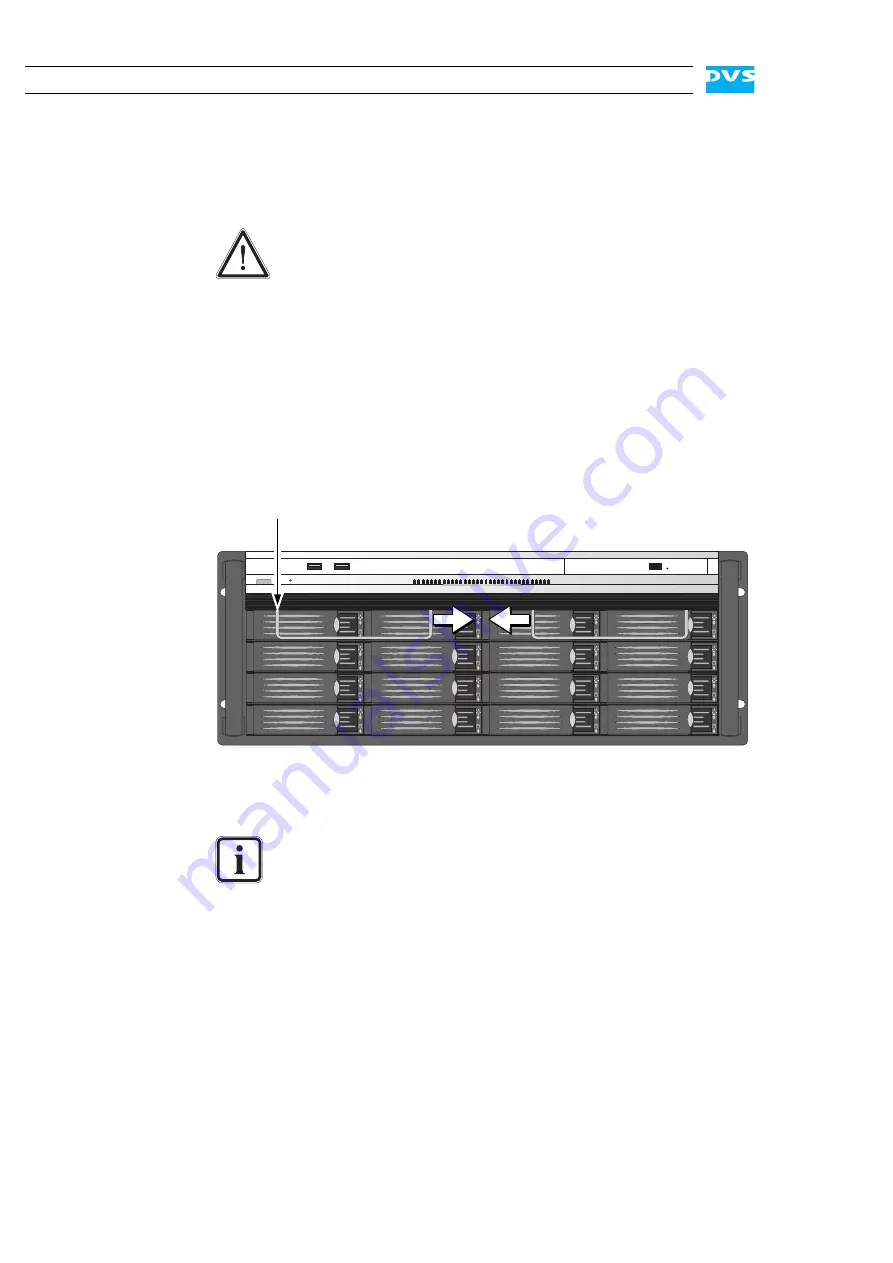
Next hold tight the faceplate and remove the hinge wires as indi-
cated in the following figure:
Figure 5-5: Removing the hinge wires
Afterwards the faceplate can be taken off.
The system must be operated only with the faceplate installed
to ensure electromagnetic compatibility.
To reassemble the faceplate reverse the above steps.
hinge wire
1
22
Summary of Contents for Pronto3
Page 1: ...Pronto3 Hardware Guide Version 1 0 Digital Disk Recorder Pronto3 Hardware Guide ...
Page 2: ......
Page 6: ......
Page 8: ......
Page 36: ...2 18 Pronto3 Hardware Guide ...
Page 38: ...3 2 Pronto3 Hardware Guide ...
Page 68: ...A 16 Pronto3 Hardware Guide ...
Page 72: ...I 4 Pronto3 Hardware Guide VTR 1 1 warranty 1 7 XLR connectors audio 2 13 ...


