- 13 -
Geometry Adjust Menu
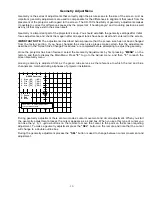
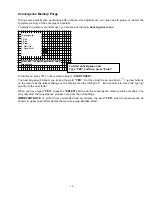
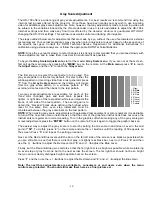
Geometry is the series of adjustments that correctly align the picture scans to the size of the screen. Just as
important, geometry adjustments are used to compensate for the differences in alignment that result from the
placement of the projector with regard to the screen. The HD-700’s flexibility of geometry adjustments makes
it possible to correct for differences caused by the projector’s “shooting angle” and mounting position as well
as any tilt that may exist in the screen itself.
Geometry is a important part of the projector’s set-up. You should establish the geometry settings after initial
focus adjustments, and check them again after all aspect ratios have been sized and centered to the screen.
IMPORTANT NOTE:
The adjustments described below presume that the screen size has not been changed
from the factory setting. If you have changed the screen size please make certain that the adjustments
described in the “Screen Size Change Procedures” are completed before attempting to adjust the geometry.
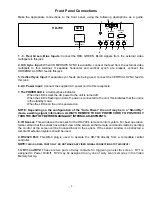
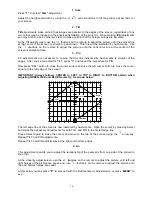
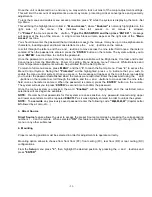
Once the projector has been focused, select the Geometry Adjustments by first pressing
“MENU”
on the
remote, and then to display the Main Menu. Press
“8”
to go to the Adjust menu, and then
“3”
to reach the
Green Geometry menu.
Green geometry is adjusted first, as the green tube serves as the reference to which the red and blue
channels are matched during all phases of projector installation.
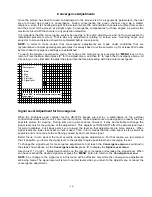
During geometry adjustment there are two modes: cursor movement and circuit adjustment. When you start
the geometry adjustment process the cursor appears as a solid box. When you see this type of cursor you
can use the
/ / /
arrow buttons on the remote to move the cursor to the point on the screen requiring
adjustment. To make a geometry adjustment press the
“SEL”
button on the remote and note that the cursor
will change to a double outline box.
During the geometry adjustment process the
“SEL”
button is used to change between cursor movement and
adjustment.
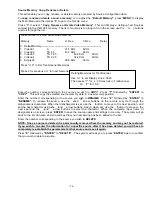
-GREEN Geometry-
1. Size 85 85
2. Tilt 50 50
3. Pin 50 50
4. Lin 50 50
7. Green
8. Red
9. Blue
Press "SEL" to select adjustment
or cursor movements.


