- 15 -
RED GEOMETRY
The adjustments for
Red Geometry
are similar to those used
to set the Green Geometry, except that instead of using the
screen as a physical reference you will be matching the red
channel to the green settings. The goal for all Red Geometry
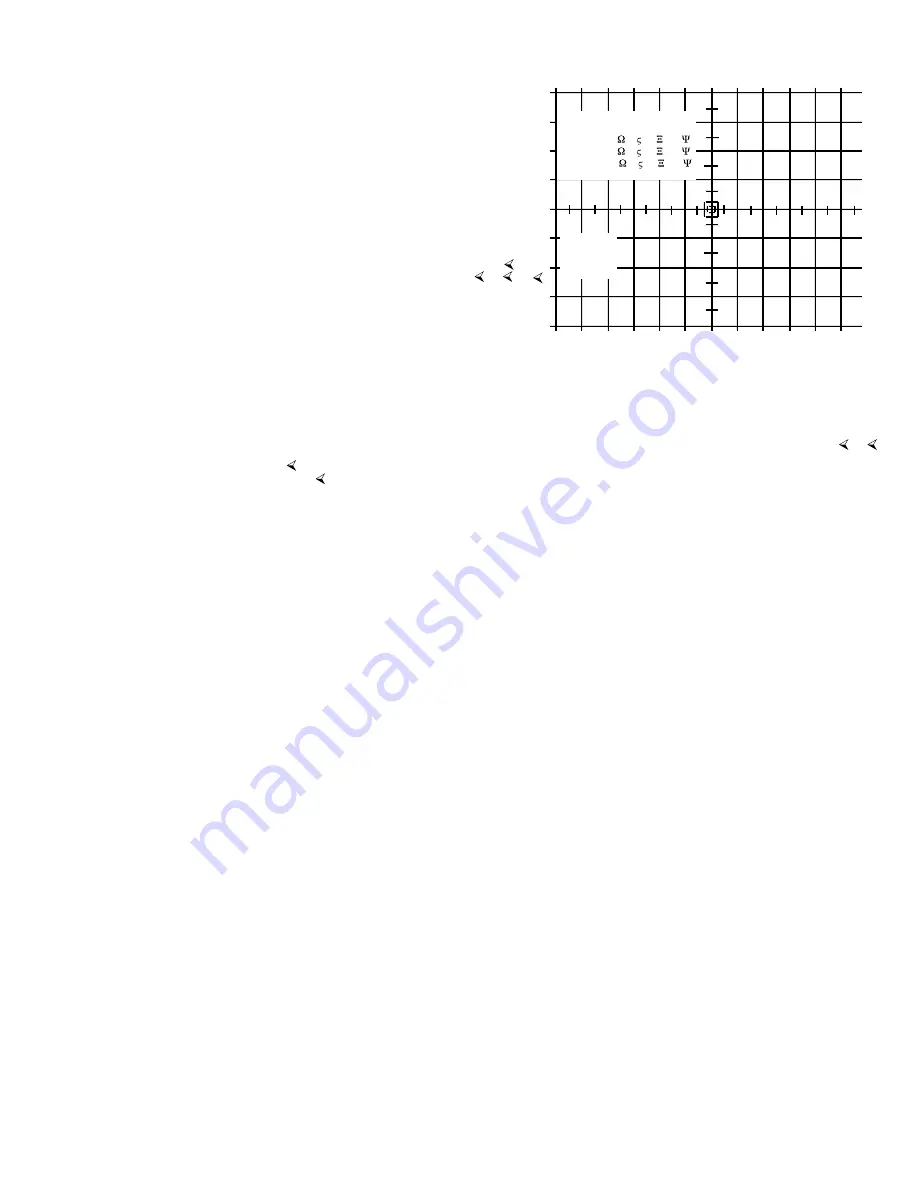
adjustments is to match the red lines with hash-marks on the
test pattern directly over the green lines so that the result is
a yellow line.
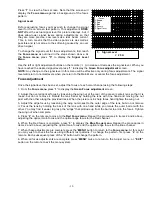
1. Center
To begin the Red Geometry adjustments, press
“1”
to
display the
Center Adjustment
screen. Use the
/
/
arrow buttons to adjust center of the pattern, this is the most
critical part of this adjustment.
When Red Center adjustments are complete, press
“2”
to move directly to the next step.
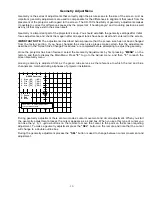
2. Red Tilt and Pin
Here you will adjust the tilt and pin of the red channel so that it matches the green channel. Use the
/
buttons until the red line that runs directly though the vertical center of the screen covers the underlying
green line. Then use the
/
buttons until the horizontal red line at center of the crosshatch pattern covers
the underlying green lines on the pattern.
Repeat this procedure at the LEFT, TOP, RIGHT and BOTTOM grid lines (remember, cursor position will
highlight each particular line with hash-marks) to ensure they are completely matched to the green lines.
BLUE GEOMETRY
As with the Red Geometry, these adjustments will be to a master setting previously established. This time the
blue will be adjusted to the green master channel.
The adjustment procedure for blue is identical to that for red. Follow the steps described in the Red
Geometry section, except that this time you will be adjusting the blue, rather than red channel.
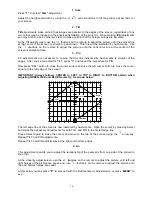
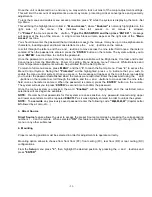
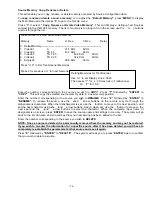
-RED Geometry-
1. Center 50 50
2. Tilt 50 50
3. Pin 50 50
7. Green
8. Red
9. Blue


