- 19 -
Gray Scale Adjustment
The HD-700 offers a wide range of gray scale adjustments. For best results we recommend first using the
internal test signals offered by the projector. Once those have been made you may wish to use incoming
video for additional gray scale adjustments. Note, however, that any adjustments made to incoming video will
be subject to the variations induced by the chroma decoder in use. It is also advisable to adjust the HD-700’s
internal settings and then make any final trims offered by the decoder, doubler or quadrupler WITHOUT
changing the HD-700’s settings. This will insure accurate control and tracking of all signals.
The steps outlined below are for adjustments that are made by eye, without the use of automated or external
test equipment. Your actual procedures may vary when color analyzers are used, based on the sequence of
the specific test gear. Consult the DWIN Technical Service Department for additional instructions for
calibration using external analyzers, or follow the appropriate DWIN Technical Bulletins.
NOTE:
Since the eye reacts slowly to color changes it is strongly recommended that you proceed slowly with
these adjustments, and to make them in as dark an environment as possible.
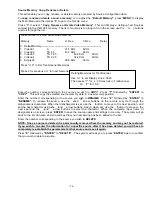
To begin the
Gray Scale Adjustments,
start at the master
Gray Scale menu
. If you are not at that screen,
first call up the main menu by pressing the “
MENU
” key on the remote. At the
Main menu
press “
8
” to reach
the
Adjust menu
, and then “
2
” to reach the
Gray menu
.
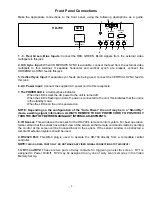
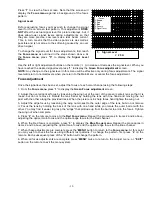
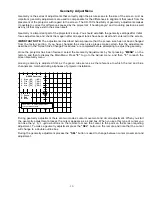
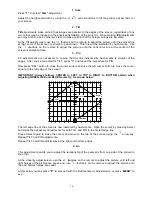
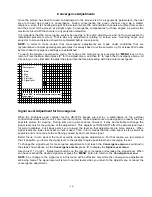
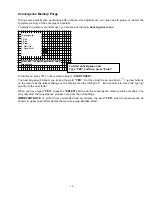
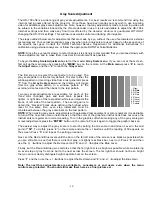
The first step is to select the test pattern to be used. The
gray scale pattern is the factory default. To select either the
window pattern or incoming video from a test generator press
“
7
” from the
Gray Scale menu
and the display will toggle
from the gray scale pattern to a window pattern to the
external video feed and then back to the test pattern.
Two gray scale adjustments are available for each of the
three color channels, gain and level. Gain impacts the
lighter, or right side of the test pattern while level impacts the
black, or left side of the test pattern. The overall goal is to
obtain the “blackest” black while defining the highest white
level. At the same time, even step increments must be
maintained between the gray scale bars on the test pattern.
NOTE:
When making gray scale adjustments with automated test equipment or color analyzers it is desirable
to turn off the on screen menu instructions so that the color of the graphical instructions does not cause the
instruments to register an incorrect reading. To turn the graphics off while making any of the gray scale gain
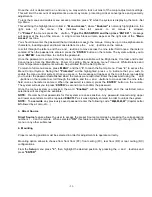
or level adjustments press the “
ENTER
” button on the remote. Press it again to toggle the graphic back on.
The easiest way to adjust the gray scale is to start by setting the Green Gain and Green Level to the mid
point of
“50”
. To do this, press “
2
” on the remote and use the
/
buttons until the reading of 50 appears on
the screen. Press “
5
” and repeat the setting procedure.
Next, set the Red and Blue levels until the bar on the far left side of the screen is as black as possible while
you are still able to see that there is a distinct gray, or slightly less black bar, next to it. Press “
4
” and then
use the
/
buttons to adjust the Red Level and ”
6
” and
/
to adjust the Blue Level.
Finally, set the Red and Blue gain controls so that the far right bar is as bright as possible while maintaining
an even step of gray from one bar to the next across the screen. The far right bar should not be so bright
that you cannot clearly distinguish eight separate bars on the screen.
Press “
1
” and then use the
/
buttons to adjust the Red Gain and ”
2
” and
/
to adjust the Blue Gain.
Note: The next three adjustments are available to consumers or end users even when the menu
controls are protected. You should still make them here as a final picture set .
-Gray-
1. R Gain
2. G Gain
3. B Gain
4. R Level
5. G Level
6. B Level
7. Pattern

