12 of 29
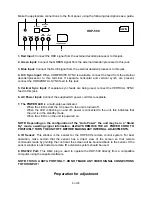
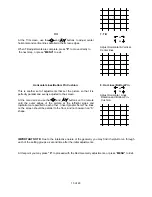
Press “
1
” to view the focus screen. Note that the screen will
display the Focus menu against a background of the
crosshatch/dot pattern.
Signal Level
Before adjusting focus you may wish to change the signal level
for the on screen test pattern. This adjustment
DOES NOT
affect the actual signal level for picture displays, but it does
allow lower signal levels during adjustments so that they are
more precise. Low levels use less beam current. This, in turn,
means that the video spot size is as small as possible and is
not prone to the softening caused by an over driven signal.
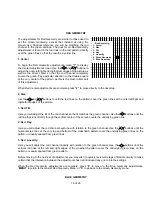
To change the signal level for focus adjustments, first reach the
Focus menus as outlined in the steps shown above. At the
Focus menu, press
“7”
to display the Signal Level Menu.
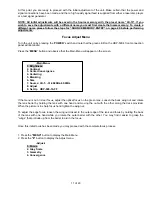
-Focus-
1. Green
2. Red
3. Blue
4. Pattern
5. Signal level
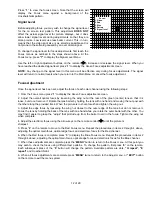
Use the left or right adjustment buttons on the remote (
), increase or decrease the signal level. When you
have reached the desired signal level press “
1
” to display the Green Focus adjustment screen.
NOTE
: Any change to the signal level in this menu will be effective only during focus adjustments. The signal
level will return to normal levels when you return to the Main Menu or cancel the focus adjustment.
Focus Adjustment
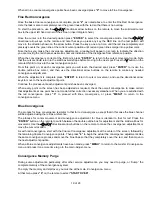
Once the signal level has been set, adjust the focus of each color channel using the following steps:
1. From the Focus menu press “
1
” to display the Green Focus adjustment screen.
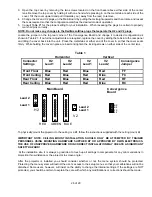
2. Adjust the overall optical focus by loosening the wing nut at the rear of the green (center) lens so that it is
loose, but do not remove it. Rotate the lens barrel by holding the lens with one hand and moving the nut post with
the other along the provided track. When the picture is in sharp focus hand tighten the wing nut.
3. Adjust the edge focus by loosening the wing nut closest to the outer edge of the lens, but do not remove it.
Focus the lens by holding the back of the lens with one hand while you rotate the outer barrel with the other. You
may find it easier to grasp the “wings” that protrude up from the barrel to aid in the focus. Tighten the wing nut
when complete.
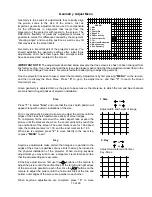
4. Adjust the electronic focus using the arrow keys on the remote control (
) until the picture is
sharpest.
5. Press “
2
” on the remote to move to the Red Focus menu. Repeat the procedures in items 2 through 4 above,
adjusting the optical main focus, optical edge focus and electronic focus for the Red channel.
6. When the Red focus is complete, press “
3
” to display the Blue Focus menu. Repeat the procedures in items 2
through 4 above, adjusting the optical main focus, optical edge focus and electronic focus for the Blue channel.
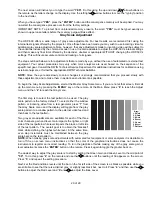
7. When these adjustments are complete press the “
MENU
” button to return to the Focus menu. At this point you
may wish to check the focus using different test patterns. To change the pattern, first press “
6
” on the remote.
Each subsequent press of the “
6
” button will change the pattern. Available patters are dots,
“H repeat”, “E
repeat”
and crosshatch/dot.
8. When all focus adjustments are complete press “
MENU
” twice to return to the Adjust menu, or
“EXIT”
button
on the remote to exit the menu system.

