13 of 29
Geometry Adjust Menu
Geometry is the series of adjustments that correctly align
the picture scans to the size of the screen. Just as
important, geometry adjustments are used to compensate
for the differences in alignment that result from the
placement of the projector with regard to the screen. The
HDP-500’s flexibility of geometry adjustments makes it
possible to correct for differences caused by the projector’s
“shooting angle” and mounting position as well as any tilt
that may exist in the screen itself.
Geometry is a important part of the projector’s set-up. You
should establish the geometry settings after initial focus
adjustments, and check them again after all aspect ratios
have been sized and centered to the screen.
IMPORTANT NOTE:
The adjustments described below presume that the screen size has not been changed from
the factory setting. If you have changed the screen size please make certain that the adjustments described in the
“Screen Size Change Procedures” are completed before attempting to adjust the geometry.
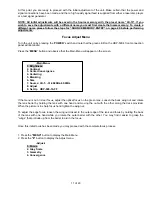
One the projector has been focused, select the Geometry Adjustments by first pressing
“MENU”
on the remote,
and then to display the Main Menu. Press
“8”
to go to the Adjust menu, and then
“3”
to reach the Green
Geometry menu.
Green geometry is adjusted first, as the green tube serves as the reference to which the red and blue channels
are matched during all phases of projector installation.
Size
Press
“1”
to select
“Size”
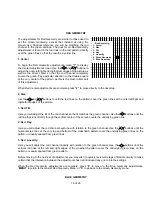
and note that the cross hatch pattern will
appear along with numeric indications of the size.
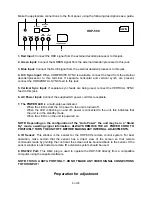
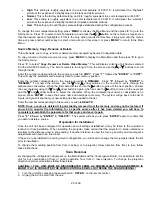
For a conventional 4:3 aspect ratio screen adjust the picture until the
edges of the cross hatch pattern are exactly at screen edges.
To completely fill the screen with a wider aspect ratio expand the
picture until the markers shown on the center vertical line reach the
top and bottom of the screen. The outer markers are for 1.66 aspect
ratio, the middle markers for 1.78, and the inner markers for 1.85.
When size is complete, press
“2”
to move directly to the next step,
or press
“MENU”
to exit.
1.Size
50
50
Adjust width and height of image
Key
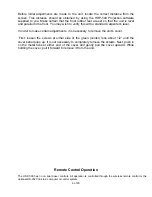
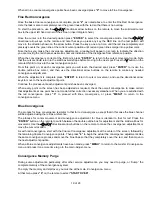
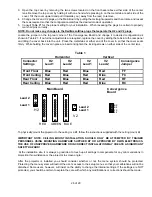
Keystone adjustments make certain that images are parallel to the
edges of the screen, regardless of any errors that may be induced in
the physical installation of the projector. When making keystone
adjustments you may wish to use a carpenter’s level to make certain
that the actual settings are accurate.
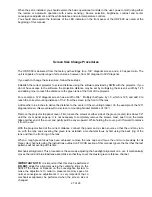
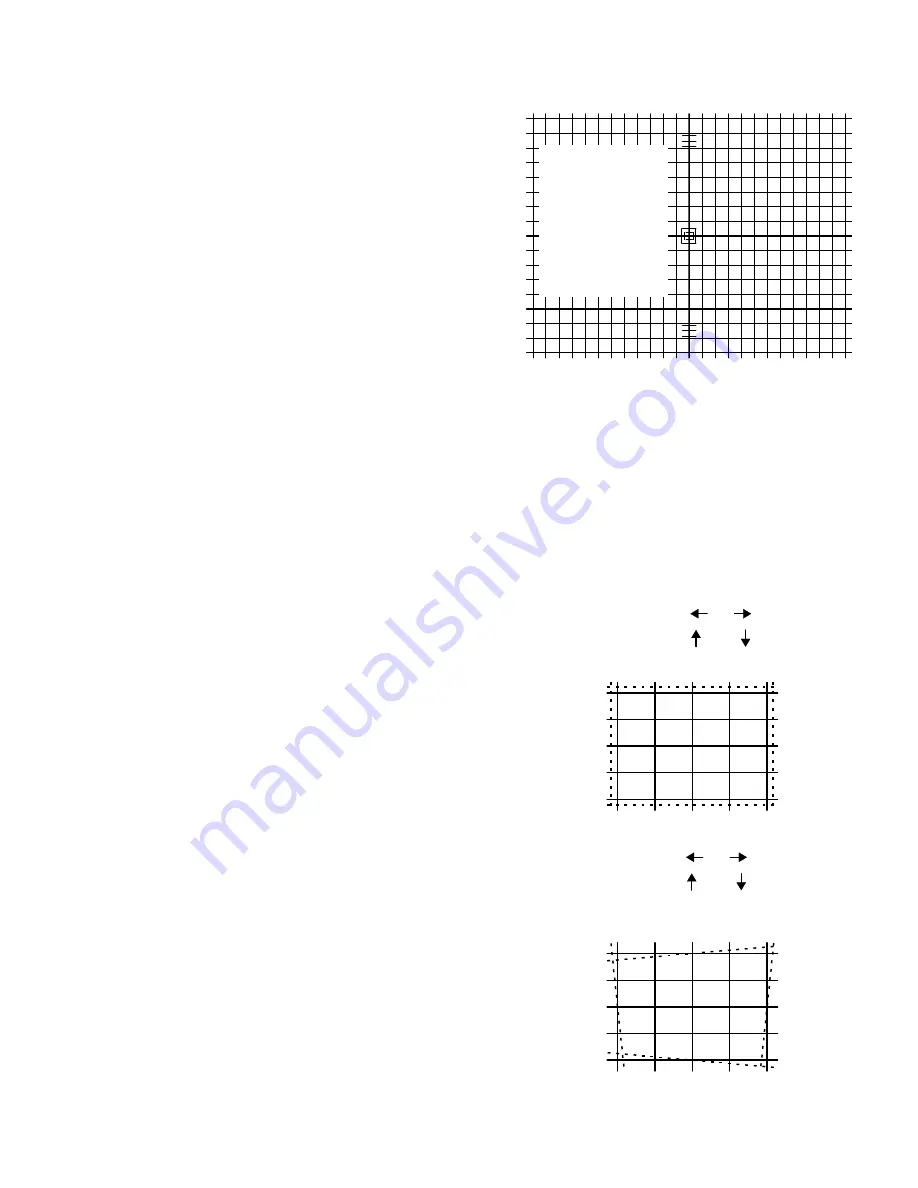
At the Key adjust screen, first use the
/
buttons on the remote to
adjust the picture until the vertical lines at the far left and right edges
of the screen are parallel to each other. Use the
/
buttons on the
remote to adjust the picture until the horizontal lines at the top and
bottom outer edges of the screen are parallel to each other.
When keystone adjustments are complete, press
“3”
to move
2. Key
50
50
Adjust Horizontal and Vertical
Key-Stone
-GREEN-
1. Size
2. Key
3. Center Pin
4. Edge Pin
5. Edge Linearity
6. Center Linearity
7. Tilt
8. Hor Lines/Bottom pin
9. Blue Geometry
0. Red Geometry

