16 of 29
RED GEOMETRY
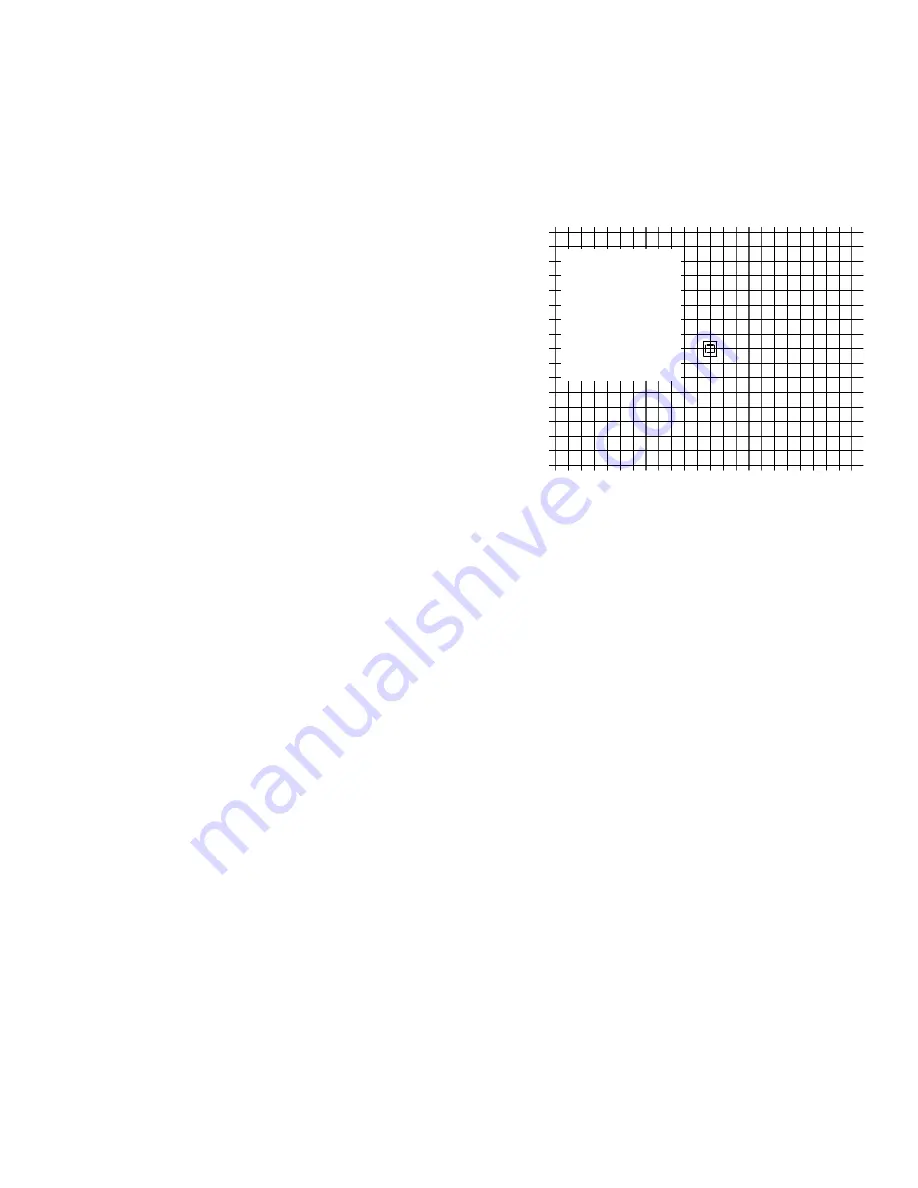
The adjustments for Red Geometry are similar to those used to
set the Green Geometry, except that instead of using the
screen as a physical reference you will be matching the red
channel to the green settings. The goal for all Red Geometry
adjustments is to match the red lines on the test pattern directly
over the green lines so that the result is a yellow line.
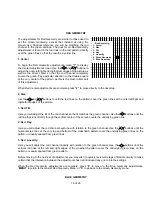
1. Center
To begin the Red Geometry adjustments, press
“1”
to display
the Center Adjustment screen. Use the
/
and
/
buttons to
adjust the outer left/right and top/bottom edges of the picture as
well as the direct center so that the red channel completely
covers the green. Pay particular attention to the double square
at the very center of the pattern, as this is the most critical part
of this adjustment.
When Red Center adjustments are complete, press
“2”
to move directly to the next step.
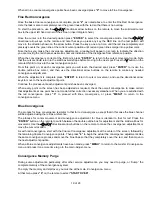
2. Size:
Use the
/
and
/
buttons to until the red lines on the pattern cover the green lines at the outer left/right and
top/bottom edges of the picture.
3. Red Tilt:
Here you will adjust the tilt of the red channel so that it matches the green channel. Use the
/
buttons until the
red line that runs directly though the vertical center of the screen covers the underlying green line.
4. Red Key:
Here you will adjust the red channel keystone with relation to the green channel. Use the
/
buttons until the
horizontal red lines at the very top and bottom of the crosshatch pattern cover the underlying green lines on the
pattern or equally spaced from green lines.
5. Red Linearity:
Here you will adjust the red channel linearity with relation to the green channel. Use the
/
buttons until the
vertical red lines at the left and right edges of the crosshatch pattern cover the underlying green lines on the
pattern or equally spaced from green pattern.
Before moving to the next set of adjustments you may wish to quickly review all steps of Red Geometry to make
certain that the interaction between the adjustments has not introduced any errors into the settings.
When the Red Geometry adjustments are compete, press “
0
” to move to the Blue Geometry adjustments,
“
MENU
” to return to the master Red Geometry Menu, or “
9
” to go back to the Green Geometry menu.
BLUE GEOMETRY
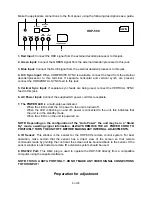
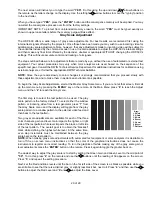
-Red Geometry-
1. Center
2. Size
3. Tilt
4. Key
5. Linearity
9. Green Geometry
0. Blue Geometry


