19 of 29
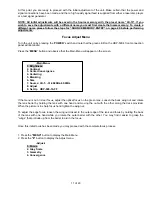
When all nine coarse convergence points have been converged press
“2”
to move to Fine Convergence.
Fine Red Convergence
Once the basic Coarse convergence is complete, press
“2”
, as noted above, to enter the Fine Red Convergence.
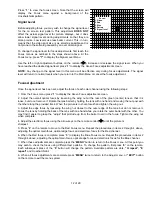
Here the task is also to completely cover the green lines with the red so that there is no overlap.
To start the procedure, use the
/ / /
directional arrow buttons on the remote to move the solid wall cursor
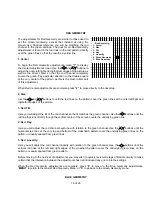
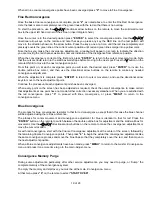
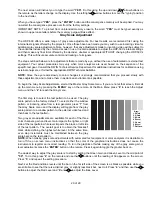
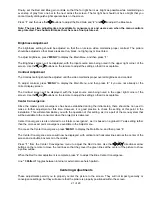
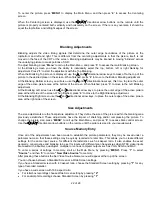
box to the upper left hand corner of the screen. (insert diagram here)
Once the cursor is in the desired position press
“ENTER”
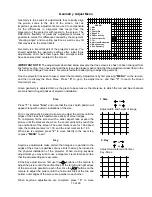
to select the convergence mode. Use the
/ / /
directional arrow keys on the remote and note that as you press any key the RED line on the test pattern will
move in the direction shown on the arrow button. Press the keys, one at a time, until the red line completely and
precisely covers the green line at the current cursor position until red and green lines merge into a yellow color.
Note that as you make the convergence adjustments, a readout will appear on screen to indicate the direction
you are moving the red channel, as well as numeric indication of the divergence from reference position.
When the convergence is correct at the first point, press
“ENTER”
to return to the cursor movement mode. Note
that the cursor should return to the solid box wall shape before moving to the next spot. Press the button on the
remote ONCE to move to the next convergence point.
From this point on, at each convergence point you will reach the desired spot, press
“ENTER”
to invoke the
double outline box cursor, and then use the directional arrow buttons on the remote to make any needed
convergence adjustments.
When the adjustment is complete press
“ENTER”
to return to cursor movement, and use the directional arrow
keys to move to the next adjustment point.
Continue the process until each adjustment point has been converged.
When every point on the screen has been adjusted as required, check the overall convergence to make certain
that adjustments at one point have not made further correction necessary elsewhere. When you are satisfied with
the red convergence, press
“3”
to proceed with Blue convergence, or press
“MENU”
to return to the
convergence menu.
Blue Convergence
The process for blue convergence is similar to that for red convergence, except that in this case the blue channel
will be adjusted using the red as a reference.
The process for cursor movement and convergence adjustment for blue is identical to that for red: Press the
“ENTER”
button on the remote to switch between the double outline box for adjustment and the solid wall box for
movement. Use the
/ / /
directional arrow buttons on the remote to make the convergence adjustments or
move the cursor location.
As with red convergence, start with the Coarse Convergence adjustment at the center of the screen, followed by
the remaining Coarse Convergence points. Then press
“4”
to begin the actual fine convergence adjustments Use
the same convergence process and move the blue lines so that they completely cover the red, and then move to
the next adjustment position.
When all blue convergence adjustments have been made, press
“MENU”
to return to the master -Convergence-
menu, and press it one more time to go to the main -Adjust- menu.
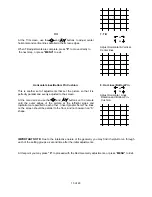
Convergence Memory Purge
During some adjustments, particularly after other service adjustments, you may need to purge, or “dump” the
complete memory of the convergence system.
To empty the memory and start over, you must be at the main -Convergence- menu.
At that menu press
“6”
on the remote to select
“START OVER”.


