23 of 29
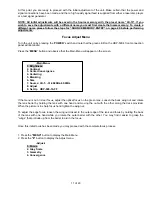
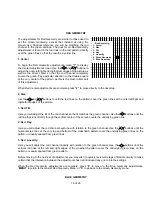
To name the source, use the and arrow buttons on the remote to cycle through the alphanumeric
characters. When the first character is set, use the button to move to the next position, and set the next
character using the and arrow buttons. Again, when set, use the
button to move to the next spot and the
and
arrow buttons to select the character. When the complete input name or designator is on screen, press
“
MENU
” to enter the source name and settings to memory. The system will go back to the list of inputs, and you
will see that your new setting has been added to the list.
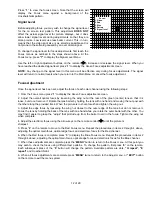
Press “
MENU
” again to return to the Main Menu. Once a group of settings has been entered to the memory it may
be recalled at any time by pressing the
“Source”
button on the remote, followed by the number corresponding to
the input settings you wish to select.
Adjusting for other inputs
After the first parameters for the first input source and/or aspect ratio have been entered you may wish to preset
the settings for additional inputs or aspect ratios. When setting a new input, proceed through each of the steps
listed above. In general, you will not need to set the focus or gray scale for a new input, as those settings are
independent of scan frequencies.
The memory system of the HDP-500 is organized so that all inputs with the same vertical and horizontal
frequencies are grouped together. Further, a maximum of nine separate settings may be established for each
scan frequency set.
This means that for each input source (i.e. NTSC chroma decoder, PAL chroma decoder, SECAM chroma
decoder, line doubler, line quadrupler, or any single computer input) have up to nine memory settings for different
aspect ratios or screen size/blanking areas. A total of 60 separate memories may be entered to the system when
all inputs are combined.
When memory settings are entered they are automatically routed to the memory group for the proper scan
frequency range.
When finished with each input do not forget to enter it into the memory with a name or designator that may easily
be recalled by the end user.
Global Setup Adjustments
In addition to the settings that must be set individually for each input source, the HDP-500 has a number of global
settings that address certain aspects of the projector’s operation. They should be adjusted to the preferences of
the end user before the set is delivered.
Power On Control
This setting permits the HDP-500 to turn on automatically whenever a sync signal is present at the “H/C” input.
This means that the will be in a standby mode when no signal is present, and it will instantly display a picture
when you turn on the feed device such as a computer, decoder, doubler or quadrupler. When the signal is
removed the picture will go dark and the unit will return to a standby mode.
To place the unit in the
“Auto”
mode, press “
MENU
” and then Press “
9
” to go to the Set Up menu. Check to see
that the word
“Auto”
is highlighted. If it is, the unit is already in the automatic mode and no further adjustment is
required. If the word
“Manual”
is highlighted, press to change the setting.
To move the unit back into the
“Manual”
mode, press until the word
“Manual”
is highlighted. In this condition
the projector must be manually turned on with the remote control each time it is used.
Menu Access
Once the unit is delivered to an end user you may wish to lock out most of the major adjustment settings. This will
limit the amount of adjustments a user may make, protecting critical convergence and geometry adjustments.
To lock the menus and enable menu access protection press “
2
” while the system is displaying the main -Set Up-
Menu.


