26 of 29
3. Open the top cover by removing the two screws located on the front bezel above either side of the center
lens. Remove the top cover by holding it with one hand while pressing in on the metal tab at each side of the
cover. Tilt the cover upward and pull it towards you ( away from the rear) to remove.
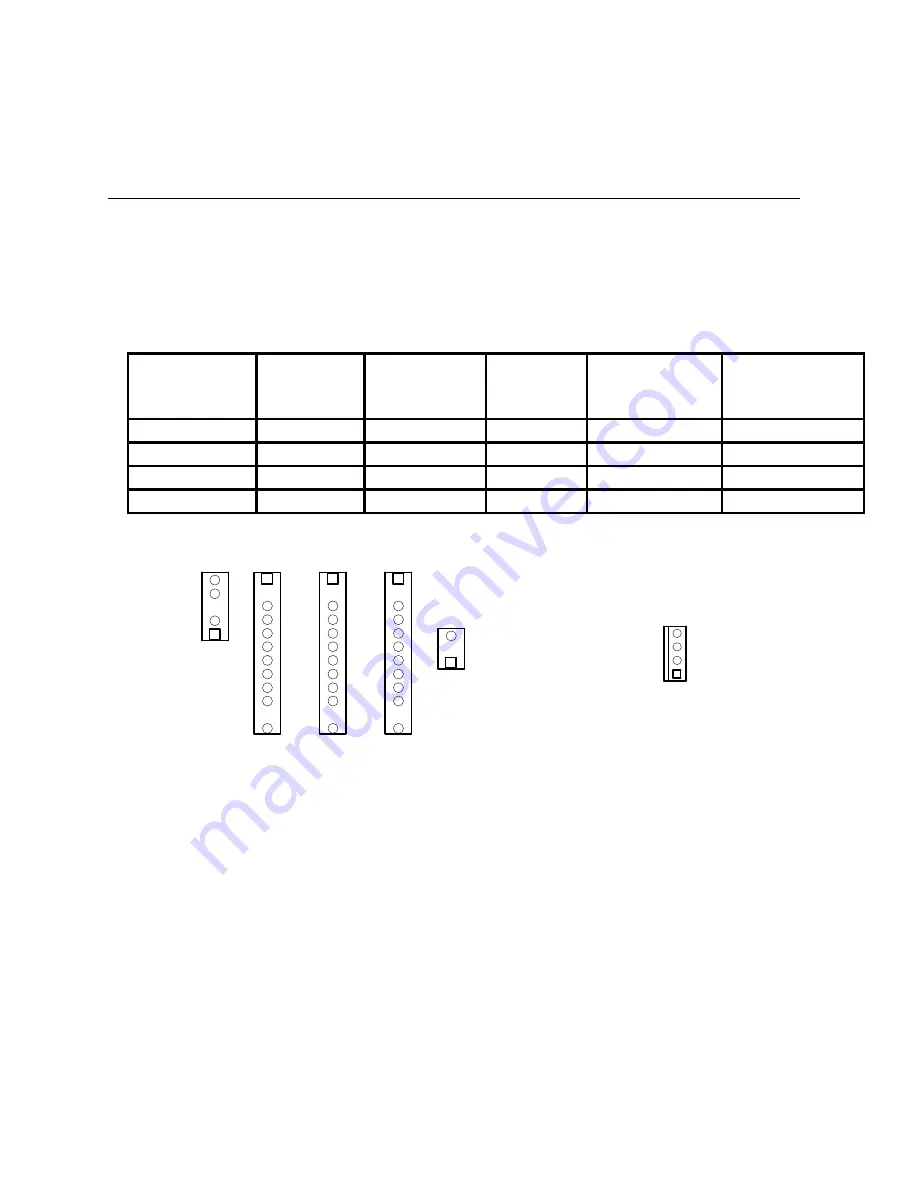
4. Change the H2 and V2 plugs on the Main Board by pulling them straight upwards and then rotate and reseat
them as required so that the configuration matches the desired mode of operation.
5. Consult Table #1 for the proper setting for your installation. When reseating the plugs be certain to properly
match all pins correctly.
NOTE: Do not make any changes to the Red/Green/Blue plugs that separate the H2 and V2 plugs.
Locate the jumper on the top rear corner of the Convergence Board and change it to desired configuration as
shown in Table #1. If no further adjustments are required, replace the cover by sliding the tabs into the rear panel
and tilting the cover back into the unit. Press the metal tabs at either end of the cover in so that the cover seats
firmly. While holding the cover in place, reinsert and tighten the locking screws on either side of the center lens.
Table 1
Horizontal
Vertical
Connector
Settings
H2
Lead 1
H2
Lead 2
V2
Lead 1
V2
Lead 2
Convergence
Jumper
Front Floor
Blue Red
Blue
Red
FF
Front Ceiling Red
Blue
Red
Blue
FC
Rear Floor
Red
Blue
Blue
Red
RF
Rear Ceiling Blue
Red
Red
Blue
RC
Lead 2
Lead 1
Lead 2
Lead 1
H2
RED GREEN BLUE
V2
Main Board
Convergence
Board
RC
RF
FC
FF
To physically mount the projector to the ceiling or a lift, follow the instructions supplied with the ceiling mount kit.
IMPORTANT NOTE: CEILING MOUNT INSTALLATION SHOULD ONLY BE ATTEMPTED BY TRAINED
PERSONNEL USING MOUNTING HARDWARE SUPPLIED BY OR APPROVED BY DWIN ELECTRONICS.
THE USE OF UNAPPROVED HARDWARE OR INCORRECT INSTALLATION MAY CREATE A SIGNIFICANT
SAFETY HAZARD!
At the installation site, it is always a good idea to touch up all settings to compensate for any minor variations in
projection throw distance or the projector to screen angle.
After the projector is installed you should consider whether or not the menu system should be protected.
Protecting the menu system will restrict the user’s access to the setup menus so that your calibrations will not be
disturbed. Some users, however, will insist on the ability to change the internal settings. If the settings are NOT
protected, you should be certain to explain the care with which any modifications or corrections should be made.

