- 18 of 23 -
Ceiling Mount Preparation
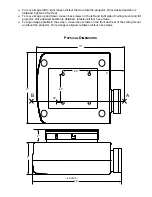
Once the throw distance has been calculated and the screen installed, the next step in the installation is
to locate the precise mounting position of the projector.
IMPORTANT NOTE: Before proceeding further with the installation, make certain that video
signal/control wiring and AC power have been run to the projector location. Keep in mind that the
connections to the projector are at the front of the unit, so you should place them slightly to the front
and right or left of the “A” point established above.
Also note: that the ceiling must be capable of safely supporting the weight of the projector and mount,
which is in excess of 25 pounds.
CEILING MOUNT INSTALLATION AND PROJECTOR MOUNTING
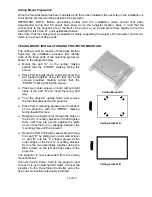
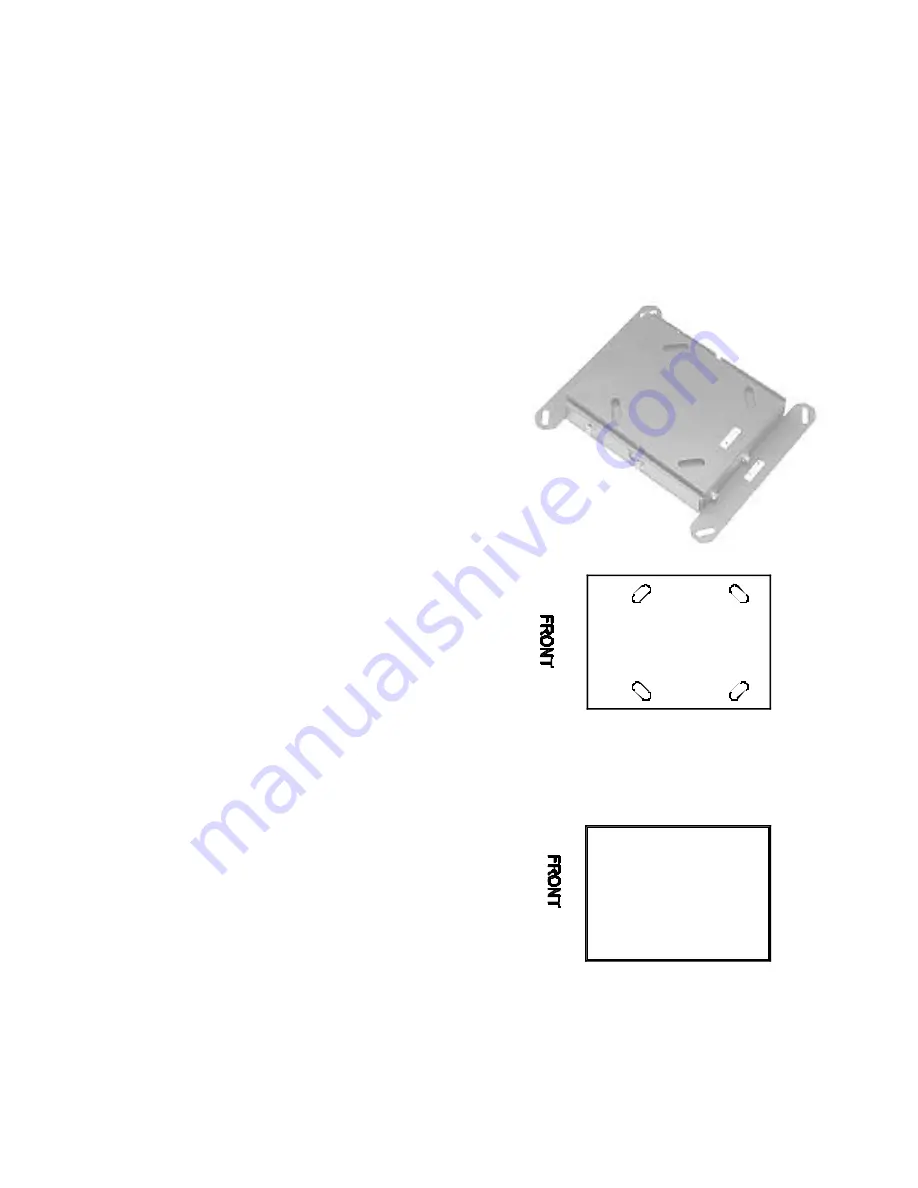
The ceiling mount kit consist of thee parts. Before
beginning the installation process, first identify
each of the three parts of the mounting system as
shown in the diagrams below.
q
Mount the part “A” to the ceiling, making
certain that the “FRONT” marking facing the
screen.
q
Place Part B inside Part A and then secure the
two pieces together using the four hex head
screws provided, making certain that the
“FRONT” marking facing the screen.
q
Place two center screws on both, left and right
sides of the part “B” and insert them only half
way.
q
Turn the projector upside down and remove
the four feet attached to the projector.
q
Place Part C mounting bracket over the bottom
of the projector, with the “FRONT” marking
facing toward the lens.
q
Replace the projector feet through the holes in
the Part C mounting bracket and hand tighten
them until they are secure against the plate
and so that there is no slippage between the
mounting plate and the projector.
q
Raise the Part C/Projector assembly and hang
from part ”B” by sliding two center side screws
on part “B” into the “L” shaped groove at the
outer edges of the Part “C” mounting bracket.
Secure the two assemblies together using the
HEX screws on the left and right sides of the
projector.
The projector is now suspended from the ceiling
mount bracket.
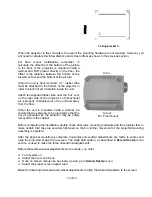
Connect the AC Power Cord to the projector and
connect it to an unswitched AC outlet. Connect the
projector to the TransVision Controller using the
five-coax connections previously provided.
Ceiling Mount Kit
Ceiling bracket A
Ceiling bracket B


