12
Dymax BlueWave® LED Prime UVA User Guide
■
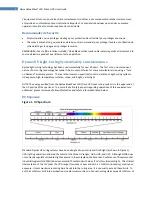
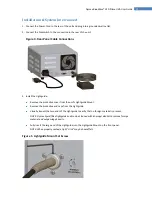
If desired, the Lightguide may be fastened into place by lightly tightening the Securing Set Screw in the top of
the Lightguide Mount. A Hex Wrench is provided with the unit for this purpose. The Set Screw should be
tightened gently to prevent damaging the Lightguide.
NOTE: Multi-pole lightguides should be checked for leg-to-leg output uniformity. Rotate the lightguide
to verify the desired intensity of each leg before tightening the set screw.
■
The Lightguide is now installed and ready for use. The end of the Lightguide should be periodically cleaned
with isopropyl alcohol. Adhesive build-up may be removed from the end of the Lightguide by gently scraping
using a razor blade or razor knife.
4.
Turn the Power Switch to the on position.
5.
There is no need to for allow any warm-up or cool down times with this LED system. The unit may be
powered down and powered up again immediately without causing any negative effects.
6.
Activate an exposure cycle by pressing on the Footswitch. With the Timer/Manual Selector Switch (located
on the front panel of the unit) in the manual position, the exposure time is controlled directly from the
Footswitch. In the timed position, operation is determined by the setting displayed on the electronic
timer. Simply push the timer setting buttons to enter the desired number of seconds the LED needs to be
powered.
7.
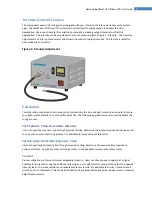
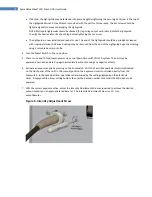
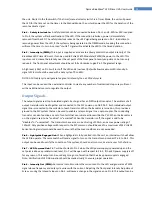
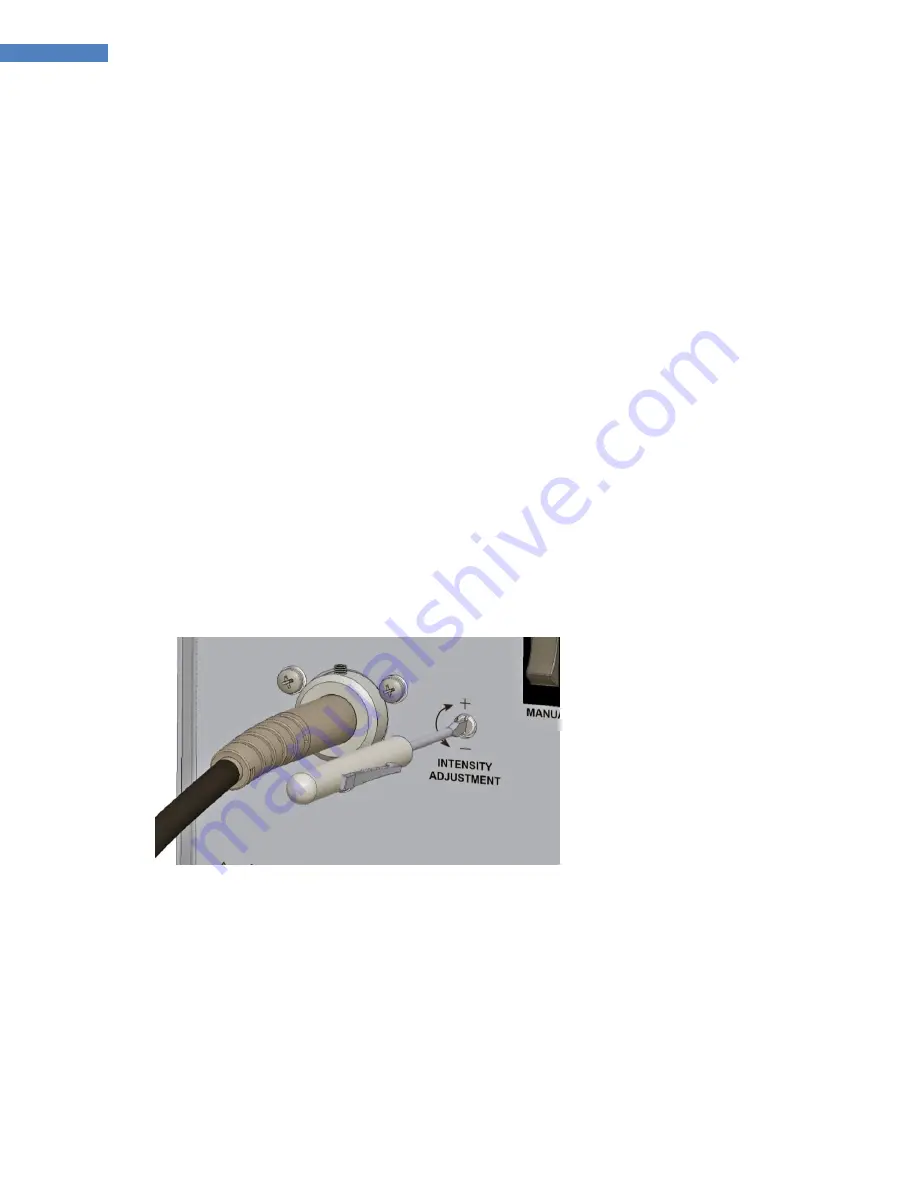
With the system exposure active, adjust the Intensity Adjustment Screw as required to achieve the desired
output intensity on an appropriate radiometer. The Intensity Adjustment Screw is a 10- turn
potentiometer.
Figure 6. Intensity Adjustment Screw


