13
14
DC 1.5V (SIZE AA)
DC 1.5V (SIZE AA)
-
+
-
+
DC 1.5V (SIZE AA)
DC 1.5V (SIZE AA)
-
+
-
+
4x16 Flat
Head
Screw
Battery Cover
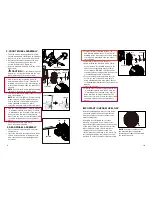
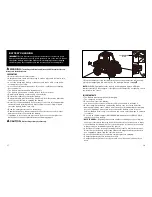
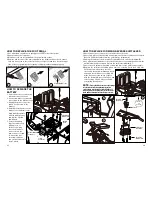
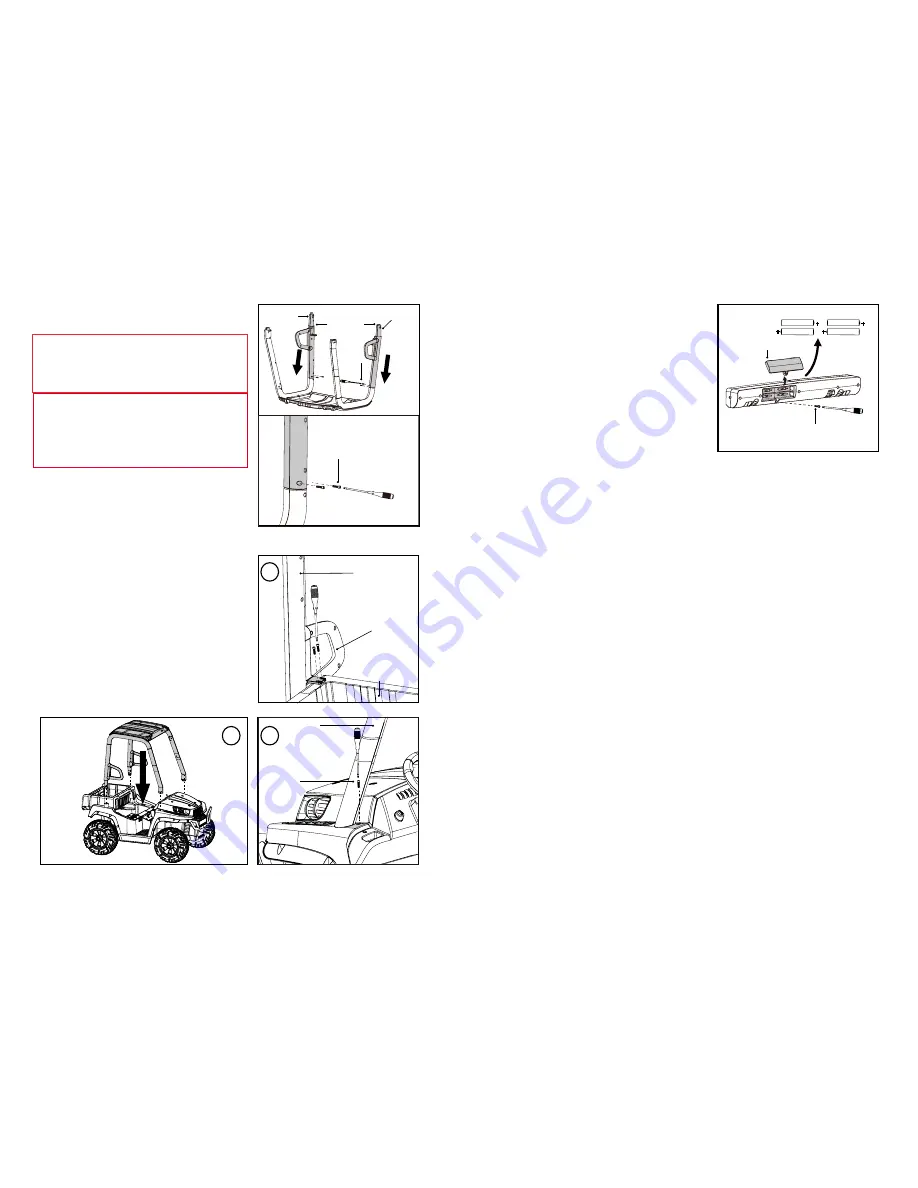
10. TOP LED LAMP BATTERIES
INSTALLATION
NOTE:
Batteries are not included.
• Use a flat head screwdriver to gently pry
and remove the LED Lamp.
• Unscrew the screw from the battery cover
and remove the cover.
• Insert 4 1.5AA size or AA AM-3 or LR6
batteries as shown, observing the correct
orientation.
• Replace the cover and tighten the screw
securely.
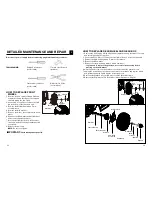
LED LAMP BATTERIES SAFETY INFORMATION:
Batteries may leak fluids that can cause chemical burn, injury or ruin your product.
To avoid battery leakage:
• Install batteries correctly, observing the polarity (+/-) signs to avoid leakage.
• Do not mix old and new batteries.
• Do not mix batteries of different types: alkaline, standard (carbon-zinc) or
rechargeable (NiMH).
• Remove the batteries from the battery compartment when the unit will not be
used for an extended period of time.
• Always remove exhausted batteries from the battery compartment.
• Do not dispose of batteries in fire.
• Do not short circuit the supply terminals.
• Replace the batteries when the horn sounds become distorted.
• Non-rechargeable batteries should not be recharged.
• Use only batteries of the same or equivalent type as recommended.
• If rechargeable batteries are used, they should only be charged by an adult.
• Remove rechargeable batteries from the product before charging.
• Battery chargers used with toys must be examined regularly for damage to the
cord, plug, enclosure and other parts. In the event that such damage is found,
the toy must not be used with the battery charger until the damage has been
repaired.
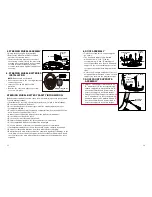
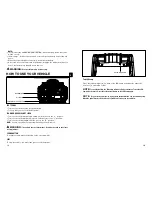
8. ROOF REAR SUPPORTS
ASSEMBLY
• Find the Rear Support marked with an
“R” and attach it to the corresponding U
shaped support also marked with an “R”.
Use two 4x12 mm Round head screws to
secure the supports, as shown at right.
• Find the other Rear Support, marked with
an “L” and attach it to the corresponding
U shaped support also marked with an “L”.
Use two 4x 12mm Round head screws to
secure the supports as shown at right.
4x12
Round
Head
Screw
4x12 Round
Head
Screw
Roof Rear
supports
“R” Mark
“L” Mark
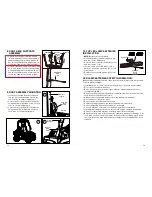
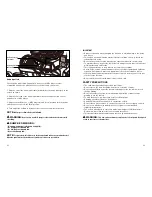
9. ROOF ASSEMBLY MOUNTING
• Insert the Front and Rear roof supports
into the four corresponding holes in the
vehicle body as shown in diagram 1.
• Secure each of the Front Roof Supports
using a 4x16 mm flat head screw on each
side, as shown in diagram 2.
• Secure each of the Rear Roof Supports
using two 4x16 mm flat head screws on
each side, as shown in diagram 3.
4x16 Flat
Head
Screw
Rear Roof
Support
Bracket
4x16 Flat
Head
Screw
Front Roof
Support
1
2
3


