clevis (GPMQ3814) at the rudder end and a 4-40
metal threaded clevis (GPMQ3794) at the servo
end with a 4-40 hex nut.
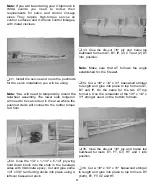
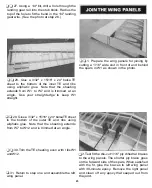
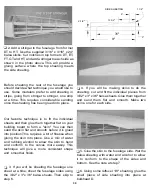
CJ 11. Fit the horizontal stab to the fuselage. To
do this you will need to cut a slot in the stab for
the rudder torque rod. Cut this slot spanwise as
shown in the photo above. Fit the stab into
position centered on the fuselage centerline.
Pin it into position temporarily.
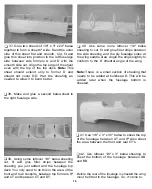
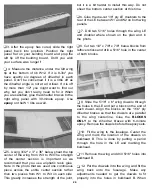
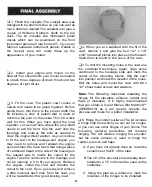
1-1 7. Sand the side sheeting fiat across the 3/8"
x 3/8" filler strips from DB to EB. Sheet the
bottom of the fuselage using 3/32" x 3" x 30"
balsa sheets.
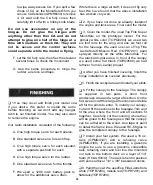
Note: Notice how the sheeting at the tailwheel
has been cut out to fit the tailwheel bracket.
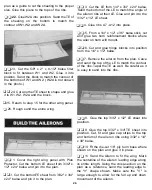
Q 8. Sheet the top of the fuselage using 3/32" x
3" x 30" balsa sheets.The sheeting extends from
the front most former DT to former I.
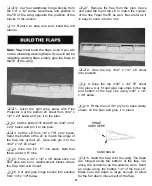
D 9. Mount the tailwheel bracket with the wire
tailwheel assembly to the ply tailwheel mount
with #4 x 3/8" sheet metal screws.
Q 10. From the top of the fuselage, install and
connect the rudder pushrod between the
rudder horn and servo. Make sure you install a
clevis retainer and have the linkage properly
adjusted as there is no access to this area after
you finish this section. (Refer to the plans for
the proper installation of the rudder linkage.)
Note: Our prototype model used a 4-40 solid
wire pushrod (GPMQ3718), a 4-40 metal solder
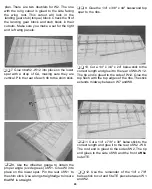
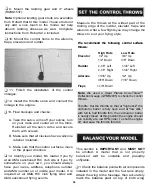
Q 12. Fit the vertical fin to the fuselage.You will
need to cut a slot in the fuselage from former I
forward to former H. Notch former H for the fin
to fit into it.
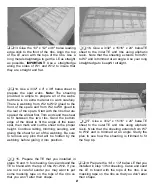
Q 13. When you are satisfied with the fit of the
stab and fin, remove them from the fuselage.
Glue some leftover 1/4" x 1/2" balsa to the
inside of the top longerons where the stab will
be glued to the fuselage to provide some
additional gluing area.
Q 14. Bolt the wing to the fuselage and set the
assembled wing and fuse on your table. My, my
big isn't it! Maybe you can use the dining
31

