room table for the next steps. Just make sure to
cover the table so you don't scratch it or get
glue on it, lest - well, you get the idea.
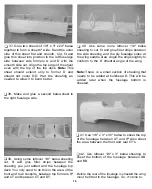
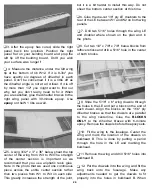
Q 18. When the epoxy has cured remove the
wing. Bring the model back to your workbench
with thanks for the use of the table.
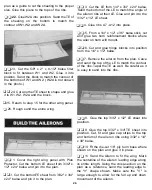
Q 15. Next, you will mount the stab to the
fuselage, but before doing so you need to look
more closely at it. As this is a large model, you
should not depend on glue alone to hold the
stab in place. The plan shows 1/8" dowels that
are keyed into former I. You could also use
some leftover 1/4" x 3/8" basswood glued to the
top of the stab and to former I.
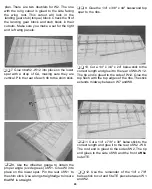
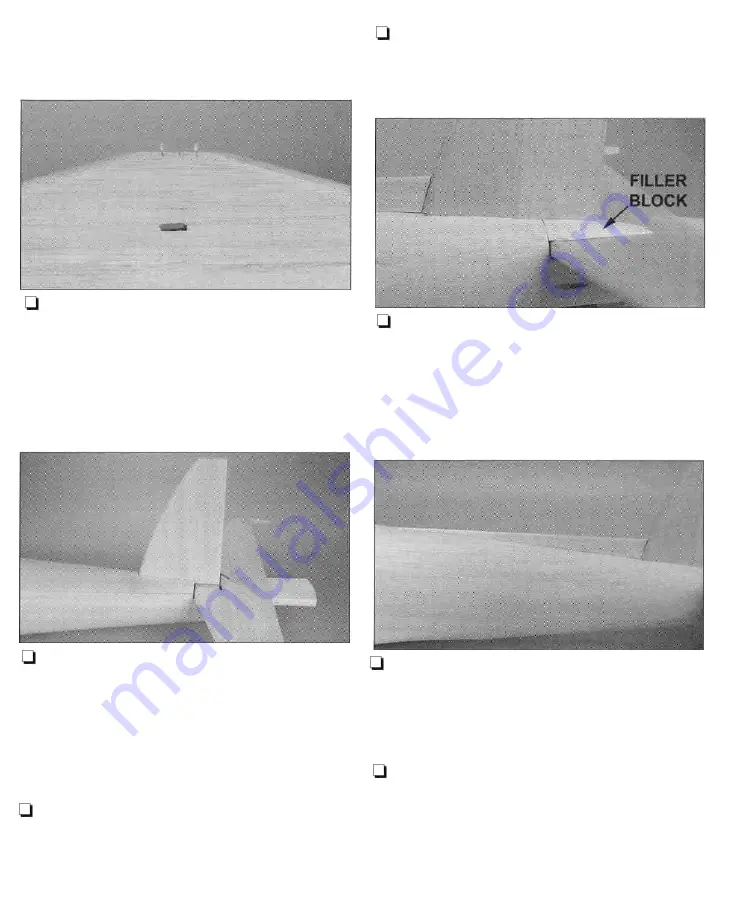
Ol 19. Using the 5/8" x 15/16" x 12" balsa block,
carve and fit a filler block to each side of the fin.
This filler block extends from former I aft and
blends with the bottom of the rudder. Glue it
into position, and then, fill in and blend any areas
that need it with leftover wood and hobby filler.
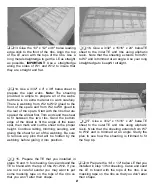
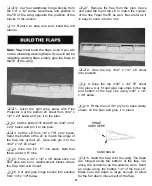
Q 16. Fit the stab into position and adjust the
stab mount as needed to make the stab parallel
with the wing. Be careful not to change the
incidence angle of the stab. Put a pin in the
nose of the fuselage on the centerline. Use your
string to align the stab just as you did for the
wing. When satisfied with the alignment, glue
the stab in position with 30-minute epoxy.
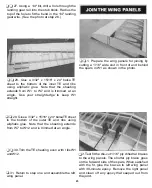
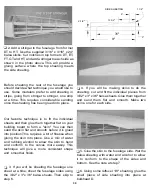
Q 17. Glue the fin into the fuselage and the top
of the stab with 30-minute epoxy. Be sure the
fin is vertical to the stab and aligned with the
fuselage centerline.
Q 20. Use the 3/16" x 1-1/2" x 18" balsa sheeting
to make a dorsal fin as shown on the plan. Glue
it into position and use filler as needed to blend
it with the fin.
Q 21. Using the 1-5/8" x 2" x 4-3/4" balsa block,
roughly carve and sand the tailcone to shape.
Then, glue it into position.
Now for the final details.
32

