SV-D700, SV-D1000 and SV-D1000T Operation
SkyView Classic Pilot’s User Guide –
Revision Z
4-8
Altimeter
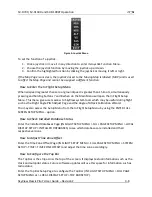
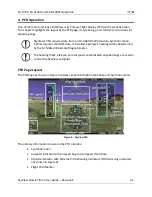
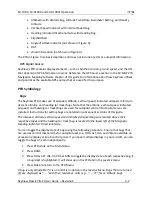
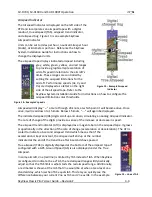
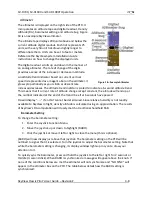
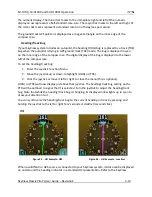
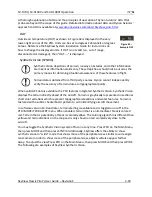
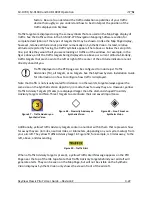
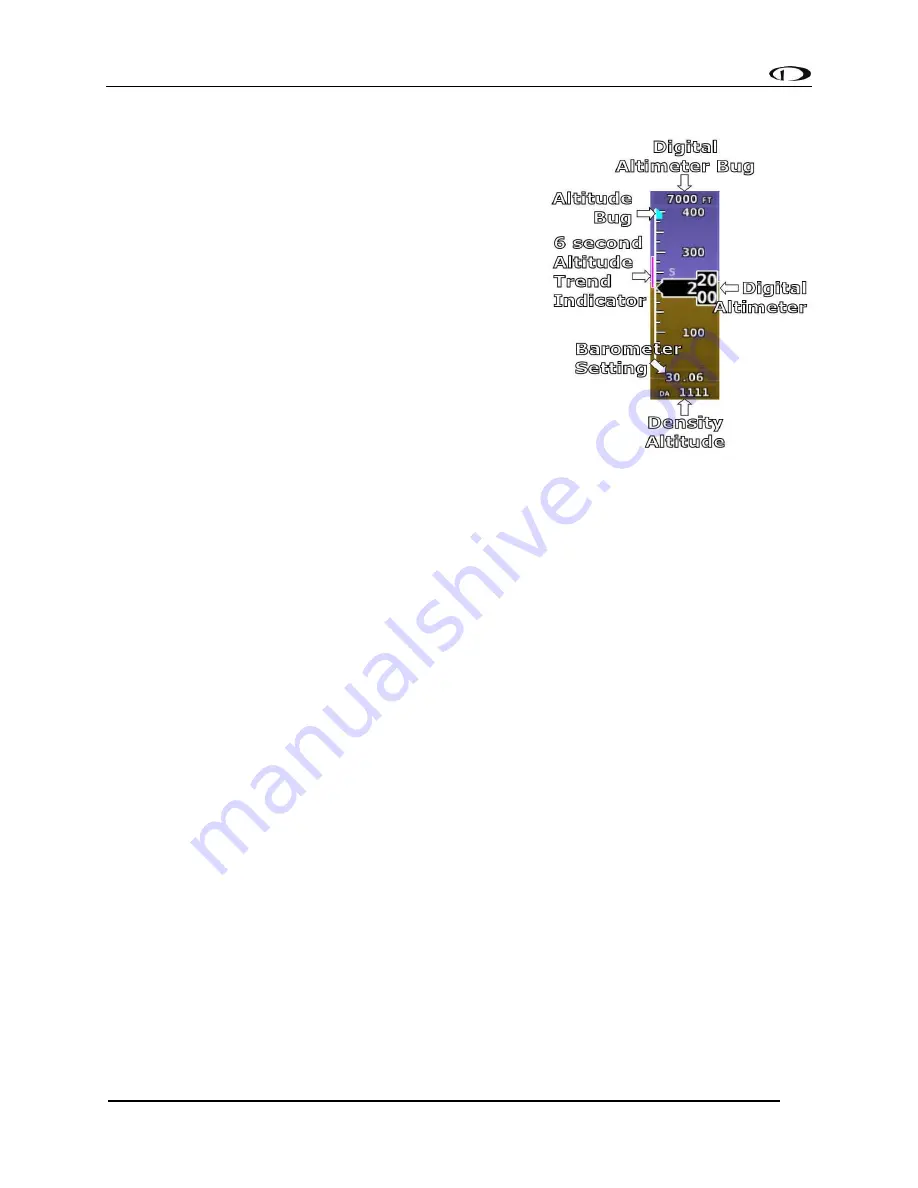
The altimeter is displayed on the right side of the PFD. It
incorporates an altitude tape and digital readout, Density
Altitude (DA), barometer setting, and altitude bug. Figure
18 is an example SkyView altimeter.
The altitude tape displays 200 units above and below the
current altitude digital readout. Each tick represents 25
units, with every 50 unit tick drawn slightly longer to
differentiate them. Units can be set to feet or meters.
Reference the SkyView System Installation Guide
instructions on how to change the displayed units.
The digital readout scrolls up and down in the manner of
an analog altimeter. The rate of change of the digits
provides a sense of the increase or decrease in altitude.
An altitude trend indicator based on current vertical
speed is represented as a magenta bar on the altimeter. It
grows proportionally as your climb or descent rate
increases/decreases. The altitude trend indictor is scaled to indicate a 6-second altitude trend.
This means that if current rate of altitude change is kept constant, the altitude will end up at
the number indicated at the end of the trend line after 6 seconds have passed.
DA will display “
----
”
if an OAT cannot be determined. Since relative humidity is not readily
available to SkyView in flight, density altitude is calculated using an approximation. The results
of SkyView’s DA computation will closely match a traditional handheld E6B.
Barometer Setting
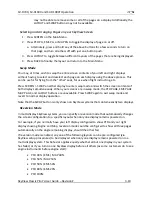
To change the barometer setting:
1.
Enter the Joystick Function Menu.
2.
Move the joystick up or down to highlight (BARO).
3.
Click the joystick or move it left or right to close the menu (this is optional).
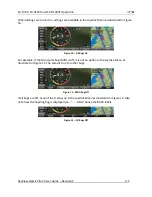
(BARO) will now display just above that joystick. The barometer setting on the PFD will be
outlined to signal that it is selected. Turn the joystick to adjust the barometer setting. Note that
while the barometer setting is changing, its display window lights up in cyan to draw your
attention to it.
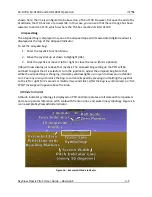
To quickly sync the barometer, press and hold the joystick to the left or right for 2 seconds or
middle (½ second click). When BARO is synchronized a message will appear above the knob. If
none of the conditions below are met the altimeter will not synchronize and “NO SYNC” will
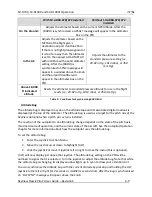
appear in the altimeter box on the PFD. The table below details how the BARO setting is
synchronized:
Figure 18
–
Example Altimeter

