10
E-flite Advance 25e ARF Assembly Manual
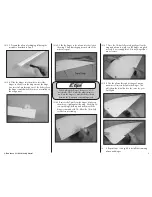
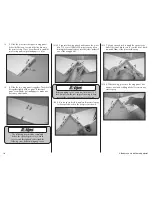
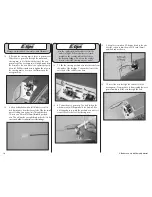
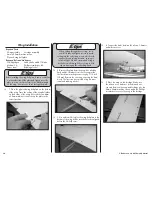
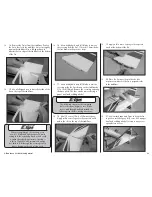
3. Slide the joiner into the opposite wing panel.
It should slide in up to or past the line drawn in
the previous step. If not, you will need to sand the
joiner using medium grit sandpaper so it fits.
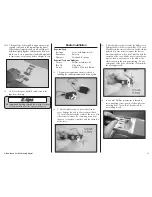
4. Slide the two wing panels together. They should
fit together tightly with no gaps. If there are
gaps, use medium grit sandpaper to make any
necessary adjustments.
The following steps must be completed
before the epoxy begins to cure. Make
sure to read through and understand the
following steps before mixing any epoxy.
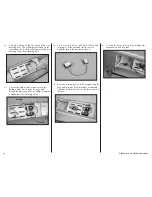
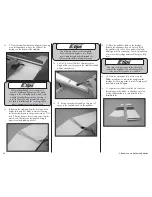
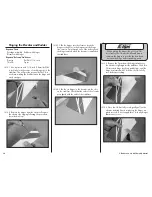
5. Separate the wing panels and remove the joiner.
Mix 1/2 ounce (15mL) of 30-minute epoxy. Use a
mixing stick to apply epoxy into the joiner pocket of
one of the wing panels.
Before applying epoxy, wrap low-tack tape 1/32-
inch (1mm) from the root edge of the wing to help
prevent the epoxy from running onto the wing.
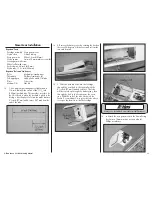
6. Use an epoxy brush to apply a thin coat of epoxy
to the exposed wood on the wing root as shown.
7. Use an epoxy brush to apply the epoxy to one
half of the joiner. Make sure to coat the front, back,
top and bottom of the joiner with epoxy.
8. Slide the wing joiner into the wing panel. Use
a paper towel and rubbing alcohol to remove any
excess epoxy.

