21
E-flite Advance 25e ARF Assembly Manual
Stabilizer and Vertical Fin Installation
Required parts
Airframe
Stabilizer with elevator
Fin with rudder
Required Tools and Adhesives
Ruler
Phillips screwdriver: #2
30-minute epoxy
Hobby knife with #11 blade
Felt-tipped pen
Square
Low-tack tape
Paper towel
Mixing stick
Mixing cup
Epoxy brush
Rubbing alcohol
T-pins
Medium grit sandpaper
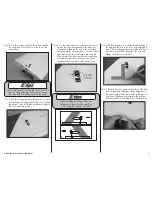
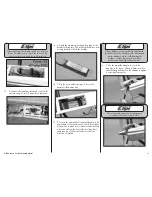
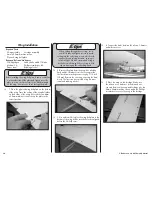
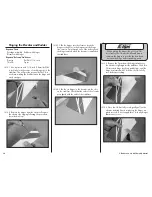
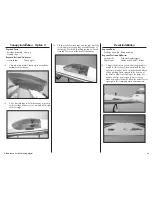
1. Use a ruler and felt-tipped pen to draw a
reference line down the center of the stabilizer
saddle.
2. Separate the elevator and stabilizer. Leave the six
hinges in the elevator so they don’t get lost. Set the
elevator aside in a safe location to be installed later.
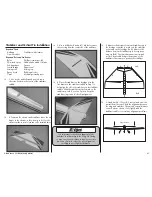
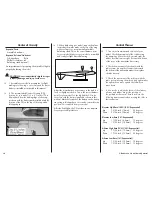
3. Use a hobby knife and a #11 blade to remove
the covering from the center slot of the stabilizer.
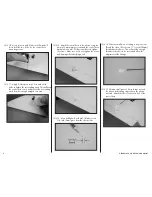
4. Place the stabilizer on the fuselage. Use the
line drawn on the stabilizer saddle in Step 1 to
help align the slot in the stabilizer on the stabilizer
saddle. With the stabilizer as far forward on the
saddle as possible, use two T-pins to keep the
stabilizer in position to check its alignment.
It is important to check the alignment of the
stabilizer in relationship to the wing. Not doing
so may cause your airplane to require excessive
amounts of trim to correct for poor alignment,
resulting in poor flight performance.
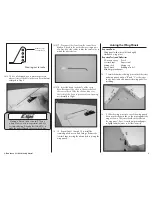
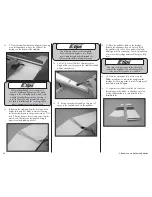
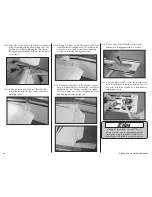
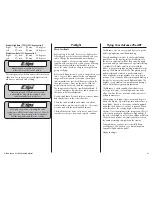
5. Measure the distance from each stabilizer tip to
the fuselage centerline to make sure the stabilizer
is centered on the fuselage (A=A). Measure the
distance from each stabilizer tip to its respective
wing tip (B=B). These measurements must match
as close as possible. Adjust the position of the
stabilizer if necessary to position the stabilizer.
B
A
A
B
B=B
A=A
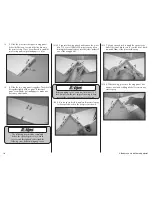
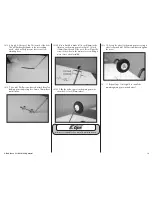
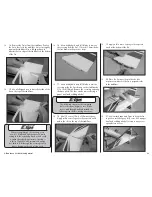
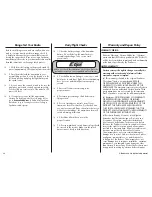
6. Stand back 8–10 feet (2–3 meters) and view the
aircraft from the rear. Check the alignment between
the wing and stabilizer. They must be equal distance
on each side as shown. If not, lightly sand the
stabilizer saddle to correct any alignment problems.
Equal Distance

