13
E-flite Fokker DVII 250 Slow Flyer Assembly Manual
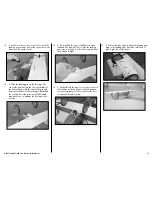
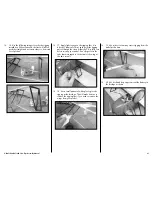
9. Use a #1 Phillips screwdriver to tighten the
1.5mm machine screw that will secure the pushrod
wire in the pushrod connector. Use threadlock on
the screw to prevent it from vibrating loose in flight.
10. Use side cutters to trim the excess pushrod wire
that extends forward of the pushrod connector on
both the rudder and elevator servos.
Cowling Installation
Required Parts
Fuselage assembly Transmitter
Propeller
Motor battery
Cowling
2mm x 8mm wood screw (black) (3)
Required Tools and Adhesives
Phillips screwdriver: #1
Important Information About Your Brushless ESC
Make sure your ESC brake is programmed
to Off. Also, be sure to use an ESC with the
proper low-voltage cutoff and be sure it is set
correctly for the batteries you are using.
Never check the motor rotation on the bench
with the propeller installed. The plane could
move and cause serious injury. Always check the
motor without the propeller to avoid injury.
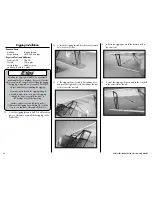
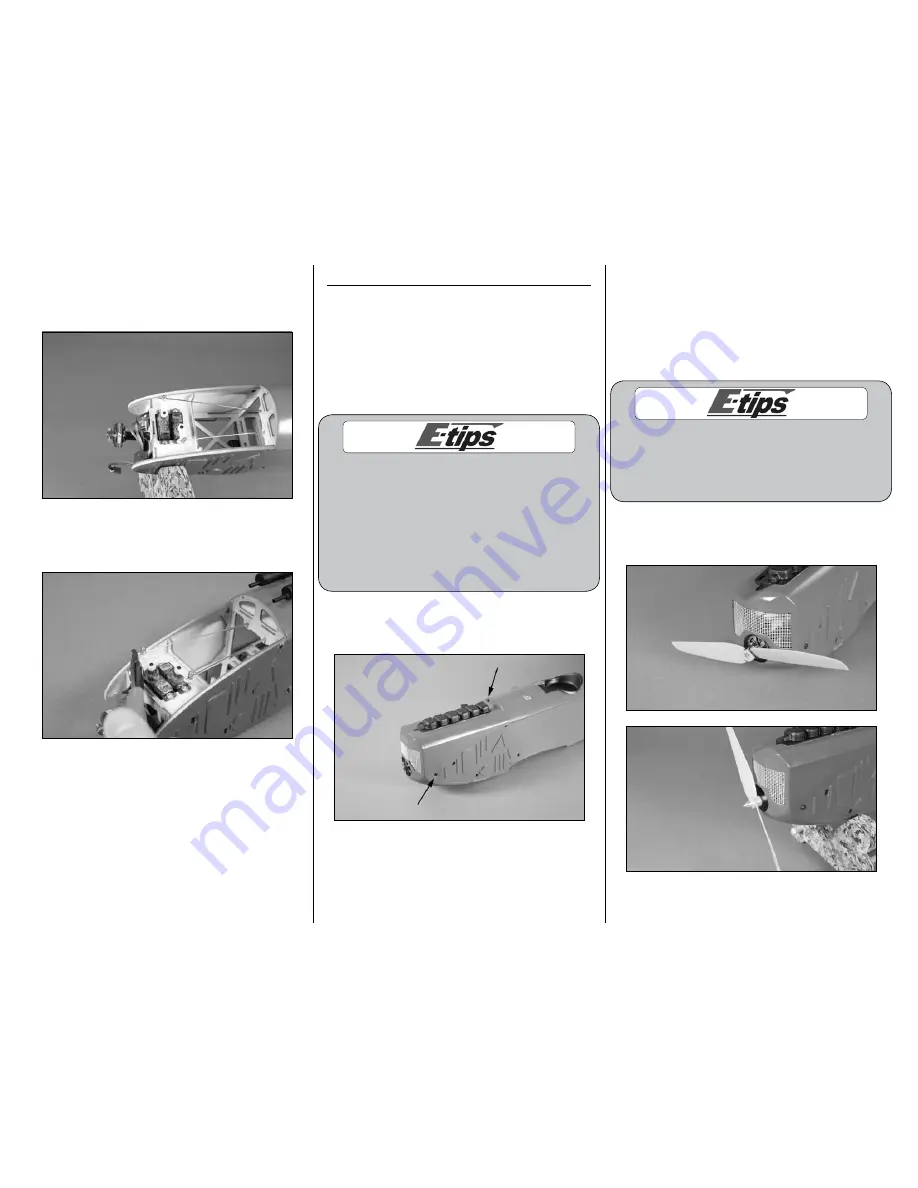
1. Slide the cowling on the fuselage. Use the three
screws removed from the cowling and a #1 Phillips
screwdriver to attach the cowling.
2. Turn on the transmitter and bring the throttle
trim and stick to the low throttle position. Plug
the battery into the speed control and check
the operation of the motor. It should rotate
counterclockwise when viewed from the front of
the aircraft. Use the instructions provided with your
ESC to make corrections to the direction of rotation
of the motor if necessary.
Important Information About Your Propeller
It is very important to check to be sure
the propeller is balanced before installing
onto the shaft. An unbalanced propeller
may cause poor flight characteristics.
3. Attach the propeller to the motor using the
materials and instructions provided with your
particular motor.
4. Unplug the battery from the speed control and
turn off the transmitter before proceeding.


