21
E-flite Fokker DVII 250 Slow Flyer Assembly Manual
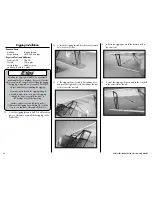
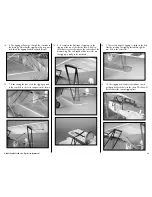
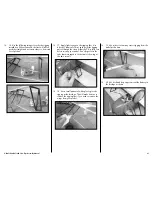
16. Use the following images to verify the rigging
installation. When tensioned, the lines will all run
perfectly straight and not cause others to be moved
out of position.
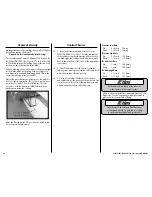
17. Apply light tension on the rigging lines. Use
a drop of foam-safe CA at each point the rigging
passes through the struts. Allow the CA to fully cure
before moving your model. Don’t forget to tie the
ends that were taped to the bottom of the wing at
this time as well.
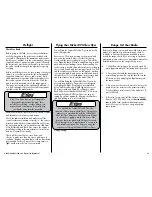
18. Use a small amount of white glue to glue the
rigging at the fuselage. This will make it easier to
remove the rigging lines if you need to remove the
wings from your model.
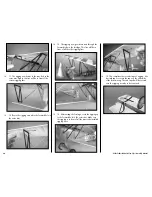
19. Use scissors to trim any excess rigging from the
model at this time.
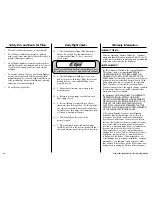
20. Use hook and loop tape to mount the battery in
the fuselage as shown.


