4
E-flite Fokker DVII 250 Slow Flyer Assembly Manual
Motor Installation - Carbon Tube
Required Parts
Fuselage assembly
Motor with mounting hardware
Carbon tube, 6mm x 42mm
Required Tools and Adhesives
Medium CA
Phillips screwdriver: #1
RTV Silicone
Ruler
Medium grit sandpaper
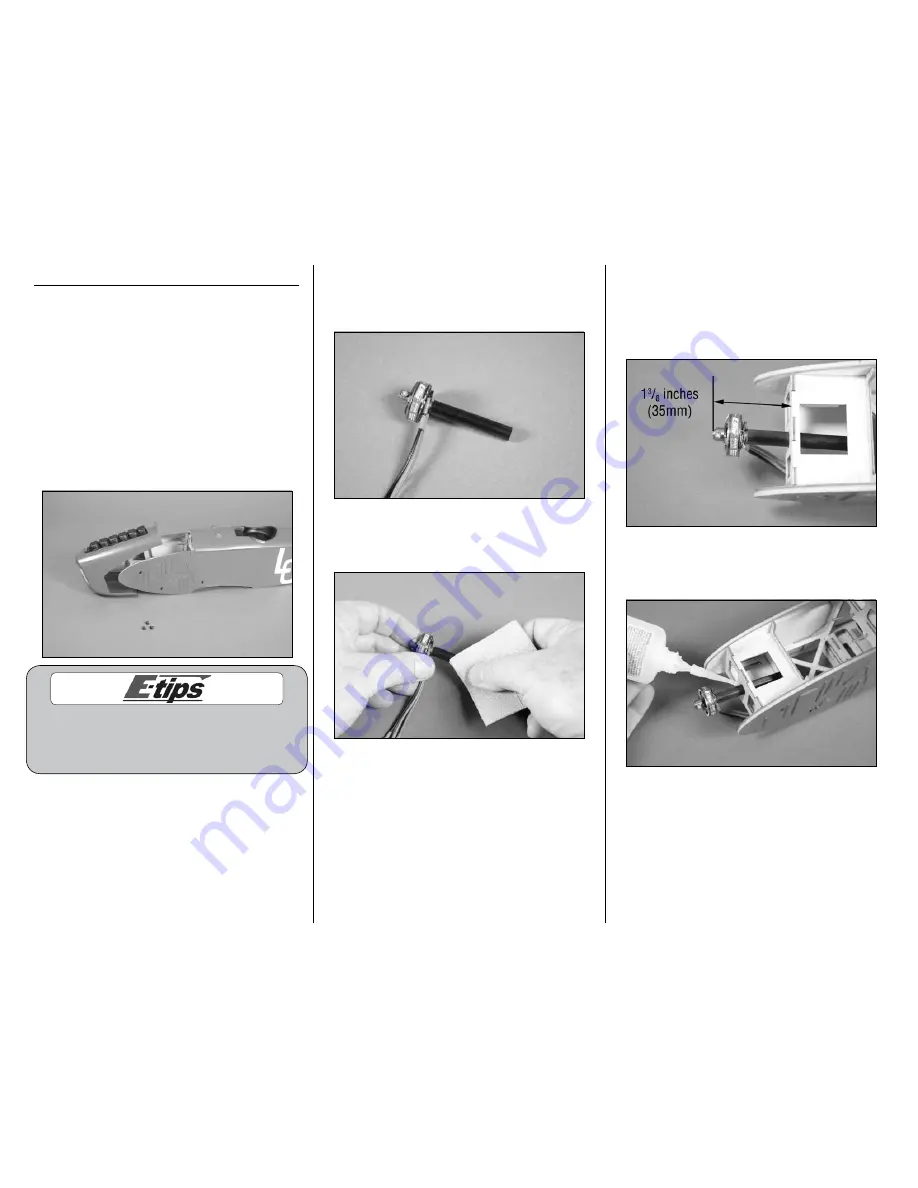
1. Use a #1 Phillips screwdriver to remove the three
screws holding the cowl to the fuselage. Set the
screws and cowl aside.
You can also remove the pushrods from the tubes in
the fuselage at this time to keep them from sliding out
and getting bent. Both pushrods are the same length so
returning them to their proper locations is not an issue.
2. Locate the 6mm x 42mm carbon tube. Follow
the instructions included with the motor to glue
(using RTV silicone) the motor to the motor tube. Be
careful not to get glue inside the motor bearing.
3. Use medium grit sandpaper to roughen the
outside of the carbon tube so the CA used to glue it
in the fuselage has a surface to attach to.
4. Slide the carbon tube into the hole in the
fuselage. There are two holes that will provide
the proper alignment of the motor. Using a ruler,
position the motor so the front edge of the motor is
a minimum of 1
3
/
8
inches (35mm) forward of the
firewall as shown.
5. Apply 2–3 drops of medium CA to the joint
between the carbon tube and fuselage. Allow the
CA to fully cure before proceeding.


