9
E-flite Fokker DVII 250 Slow Flyer Assembly Manual
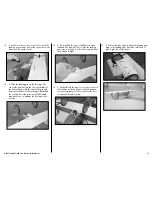
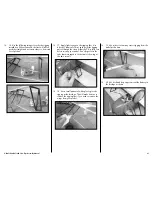
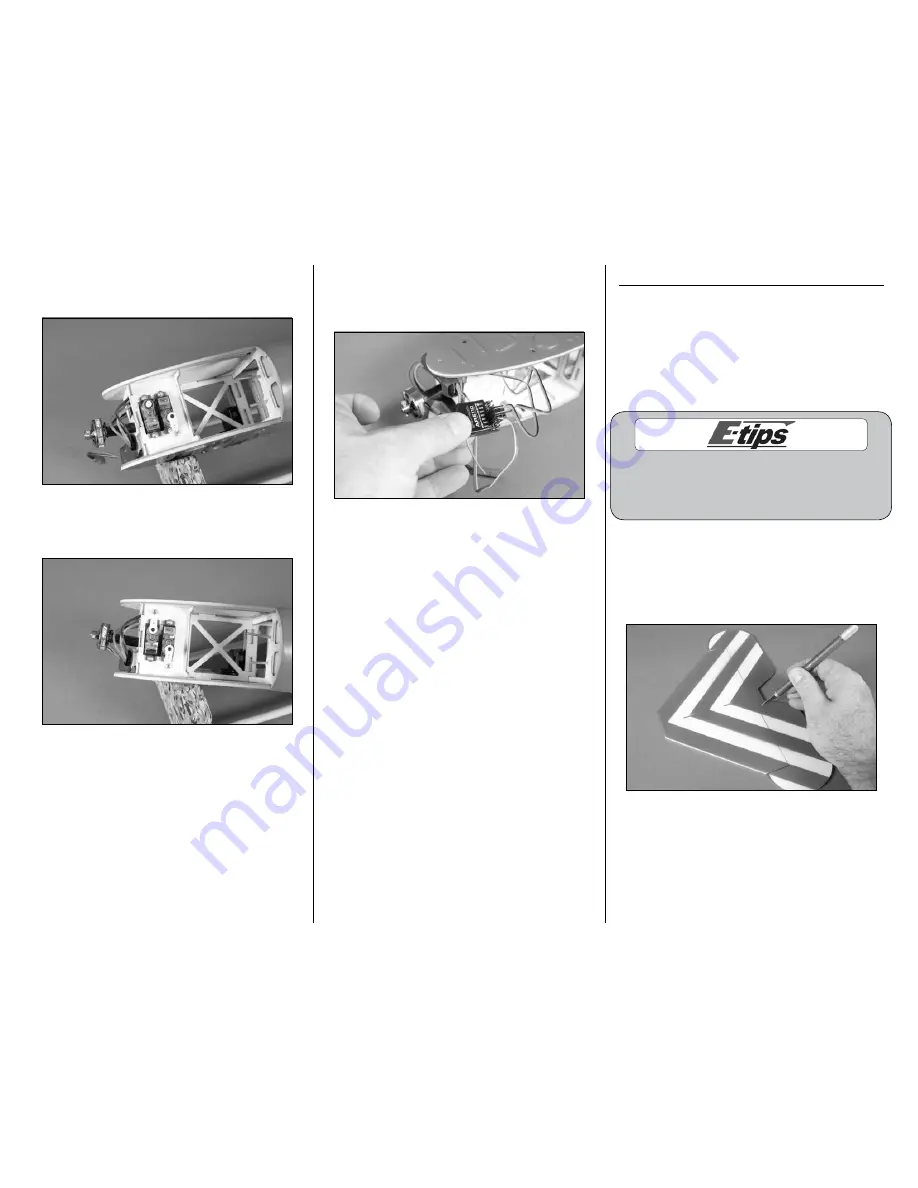
11. Use a #0 Phillips screwdriver to install the
servo arm on the rudder servo. The arm will be
parallel to the center line of the servo as shown.
12. Use a #0 Phillips screwdriver to install the
servo arm on the elevator servo. The arm will be
parallel to the center line of the servo as shown.
13. Connect the rudder, elevator and throttle leads
to their appropriate ports of the receiver. Leave the
receiver loose at this time as it will be installed after
the landing gear is installed.
Stabilizer and Rudder Installation
Required Parts
Fuselage
Stabilizer/elevator
Fin/rudder
Micro control horn (2)
Micro control horn backplate (2)
Required Tools and Adhesives
Foam-safe CA
Hobby knife with #11 blade
Square
Ruler
Before beginning the installation of the rudder and
stabilizer you will want to flex the hinges of the
rudder to break them in. This will make it easier for
the rudder servo to operate the control surface.
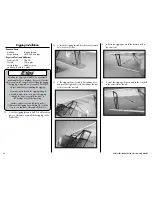
1. Use a hobby knife with a #11 blade to remove
the hinge tape to fully expose the slot for the
elevator control horn. You may also need to
enlarge the plastic support piece slightly for the
control horn to fit. You want this slot to have a snug
fit, not a loose fit.


