32
E-flite Habu 32 EDF ARF Assembly Manual
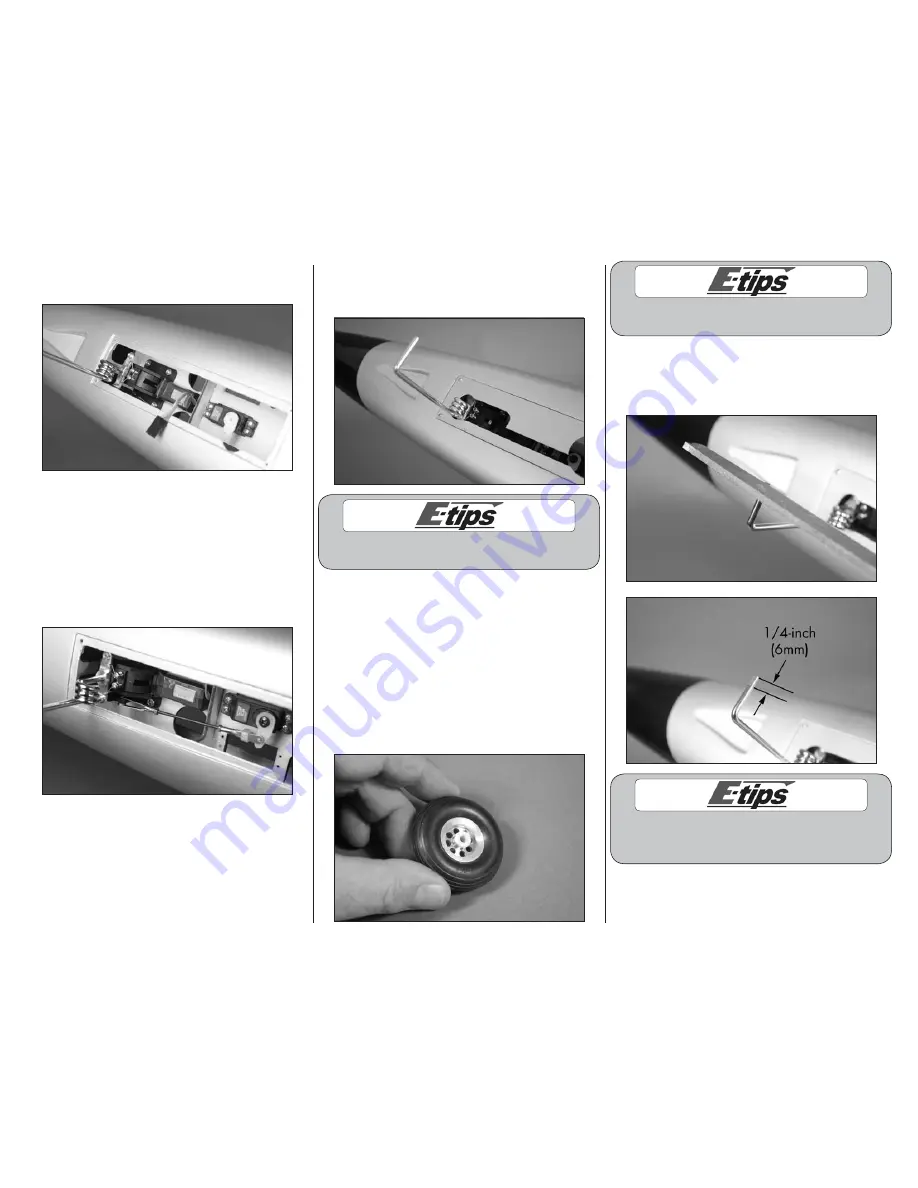
12. Secure the nose gear assembly in the fuselage
using four 3mm x 8mm socket head screws.
13. Remove the horn from the servo and attach
the clevis to the horn. Place the horn on the servo
and check that the steering is centered when the
steering servo is centered. Once the linkage is set,
tighten the 2mm nut against the clevis using pliers
so the clevis doesn’t vibrate loose. Slide the silicone
over the forks of the clevis and install the screw
to secure the servo horn to the servo using a #1
Phillips screwdriver.
14. Attach the nose gear cover to the fuselage
using a #1 Phillips screwdriver and the four 2mm x
8mm self-tapping screws removed in step 1.
Add clear tape to both sides of the nose gear
door to help secure it to the fuselage.
Note
: A solid nose gear plate has been
supplied with your Habu 32 for those who
want to have a fully functional nose gear door.
The installation is not covered in the manual
and is left up the modeler for installation and
operation. The installation of this plate will
reduce the drag of the nose gear and provide
a slight increase in speed of your model.
15. Select the correct adapter that fits to the
landing gear strut. Insert two adapters in either side
of the hub of the wheel.
Always use threadlock on metal-to-metal fasteners
to prevent them from vibrating loose.
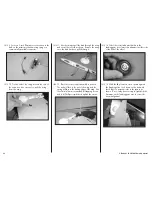
16. Use a flat file to make a 1/4-inch (6mm) wide
flat area on the gear near the end of the axle strut
for the setscrew to rest. This will keep the wheel
collar from vibrating loose in flight.
The end of the axles may have a slight bur
on them from the factory. If the wheel is hard
to install, use a file to remove this bur.


