5
E-flite Habu 32 EDF ARF Assembly Manual
During the course of building your model we
suggest you use a soft base for the building surface.
Such things as a foam stand, large piece of
bedding foam or a thick bath towel will work well
and help protect the model from damage during
assembly. This is not shown in the instructions
to provide the greatest detail in the photos.
When referencing directions (up, down, left,
right top and bottom) these directions are in
relationship to the pilot sitting in the cockpit
of the aircraft unless noted otherwise.
Control Horn Installation
Required parts
Fuselage
Wing panel (right and left)
Stabilizer (right and left)
Fiberglass control horn (7)
Required Tools and Adhesives
Felt-tipped pen
5-minute epoxy
Mixing stick
Mixing cup
Low-tack tape
Medium grit sandpaper
We used low-tack tape to tape the aileron at the
tip and to tape the flap to the aileron so they
don’t move during the control horn installation.
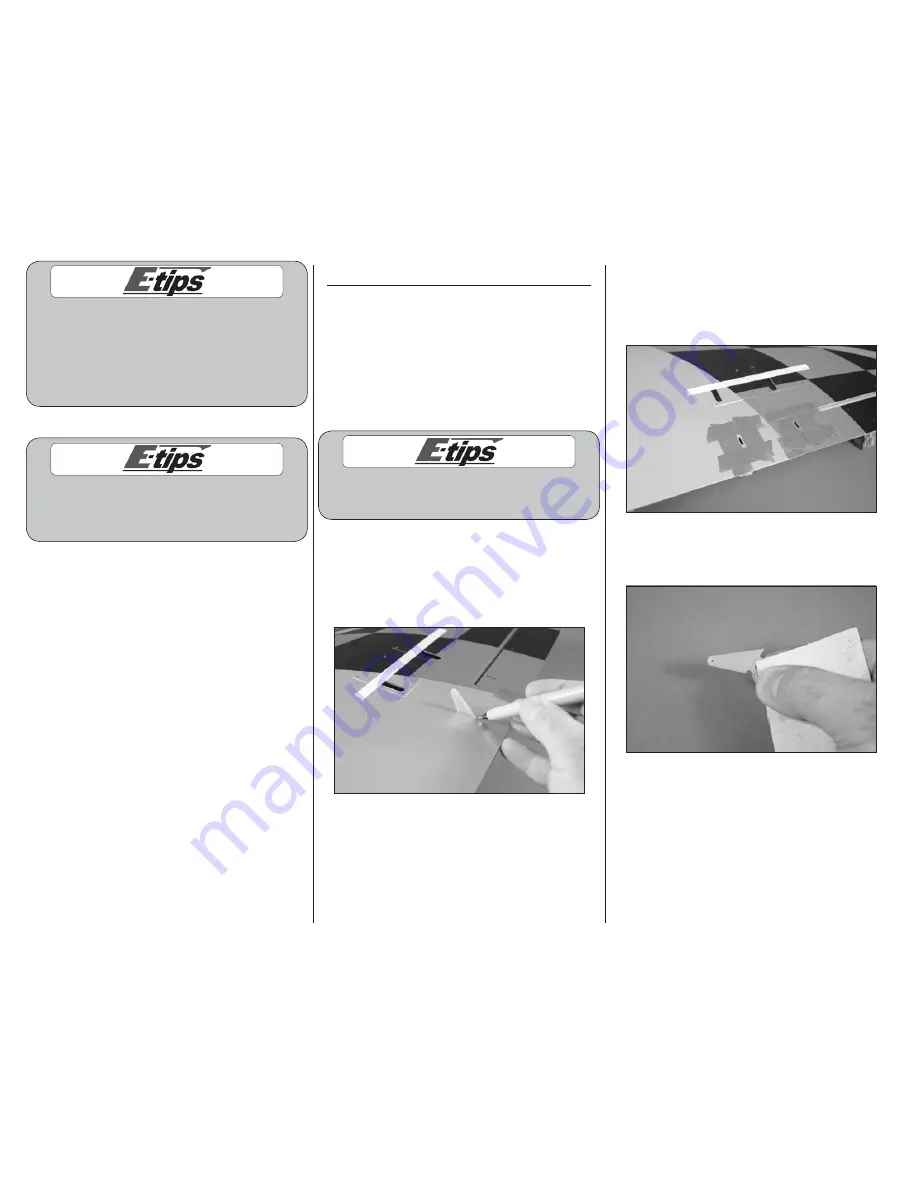
1. Check the fit of the fiberglass control
horn in the slot in the aileron. The hole in the
control horn will align with the hinge line, and the
horn will fit flush in the hole. Use a felt-tipped pen
to mark the front and rear edge of the control horn
on the aileron.
2. Apply low-tack tape around the
opening for the flap and aileron control horn.
Position the tape so it is 1/32-inch (1mm) away
from the sides of the hole, as well as from the
marks made in the previous step.
3. Use medium grit sandpaper to lightly
sand the control horns where they fit into the
openings in the flap and aileron.


