17
8
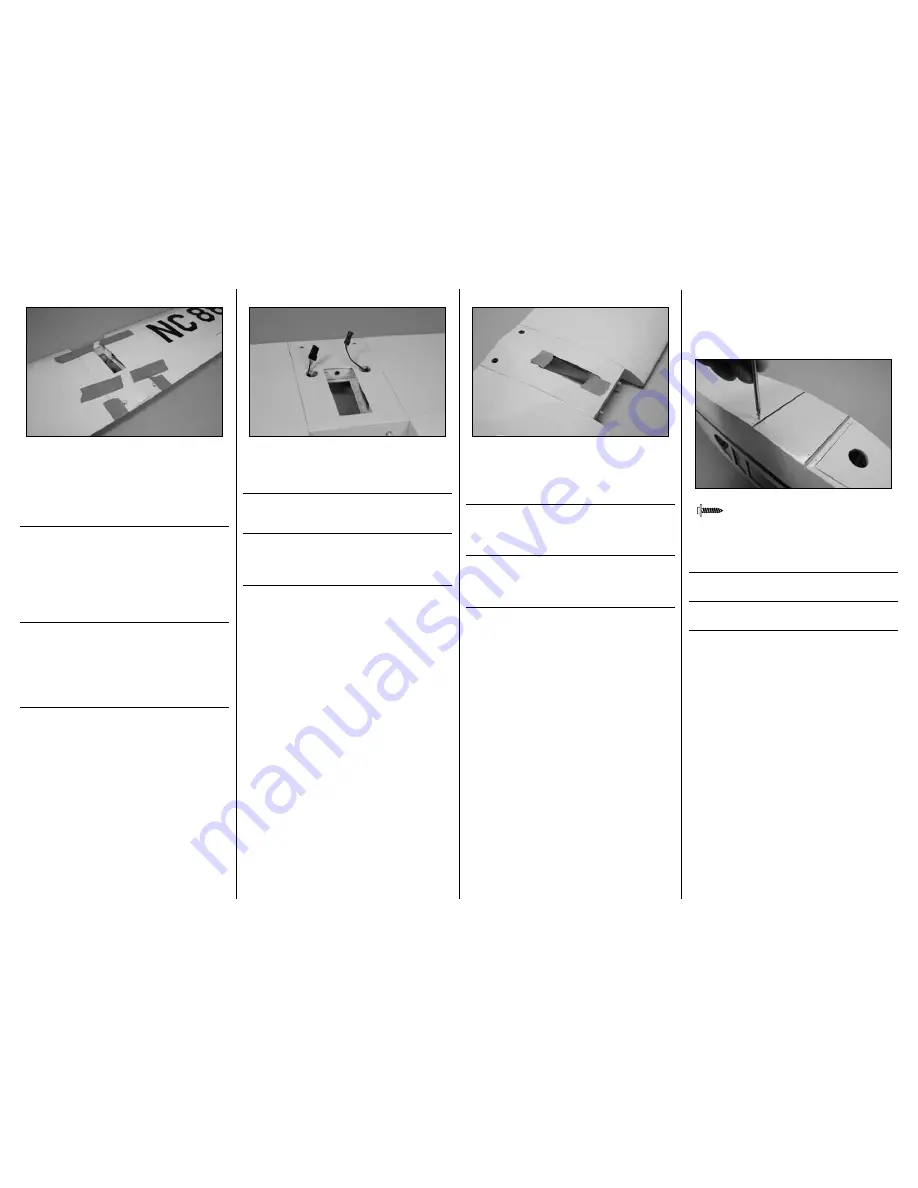
Fit the outer panels to the center section. Remove any
excess epoxy using a paper towel and isopropyl alcohol.
Use low-tack tape to hold the panels in position. Wrap
a piece of low-tack tape around the trailing edge to hold
the panels in alignment with the center section. Set the
wing aside until the epoxy fully cures.
Schieben Sie die Tragflächen an das Mittelstück und
entfernen austretenden Klebstoff mit einem Papiertuch
und Isopropyalkohol. Sichern Sie die Klebestellen mit
Klebeband mit geringer Klebekraft. Kleben Sie um die
hinteren Flächenkanten (siehe Abbildung) je ein Stück
Klebeband mit geringer Klebkraft, damit die Tragflächen
korrekt ausgerichtet bleiben. Lassen Sie den Klebstoff
vollständig trocknen bevor Sie weitermachen.
Unire le semiali e il pianetto centrale. Togliere gli
eventuali eccessi di colla usando un tovagliolo di carta
e alcol isopropilico. Usare del nastro adesivo a bassa
aderenza per tenere insieme i vari elementi. Avvolgere
un pezzo di nastro a bassa aderenza sui bordi di uscita
per tenerli allineati. Mettere da parte le ali finché non si
asciuga la colla.
10
Use canopy glue to glue the clear window in the top
of the center section from the inside of the wing. Use
low-tack tape to hold the window in place until the glue
fully cures.
Kleben Sie von innen mit Kabinenhaubenkleber das
Fenster in das Tragflächenmittelstück. Sichern Sie die
Klebung mit Klebeband mit geringer Klebkraft bis der
Kleber vollständig ausgehärtet ist.
Usare la colla per capottine per incollare la finestra
trasparente sulla parte superiore dell’ala dall’interno.
Usare del nastro a bassa aderenza per tenere ferma la
finestra intanto che la colla si asciuga.
9
Once the epoxy has fully cured, remove the tape from the
wing. Route the leads for the aileron servos through the
holes in the bottom of the center section.
Entfernen Sie nach dem Trocknen des Klebstoffes
das Klebeband. Führen Sie die Anschlüsse der
Querruderkabel durch die Löcher im Tragflächenmittelteil.
Quando la colla epoxy è completamente asciutta, togliere
i nastri che tenevano insieme i vari elementi dell’ala. Far
passare i cavetti dei servi attraverso i fori nella parte
inferiore del pianetto centrale.
lAndinG GeAr instAllAtion•
montAGe des fAhrwerk•
installazione del carrello di
atterraggio
1
M2 x 8
x8
Thread a mounting screw into each of the holes for
the landing gear straps. Remove the screws before
proceeding.
Drehen Sie die Befestigungsschrauben des Fahrwerks
einmal in die Löcher und entfernen diese wieder.
Avvitare una vite di fissaggio nei vari fori per le piastrine
del carrello. Togliere le viti prima di procedere.


