background image

3

E-flite P-40 Warhawk Assembly Manual

Recommended Radio Equipment

You will need a minimum 4-channel transmitter, 

receiver, and two servos. You can also choose to 

purchase a complete radio system. If you are using an 

existing transmitter, just purchase the other required 

equipment separately. We recommend the crystal-

free, interference-free Spektrum

 DX5e 2.4GHz DSM

®


5-channel system.

If you own the Spektrum DX5e radio, just add the 

AR6100e DSM2

 6-channel receiver and two E-flite 

S60 Super Sub-Micro Servos.

Transmitter and Receiver

SPMAR5500 

 DX5e 5-Channel Transmitter only, 

Mode 2

Purchase Separately

SPMAR6100E   AR6100E 6-Channel Receiver, Air

And

EFLRS60 

 S60 Super Sub Micro Servo (2)

Additional Electronics

EFLB4302SJ 

 430mAh 2S 7.4V 20C LiPo, 

20AWG JST

EFLA1010 

10-Amp Pro Brushless ESC

Optional Accessories

EFLA110 

Power Meter

EFLC3005 

 Celectra

 1–3 Cell  

Li-Po Charger

EFLC505 

 Intelligent 1- to 5-Cell  

Balancing Charger

Required Tools and Adhesives

Tools & Equipment

Hobby knife with #11 blade

Phillips screwdriver: #0

Flat blade screwdriver

Nut driver: 5mm

Two-sided tape

Ruler

Adhesives

Foam CA 1oz/Activator 2 oz Pack (EFLA208)

Canopy Glue (PAAPT56)

Note on Lithium Polymer Batteries

Lithium Polymer batteries are significantly 

more volatile than alkaline or Ni-Cd/

Ni-MH batteries used in RC applications. 

All manufacturer’s instructions and warnings 

must be followed closely. Mishandling of 

Li-Po batteries can result in fire. Always 

follow the manufacturer’s instructions when 

disposing of Lithium Polymer batteries.

During the course of building your model we suggest 

that you use a soft base for the building surface. 

Such things as a foam stand, large piece of bedding 

foam or a thick bath towel will work well and help 

protect the model from damage during assembly.

Electronics Installation

Required Parts

Fuselage assembly 

Wing assembly

Servo with horn (2)  Receiver

Speed control 

Flight battery

Transmitter

Required Tools

Foam-safe CA 

Hobby knife with #11 blade

Two-sided tape 

Phillips screwdriver: #0

If you are using a computer radio, it is recommended 

to start with a new program and clear it before 

starting the installation of the electronics. Make sure 

the trims, sub-trims and sticks are centered, and no 

programmable mixing has been turned on as well.

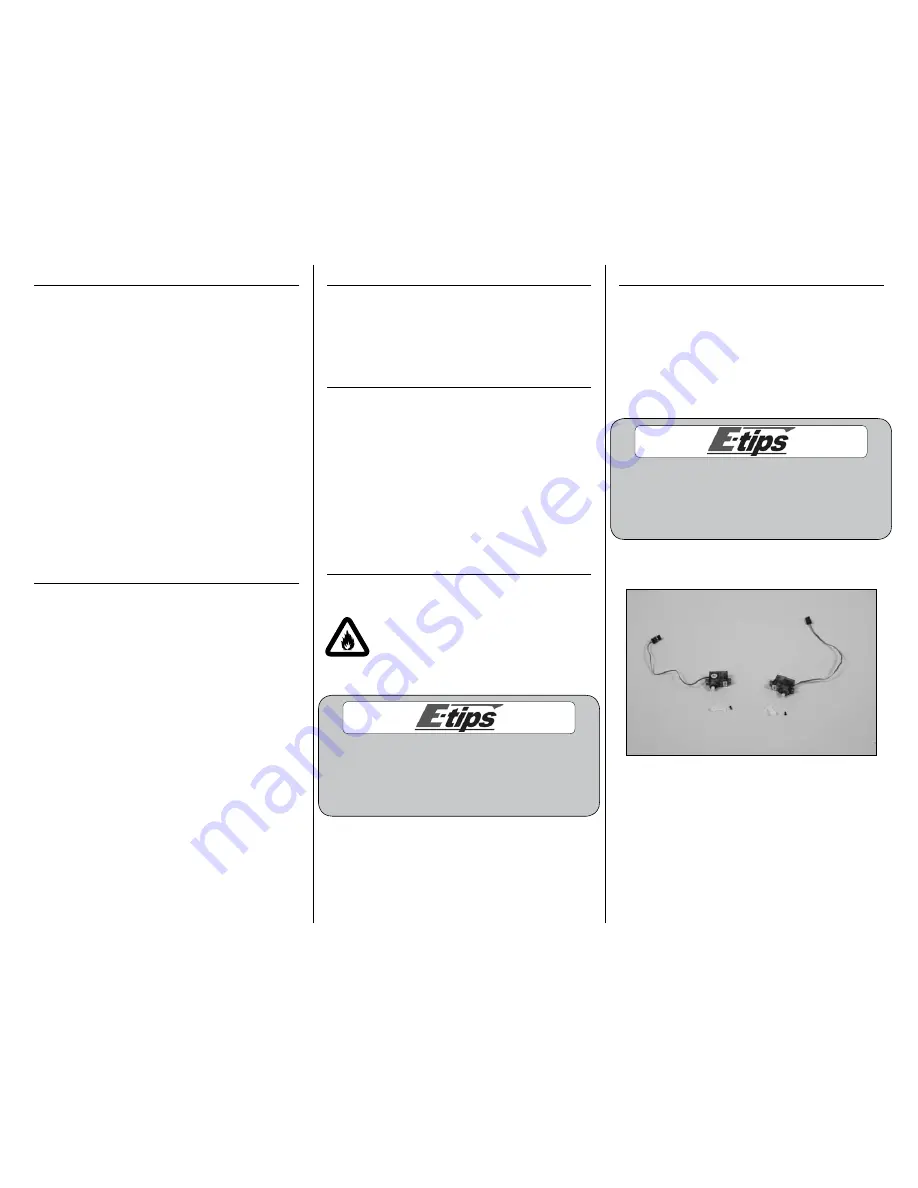
  1. Use a #0 Phillips screwdriver to remove the 

servo horns from the two servos.

The Spektrum trademark is used with permission 

of Bachmann Industries, Inc.

Summary of Contents for P-40 Warhawk 300

Page 1: ...tions Wingspan 25 6 in 650mm Wing Area 108 sq in 7 02 sq dm Length 21 7 in 550mm Weight without battery 5 5 6 0 oz 156 170 g Weight with Li Po Battery 6 5 7 0 oz 184 198 g P 40 Warhawk 300 ARF Assembl...

Page 2: ...you re not flying you can show off its scale looks with included static display stand Important Warranty Information Please read our Warranty and Liability Limitations section on Page 14 before build...

Page 3: ...tor 2 oz Pack EFLA208 Canopy Glue PAAPT56 Note on Lithium Polymer Batteries Lithium Polymer batteries are significantly more volatile than alkaline or Ni Cd Ni MH batteries used in RC applications All...

Page 4: ...rop or two of foam safe CA in the hole in the servo tab The CA will go through the hole and bond the servo to the wing 5 Use a hobby knife with a 11 blade to cut a narrow notch at the edge of the serv...

Page 5: ...n of your motor make sure to remove the propeller to avoid any accidental injuries The details for removing the propeller can be found on Page 10 Propeller Removal and Installation 11 Check the operat...

Page 6: ...ter of the servo horn The hole needs to be big enough to insert the pushrod wire for the elevator Use care not to make the hole too large as this will cause slop in the control system 3 Insert the pus...

Page 7: ...ileron linkages by inserting both linkages into the holes in the servo arm The arm is then rotated on the bends so the splines face to the aileron servo 8 Use the radio system to center the aileron se...

Page 8: ...some before it is installed 1 Remove the canopy from the fuselage by lifting it upward The canopy is held on with magnets 2 Plug the aileron servo into the receiver 3 Position the wing on the bottom o...

Page 9: ...re that the leads are tucked into the hole in the fuselage so that the canopy fits correctly on the model If not you could loose your canopy during flight Spinner Installation Required Parts Fuselage...

Page 10: ...force to remove 2 Use a 5mm nut driver to remove the nut holding the propeller on the motor 3 Remove the washer and propeller from the motor If you are checking the rotation of the motor now is the t...

Page 11: ...e nut Use a small amount so the spinner can be easily removed if the propeller requires replacement 9 Slide the spinner back on the propeller Allow the glue to fully cure before flying your model Disp...

Page 12: ...d plane upright you are now able to display your model when you are not out flying sorties Control Throws 1 Turn on the transmitter and receiver of your model 2 Check the movement of the elevator with...

Page 13: ...eck Your Radio Before going to the field be sure that your batteries are fully charged per the instructions included with your radio Charge both the transmitter and receiver pack if so equipped for yo...

Page 14: ...Basic aerobatics such as loops and rolls are a breeze with the P 40 Both high and low speed flight are also easily obtained When it is time to land a gentle descent while carrying a little power is a...

Page 15: ...E PURCHASER ACKNOWLEDGES THAT THEY ALONE HAVE DETERMINED THAT THE PRODUCT WILL SUITABLY MEET THE REQUIREMENTS OF THE PURCHASER S INTENDED USE c Purchaser Remedy Horizon s sole obligation hereunder sha...

Page 16: ...uld your repair not be covered by warranty the repair will be completed and payment will be required without notification or estimate of the expense unless the expense exceeds 50 of the retail purchas...

Page 17: ...spotter when appropriate 6 I will not fly my model aircraft unless it is identified with my name and address or AMA number inside or affixed to the outside of the model aircraft This does not apply t...

Page 18: ...g an individual 9 Radio controlled night flying is limited to low performance model aircraft less than 100 mph The model aircraft must be equipped with a lighting system which clearly defines the airc...

Page 19: ...19 E flite P 40 Warhawk Assembly Manual...

Page 20: ...Printed 04 09 15659 2009 Horizon Hobby Inc 4105 Fieldstone Road Champaign Illinois 61822 U S A 877 504 0233 horizonhobby com E fliteRC com...

Reviews: