11
E-flite Shoestring 15e ARF Assembly Manual
hinging the Elevators
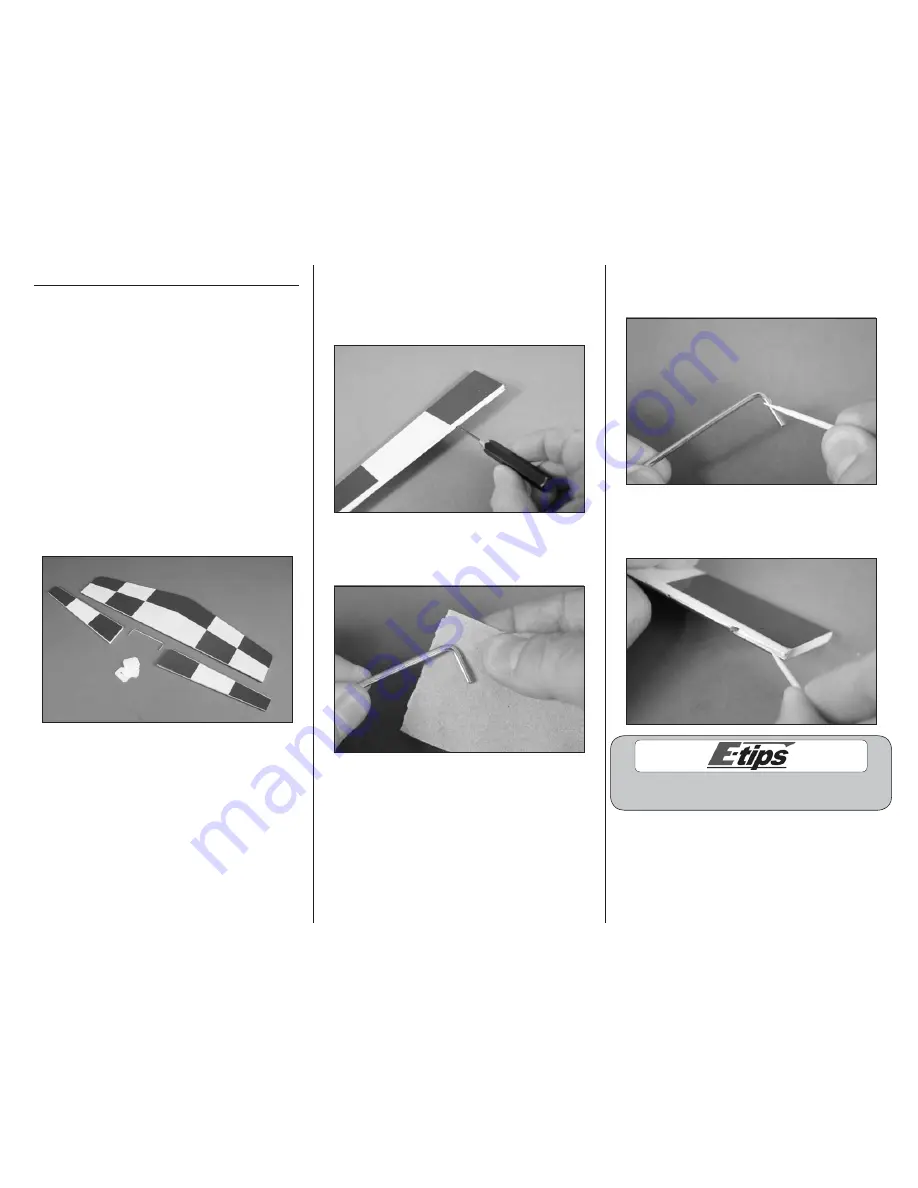
Required parts
Stabilizer and elevator assembly
Required Tools and Adhesives
Pin vise
Drill bit: 1/16-inch (1.5mm)
Sandpaper
Toothpicks
30-minute epoxy
Low-tack tape
Square
Felt-tipped pen
Thin CA
T-pins
Mixing cups
Mixing sticks
Paper towels
Rubbing alcohol
Ruler or straightedge
The top of the elevator and stabilizer are
shown in this section of the manual.
1. Remove the stabilizers from the elevator. Also,
remove the elevator joiner connecting the elevators.
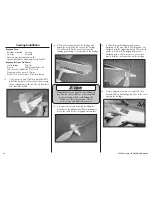
2. Use a pin vise and 1/16-inch (1.5mm) drill bit
to drill a hole in the center of each hinge slot. Drill
holes in both the elevators and stabilizer. This creates
a tunnel for the CA to wick into, making a better
bond between the hinge and surrounding wood.
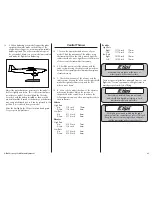
3. Use sandpaper to roughen the ends of the joiner
wire. This provides a surface for the epoxy to bond
to when the joiner is installed.
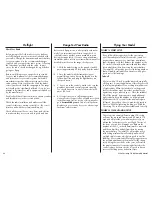
4. Mix a small amount of epoxy. Use a toothpick
to apply the epoxy to the joiner where it contacts
the elevators.
5. Use a toothpick to apply epoxy into the hole for
the joiner wire and the exposed wood where the
joiner wire fits in the elevators.
Steps 6 through 13 can be performed while
the epoxy is curing on the joiner wire.


