17
E-flite Shoestring 15e ARF Assembly Manual
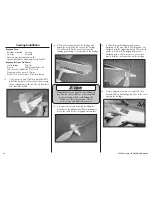
10. Insert the hinges in the rudder.
11. Press the rudder tightly against the fin. Remove
the T-pins and apply thin CA to both sides of the
three hinges.
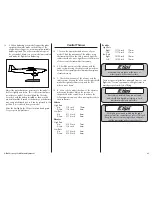
12. Once the CA has fully cured. Gently pull on the
rudder to make sure the hinges are secure. If any
hinges are loose, reapply CA and flex the rudder
through its range of motion a number of times to
break them in.
Servo and Receiver Installation
Required parts
Fuselage assembly Servo with hardware (2)
Receiver
Receiver battery
Transmitter
Control horn (2)
2mm x 12mm sheet metal screw (4)
Control horn backplate (2)
Hook and loop tape (not included)
Required Tools and Adhesives
Pencil
Thin CA
Pin vise
Side cutters
Needle nose pliers Phillips screwdriver: #1
Drill bit: 1/16-inch (1.5mm), 5/64-inch (2mm)
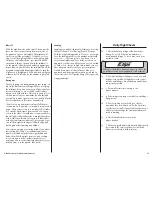
1. Prepare the rudder servo by installing the
grommets and brass eyelets. Place the rudder servo
in the fuselage with the output shaft to the front of
the fuselage. Position the servo so the edge toward
the center is centered in the opening. Use a pencil
to transfer the positions for the mounting screws on
the servo tray.


