18
E-flite Shoestring 15e ARF Assembly Manual
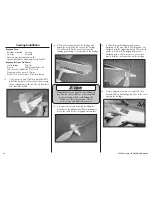
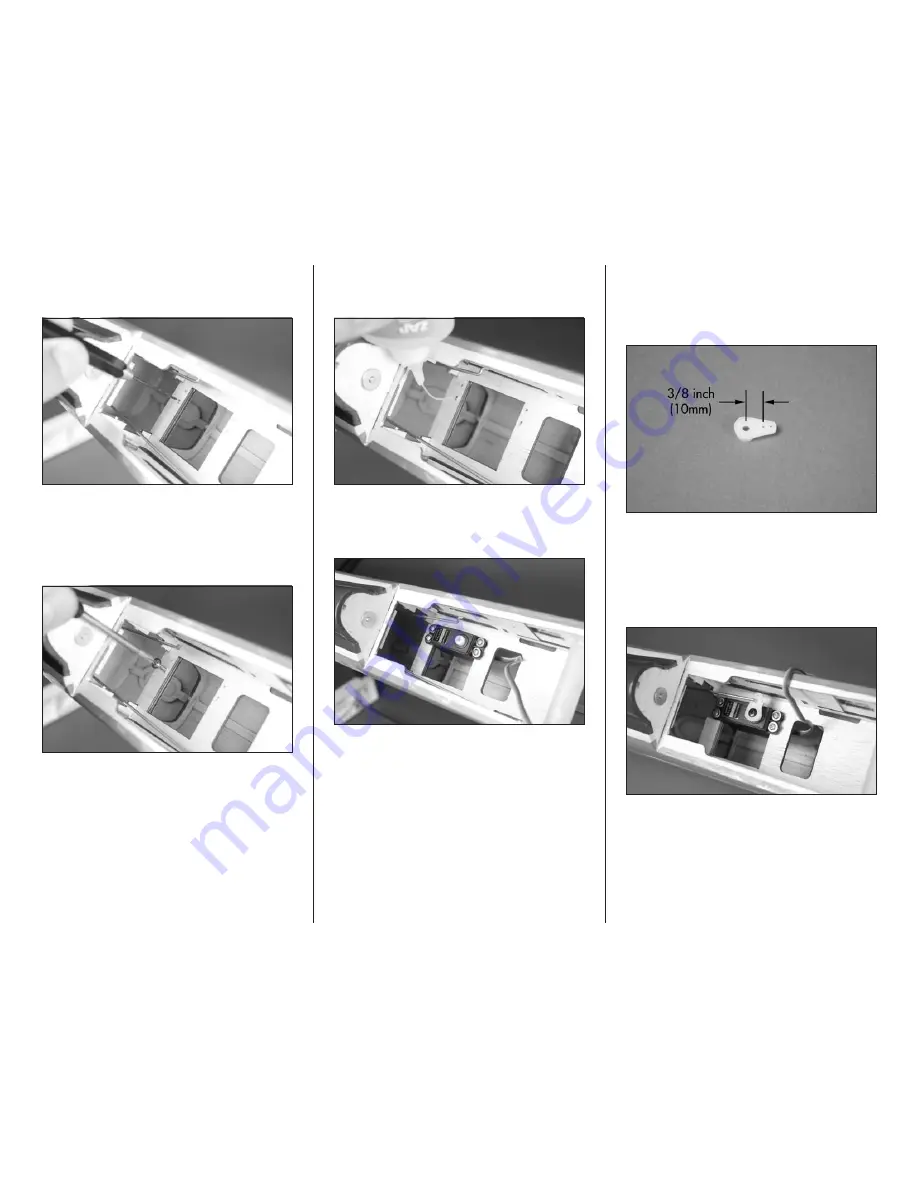
2. Remove the servo from the fuselage. Use a pin
vise and 1/16-inch (1.5mm) drill bit to drill the four
holes for the servo mounting screws.
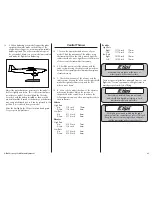
3. Use a #1 Phillips screwdriver to thread a servo
mounting screw into each of the holes to cut threads
in the surrounding wood. Remove the screw before
moving to the next step. Prepare all four mounting
holes at this time.
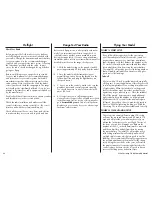
4. Place 2–3 drops of thin CA in each hole to
harden the surrounding wood. This harder surface
makes the screws more secure when installed.
5. Return the servo to the fuselage. Use a #1 Phillips
screwdriver and the screws provided with the servo
to secure it in the fuselage.
6. Use a pin vise and 5/64-inch (2mm) drill bit
to enlarge the hole in the servo arm 3/8 inch
(10mm) from the center of the servo horn. Remove
the arms from the servo horn that will not be used
using side cutters.
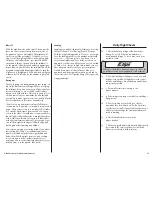
7. Insert the Z-bend from the pushrod wire through
the hole in the servo horn. Use the radio system to
center the rudder servo. Install the servo horn so
it is perpendicular to the servo center line. Secure
the horn using the screw from the servo and a #1
Phillips screwdriver.


