32
E-flite Super Cub 25e ARF Assembly Manual
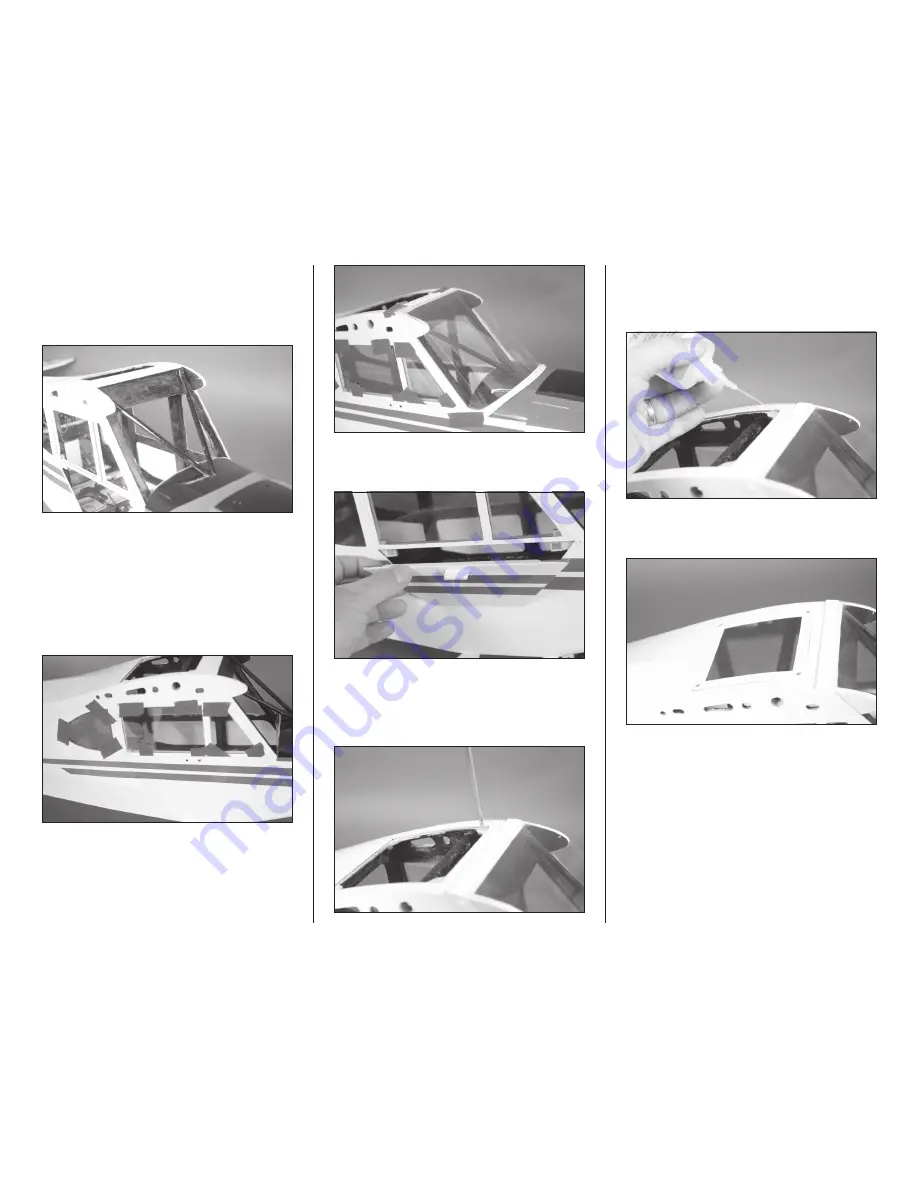
2. Test fit the hardwood windscreen supports into
position. The supports fit tightly at the top corners
of the windscreen frame and meet at the bottom
as shown. Use medium CA to glue the supports
in position.
3. Test fit the windows and windscreen into position
in the fuselage. The side windows install from
the inside of the fuselage. Apply a thin bead of
canopy glue around the perimeter of the windows
and windscreen. Use low-tack tape to hold them in
position on the fuselage. Make sure the positioning
of the windscreen does not interfere with the
operation of the cockpit door.
4. Use medium CA to glue the door handle
in position.
5. Use a #1 Phillips screwdriver to thread a 2mm x
8mm self-tapping screw into each of the holes to cut
threads into the surrounding wood. Remove the screw
before moving to the next step.
6. Apply 2–3 drops of thin CA in each of the holes
to harden the surrounding wood. This will harden
the threads so the screws do not easily strip the
surrounding wood.
7. Install the upper window using four 2mm x 8mm
self-tapping screws and a #1 Phillips screwdriver.
Important
: If installing the optional scale
cockpit, skip the installation of the upper
window until the cockpit kit has been isntalled.


